Step-by-step walkthrough of every screen, captured on a real device.
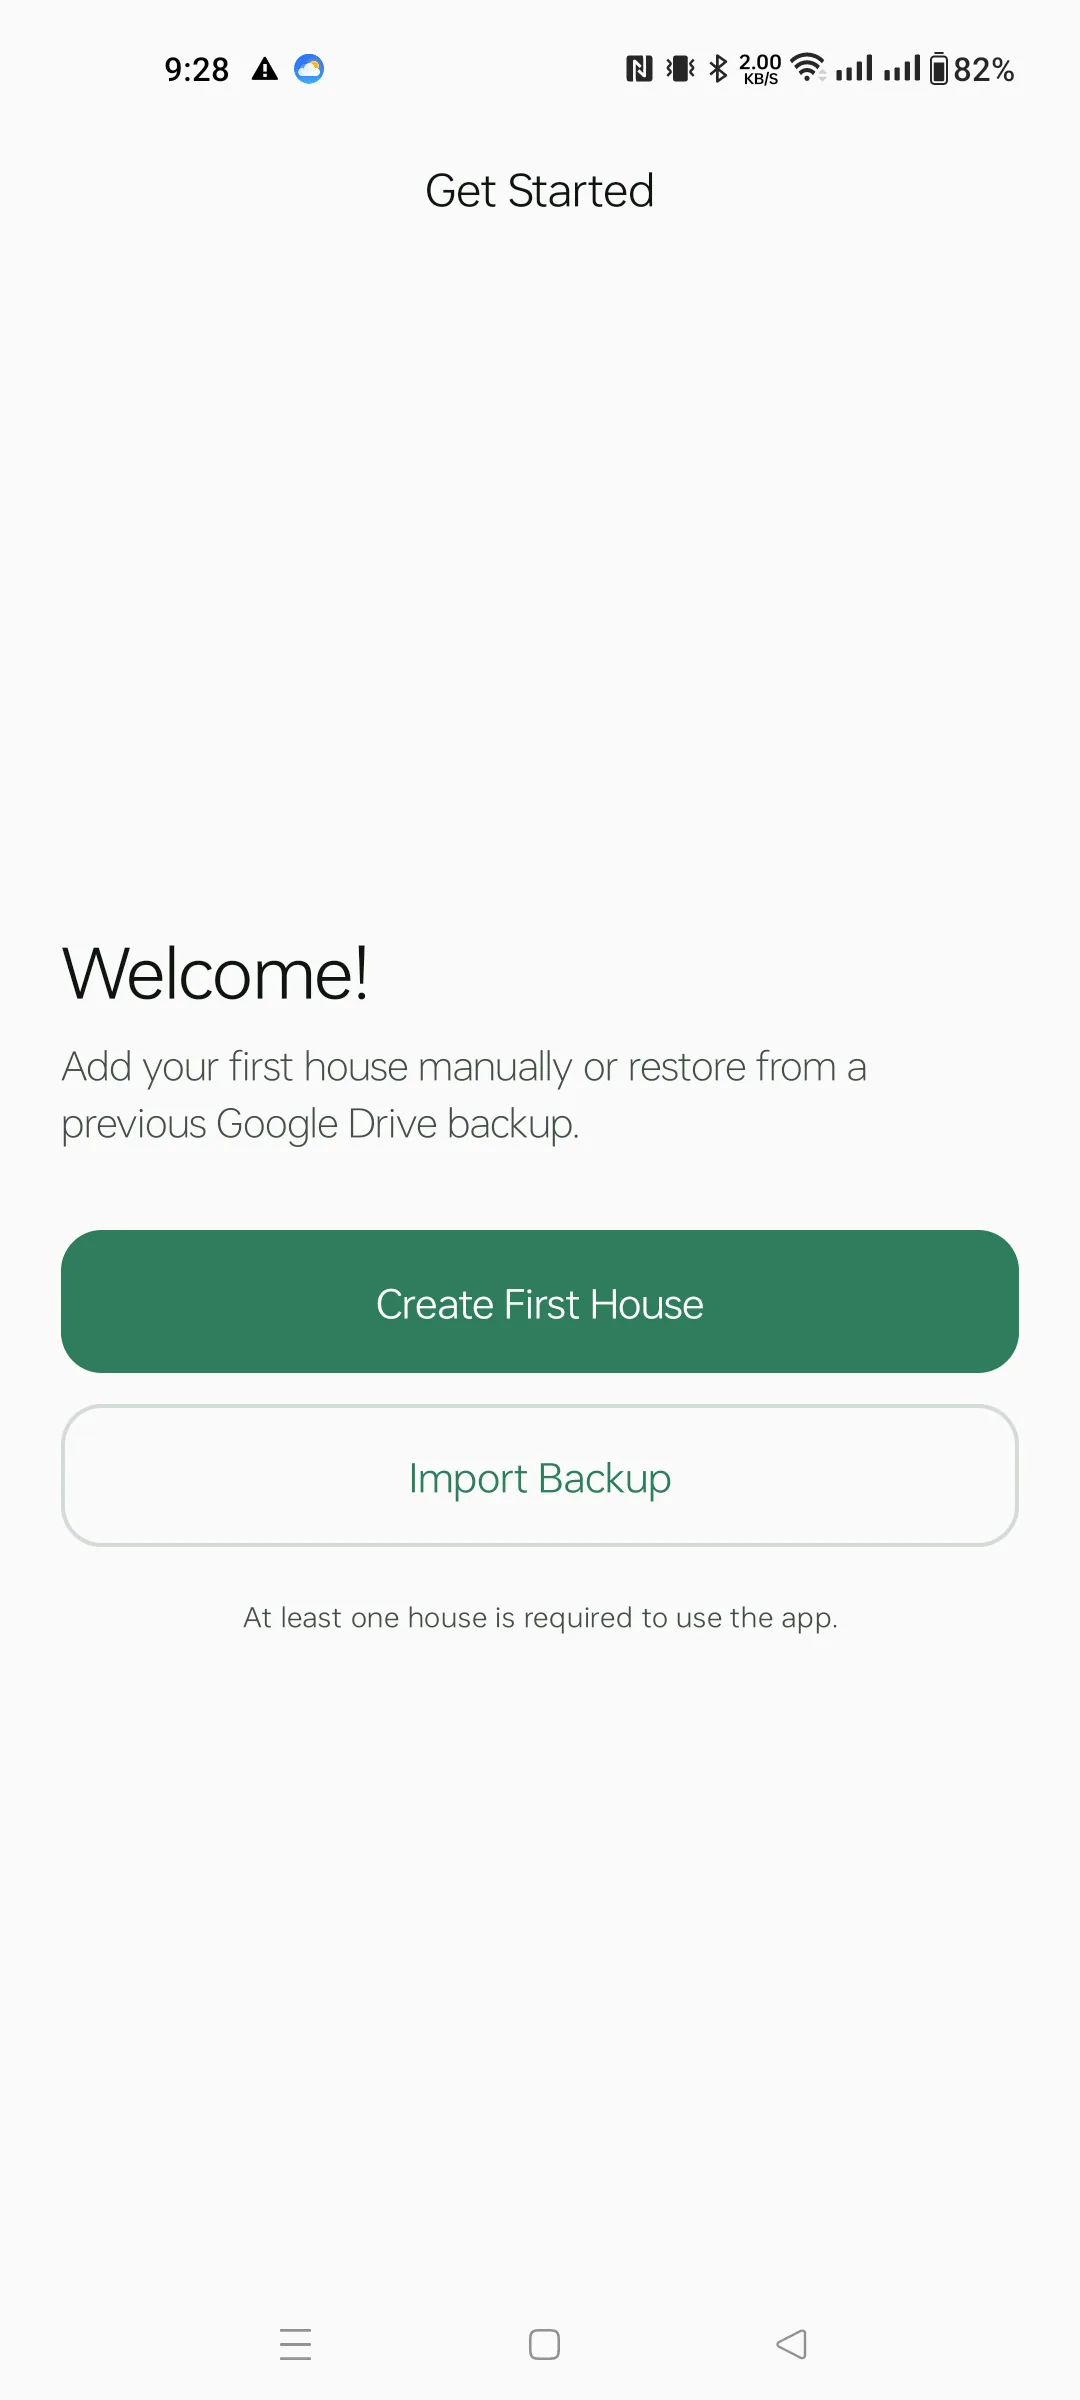
The first screen you see after signing in. House Manager needs at least one house to work, so you have two choices:
You can't continue past this screen without one or the other.
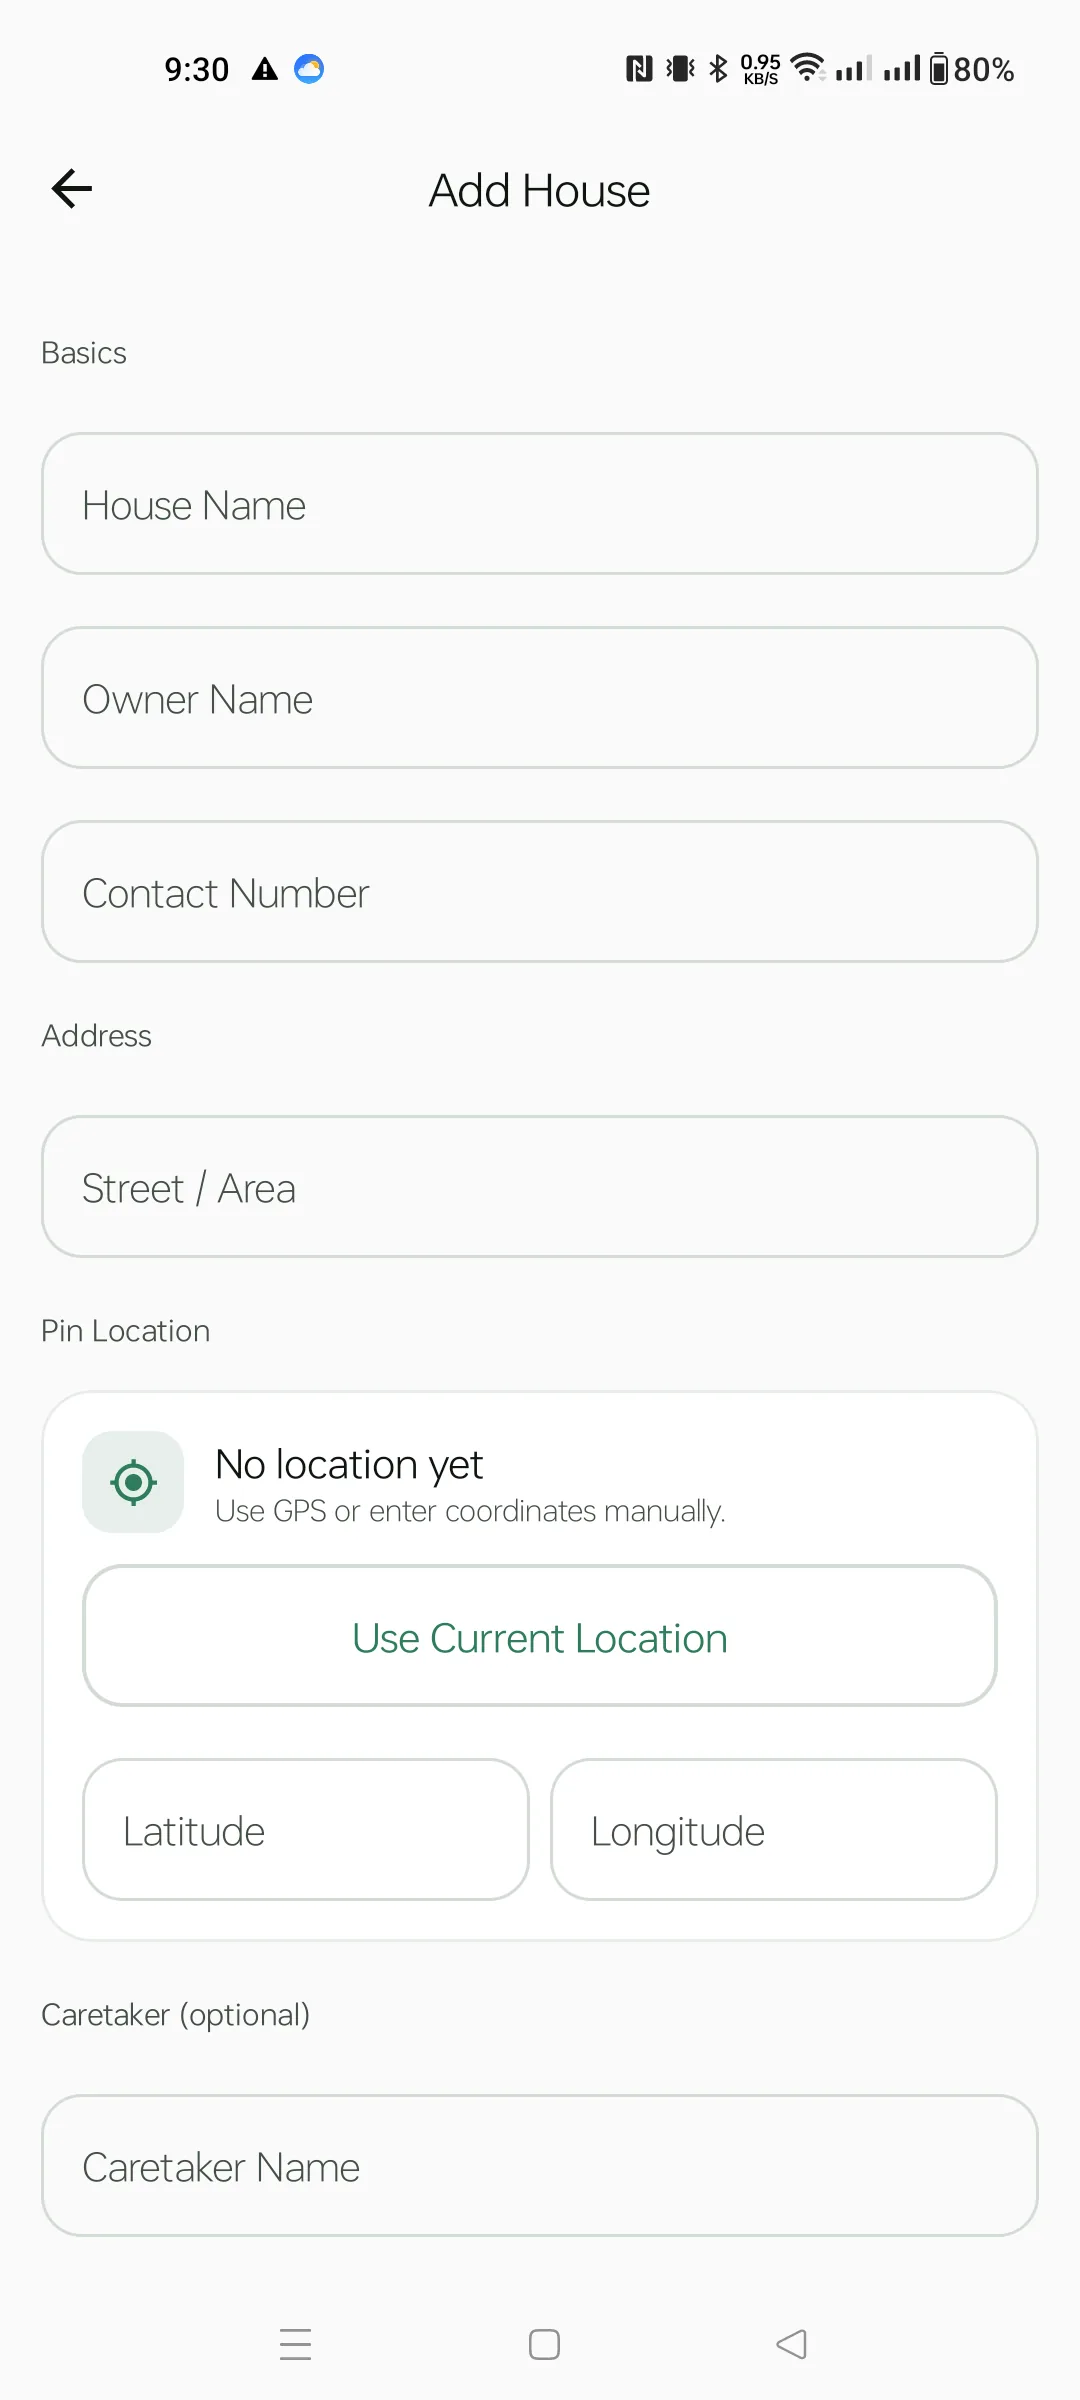
Tapping Create First House opens the Add House form. Three sections appear:
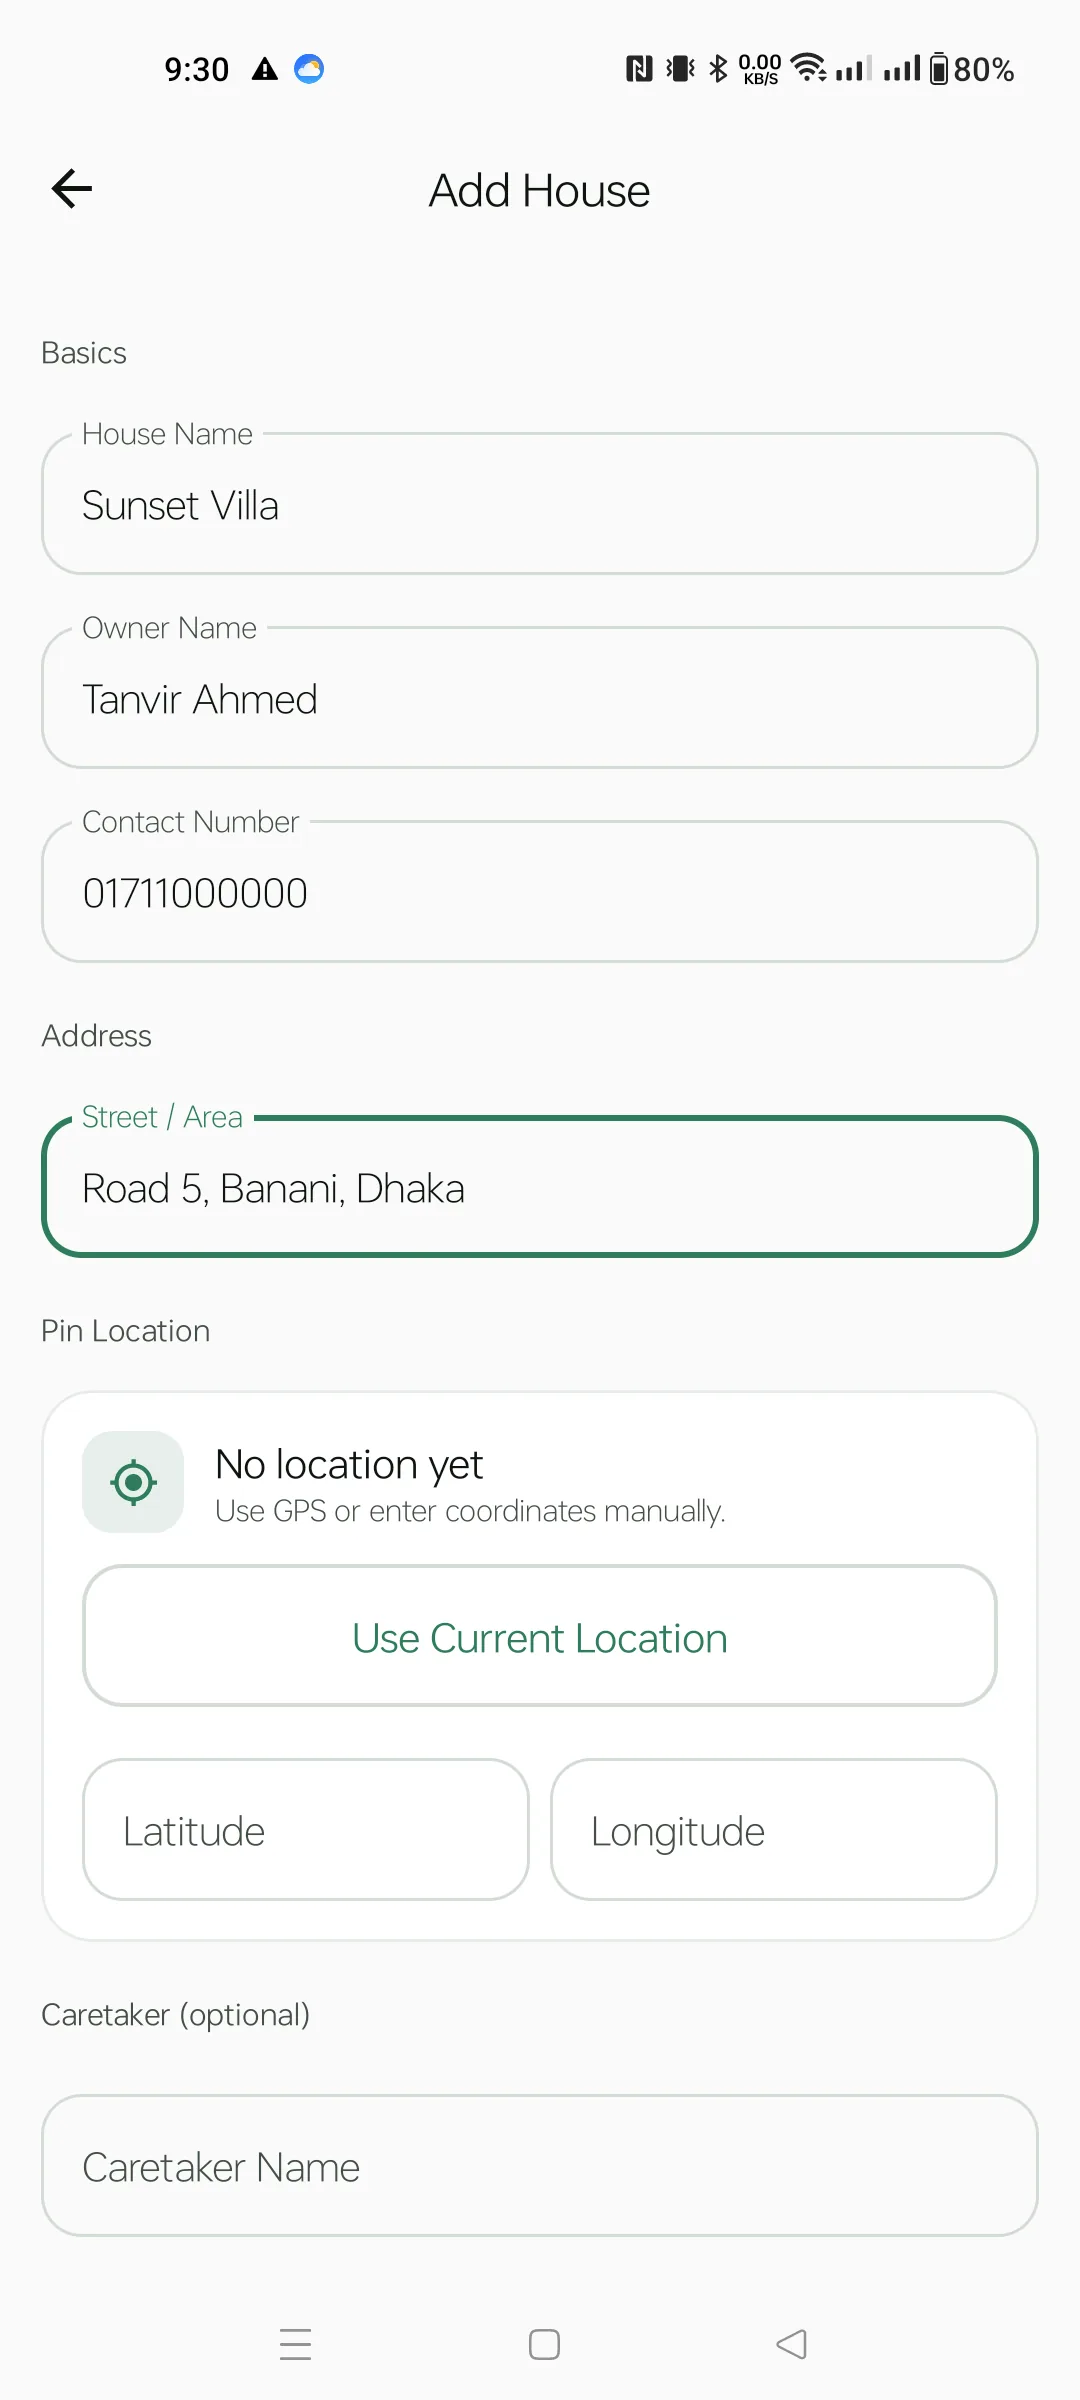
Here's how a filled form looks. Required fields are House Name, Owner Name, Contact Number and Street / Area. Tap the green Save button at the bottom when you're done.
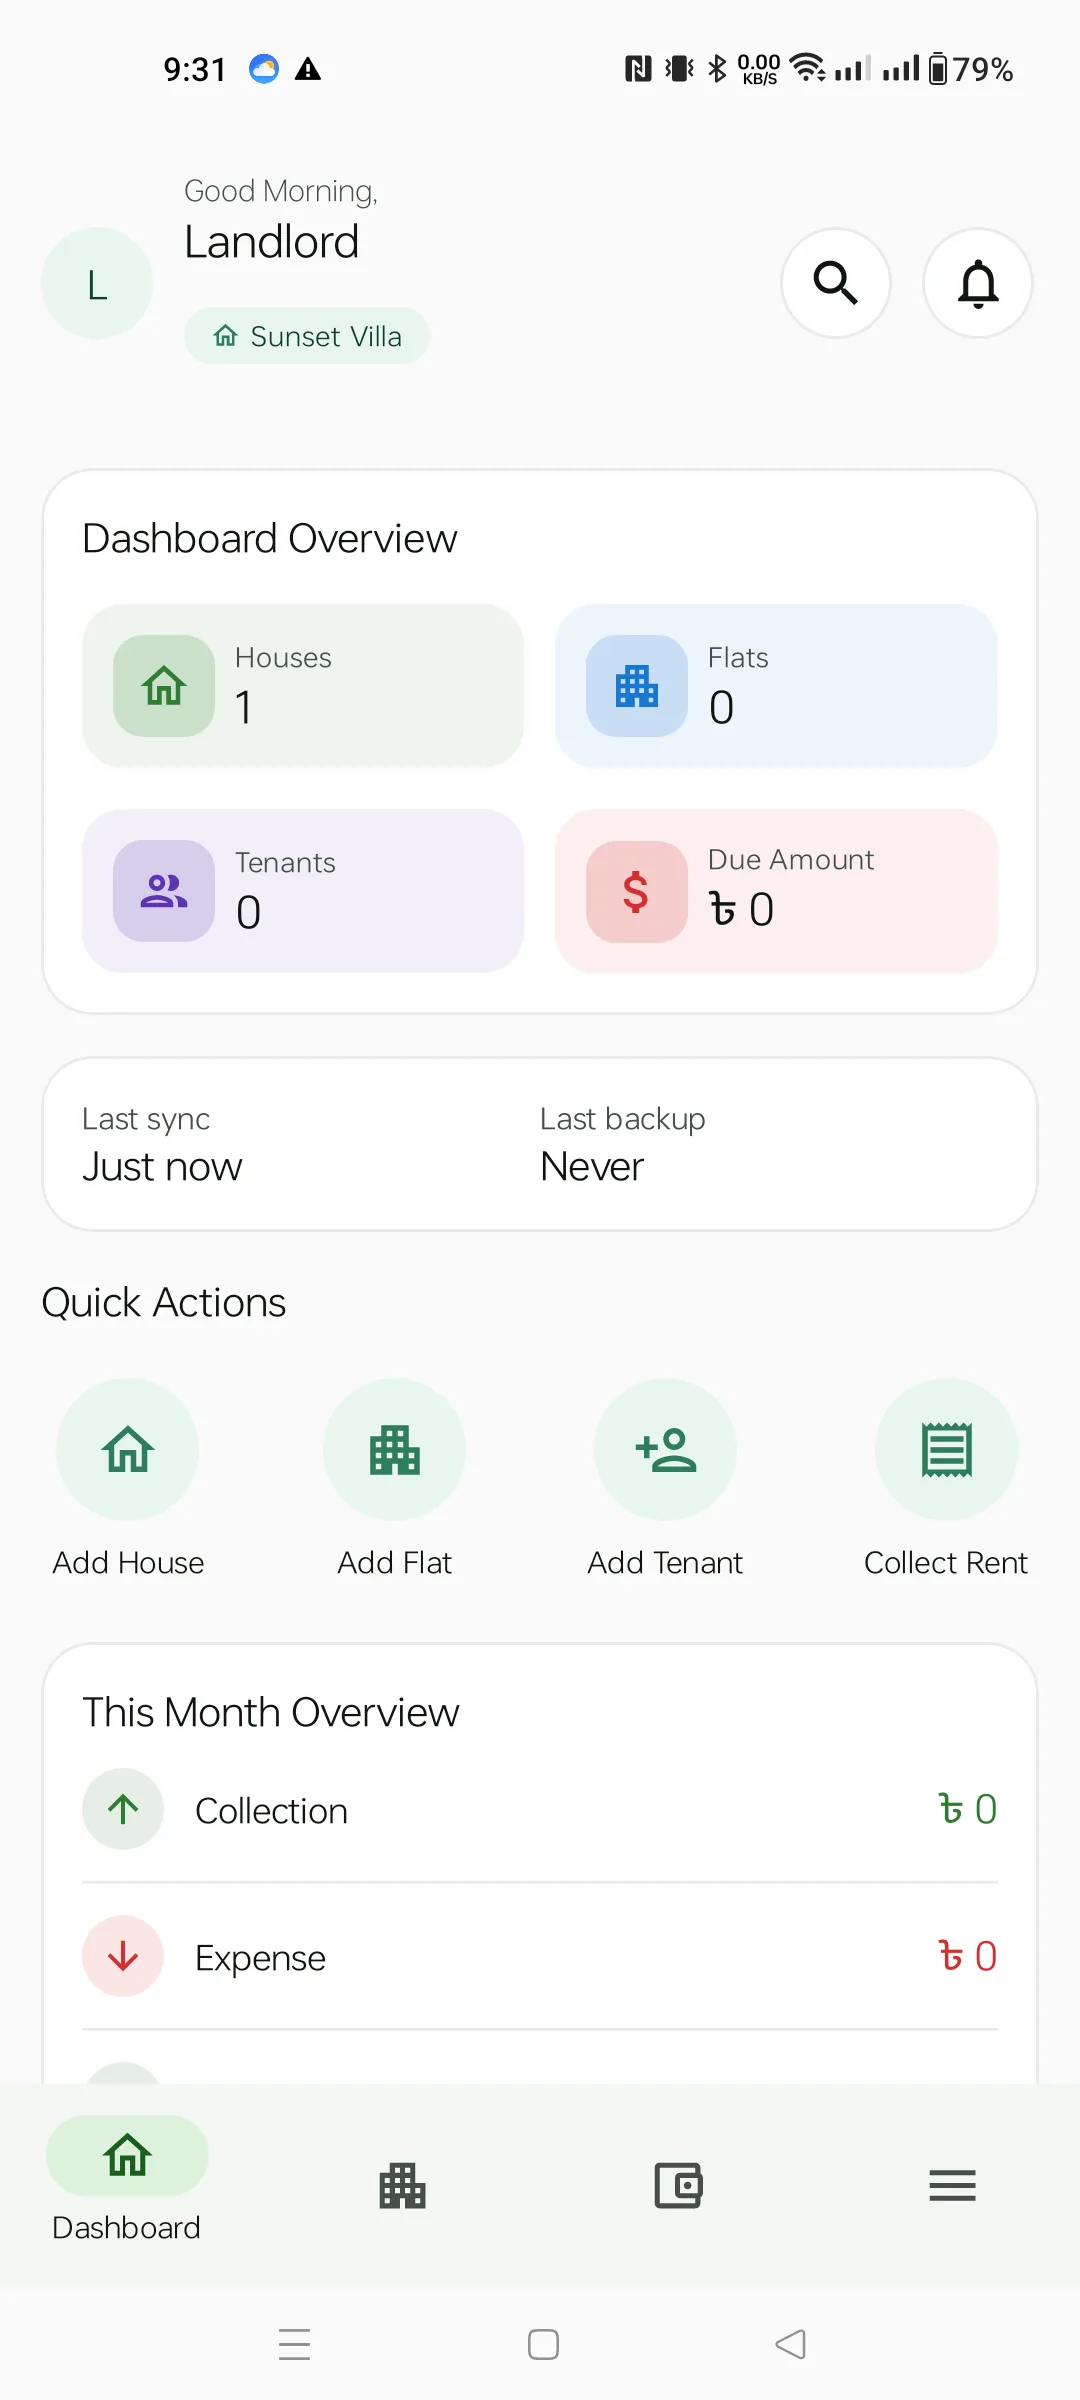
After saving, you land on the home screen — the Dashboard. The active-house pill shows the house you just created. Four big tiles summarise everything:
Below them sit Quick Actions for adding more entities, and a This Month Overview card.
Bottom tabs: Dashboard · Properties · Finance · More.
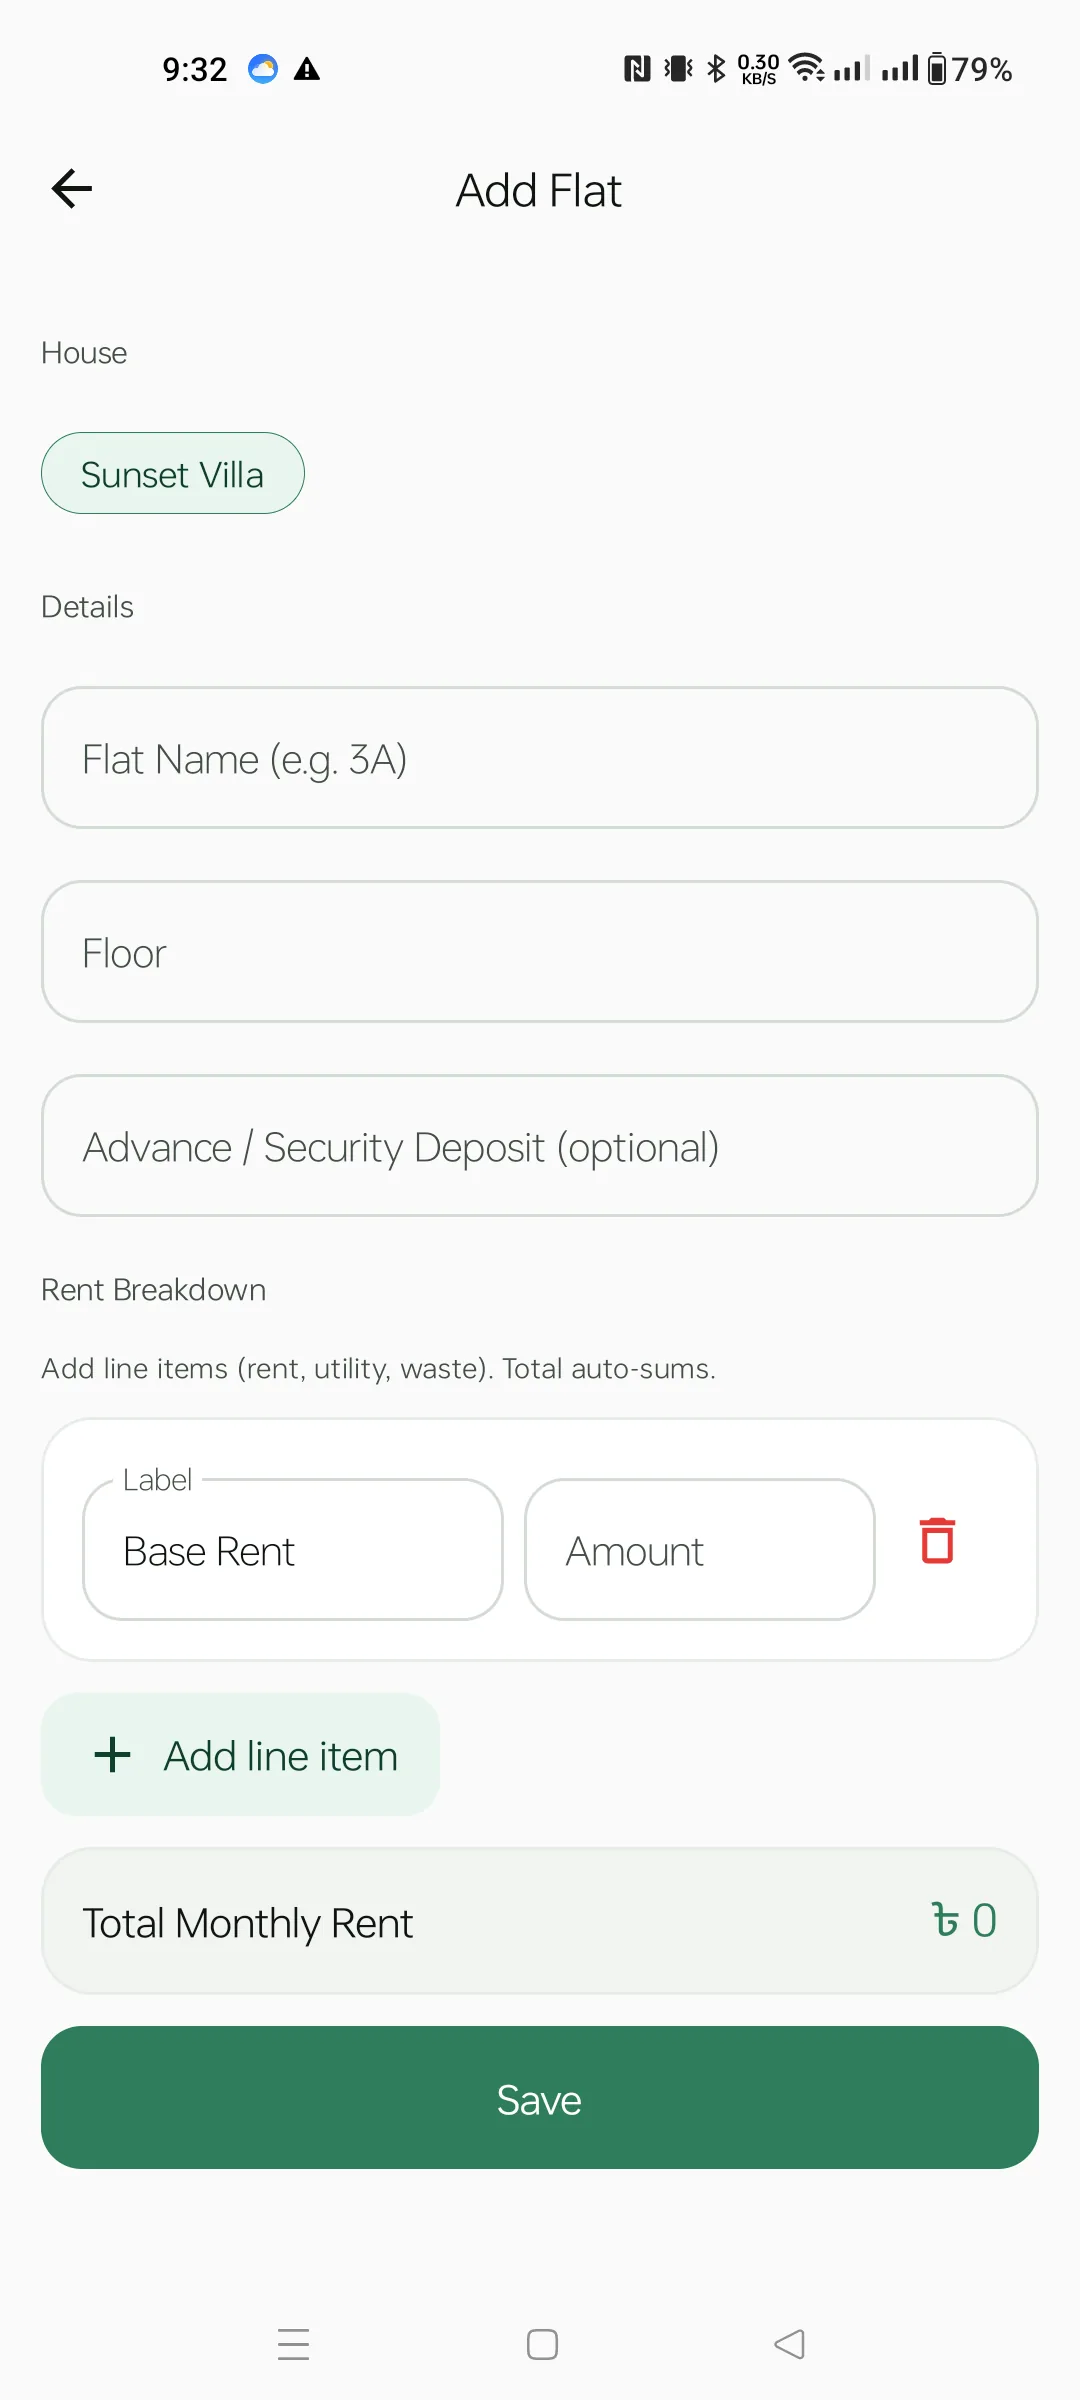
From Quick Actions tap Add Flat. The house chip is pre-selected. Enter:
1A) and Floor.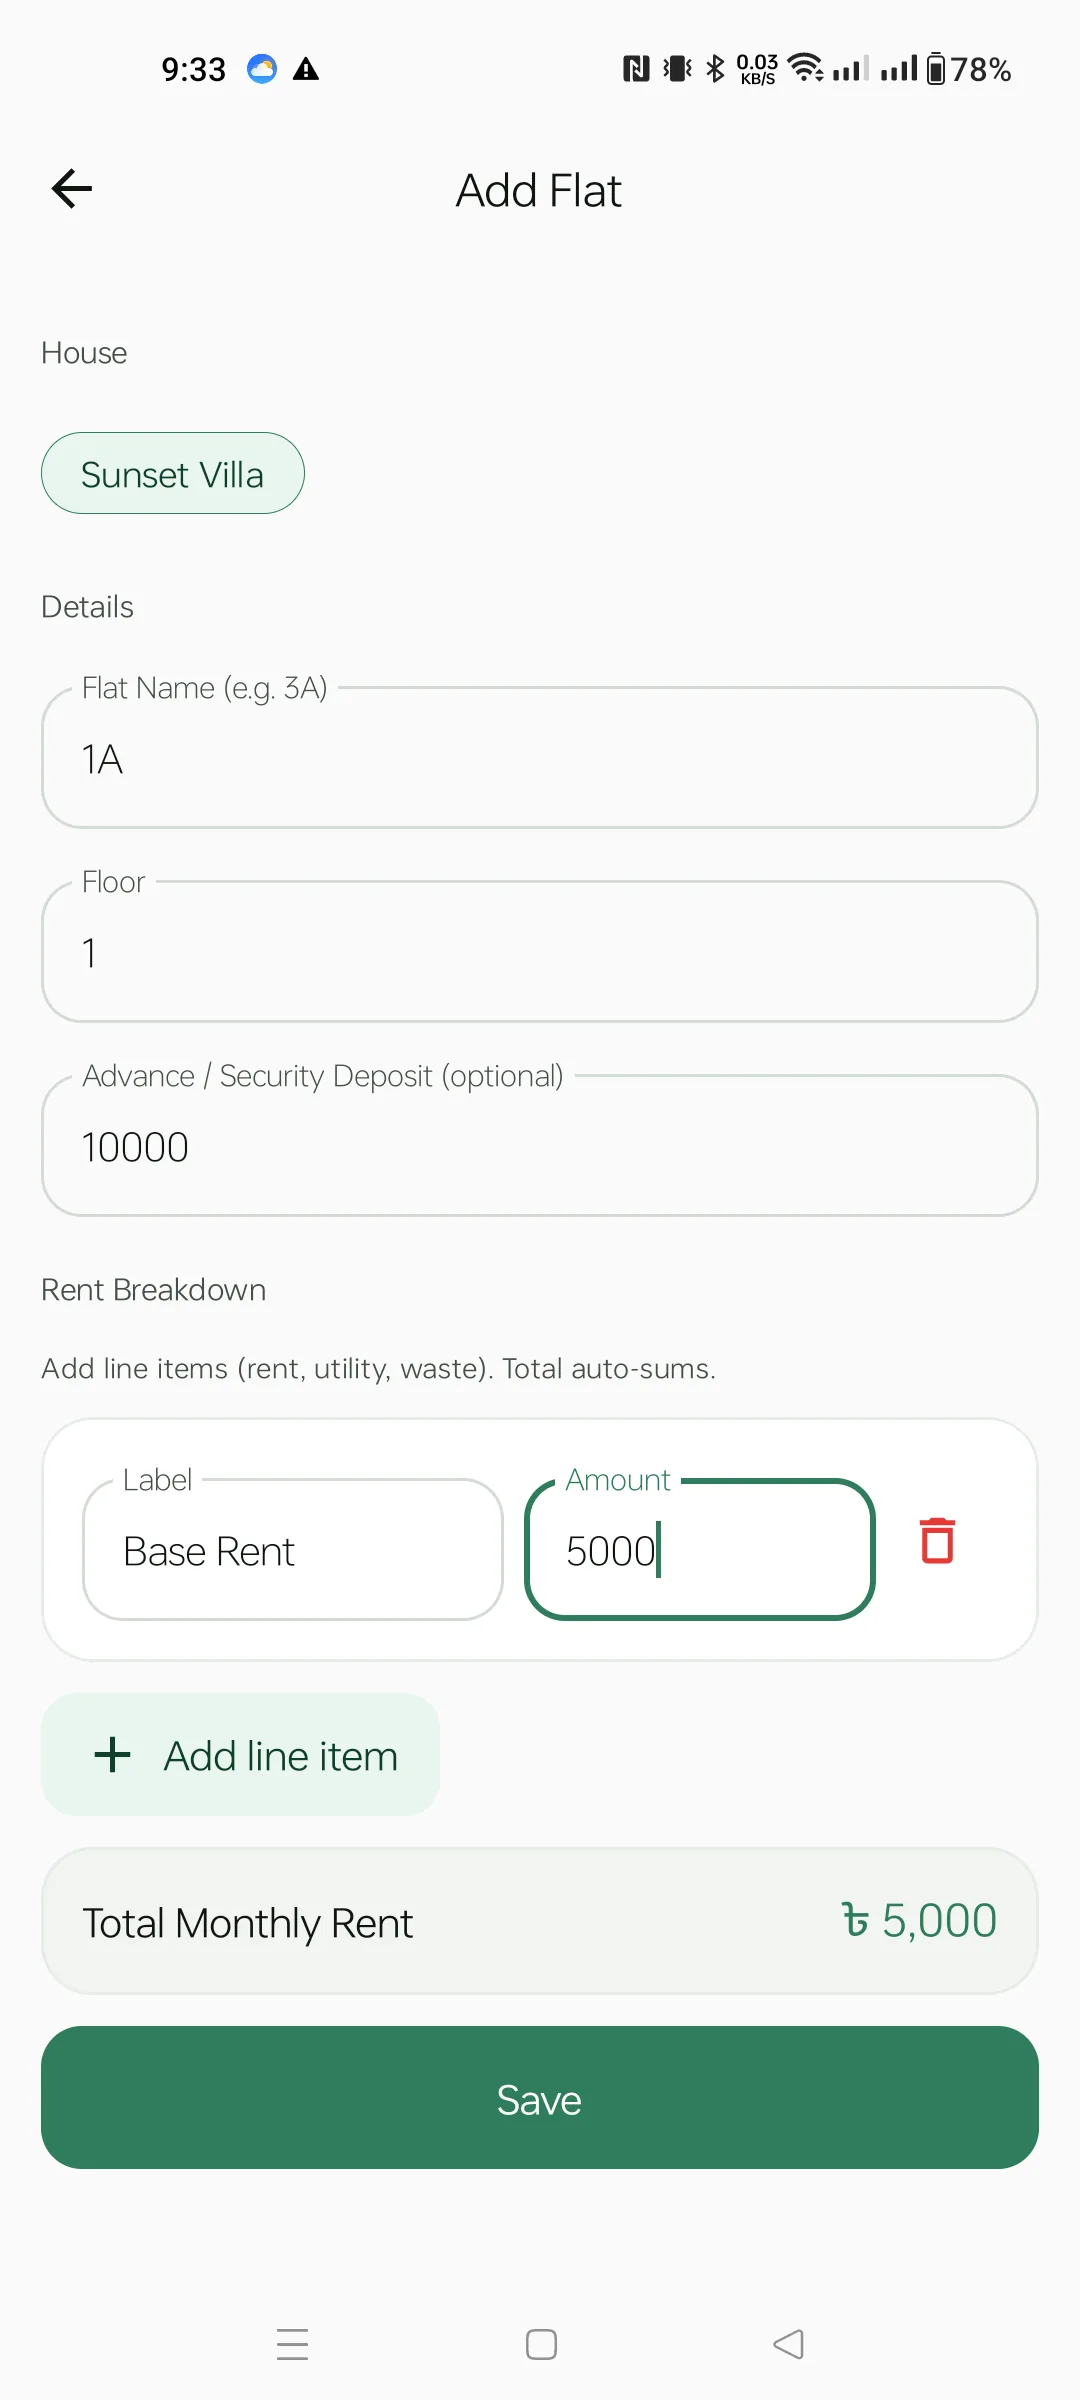
Here Flat 1A on Floor 1 has a Base Rent of ৳5,000 and a ৳10,000 advance. The Total Monthly Rent banner shows the sum live. Tap Save. You'll return to the Dashboard with the flat count bumped to 1.
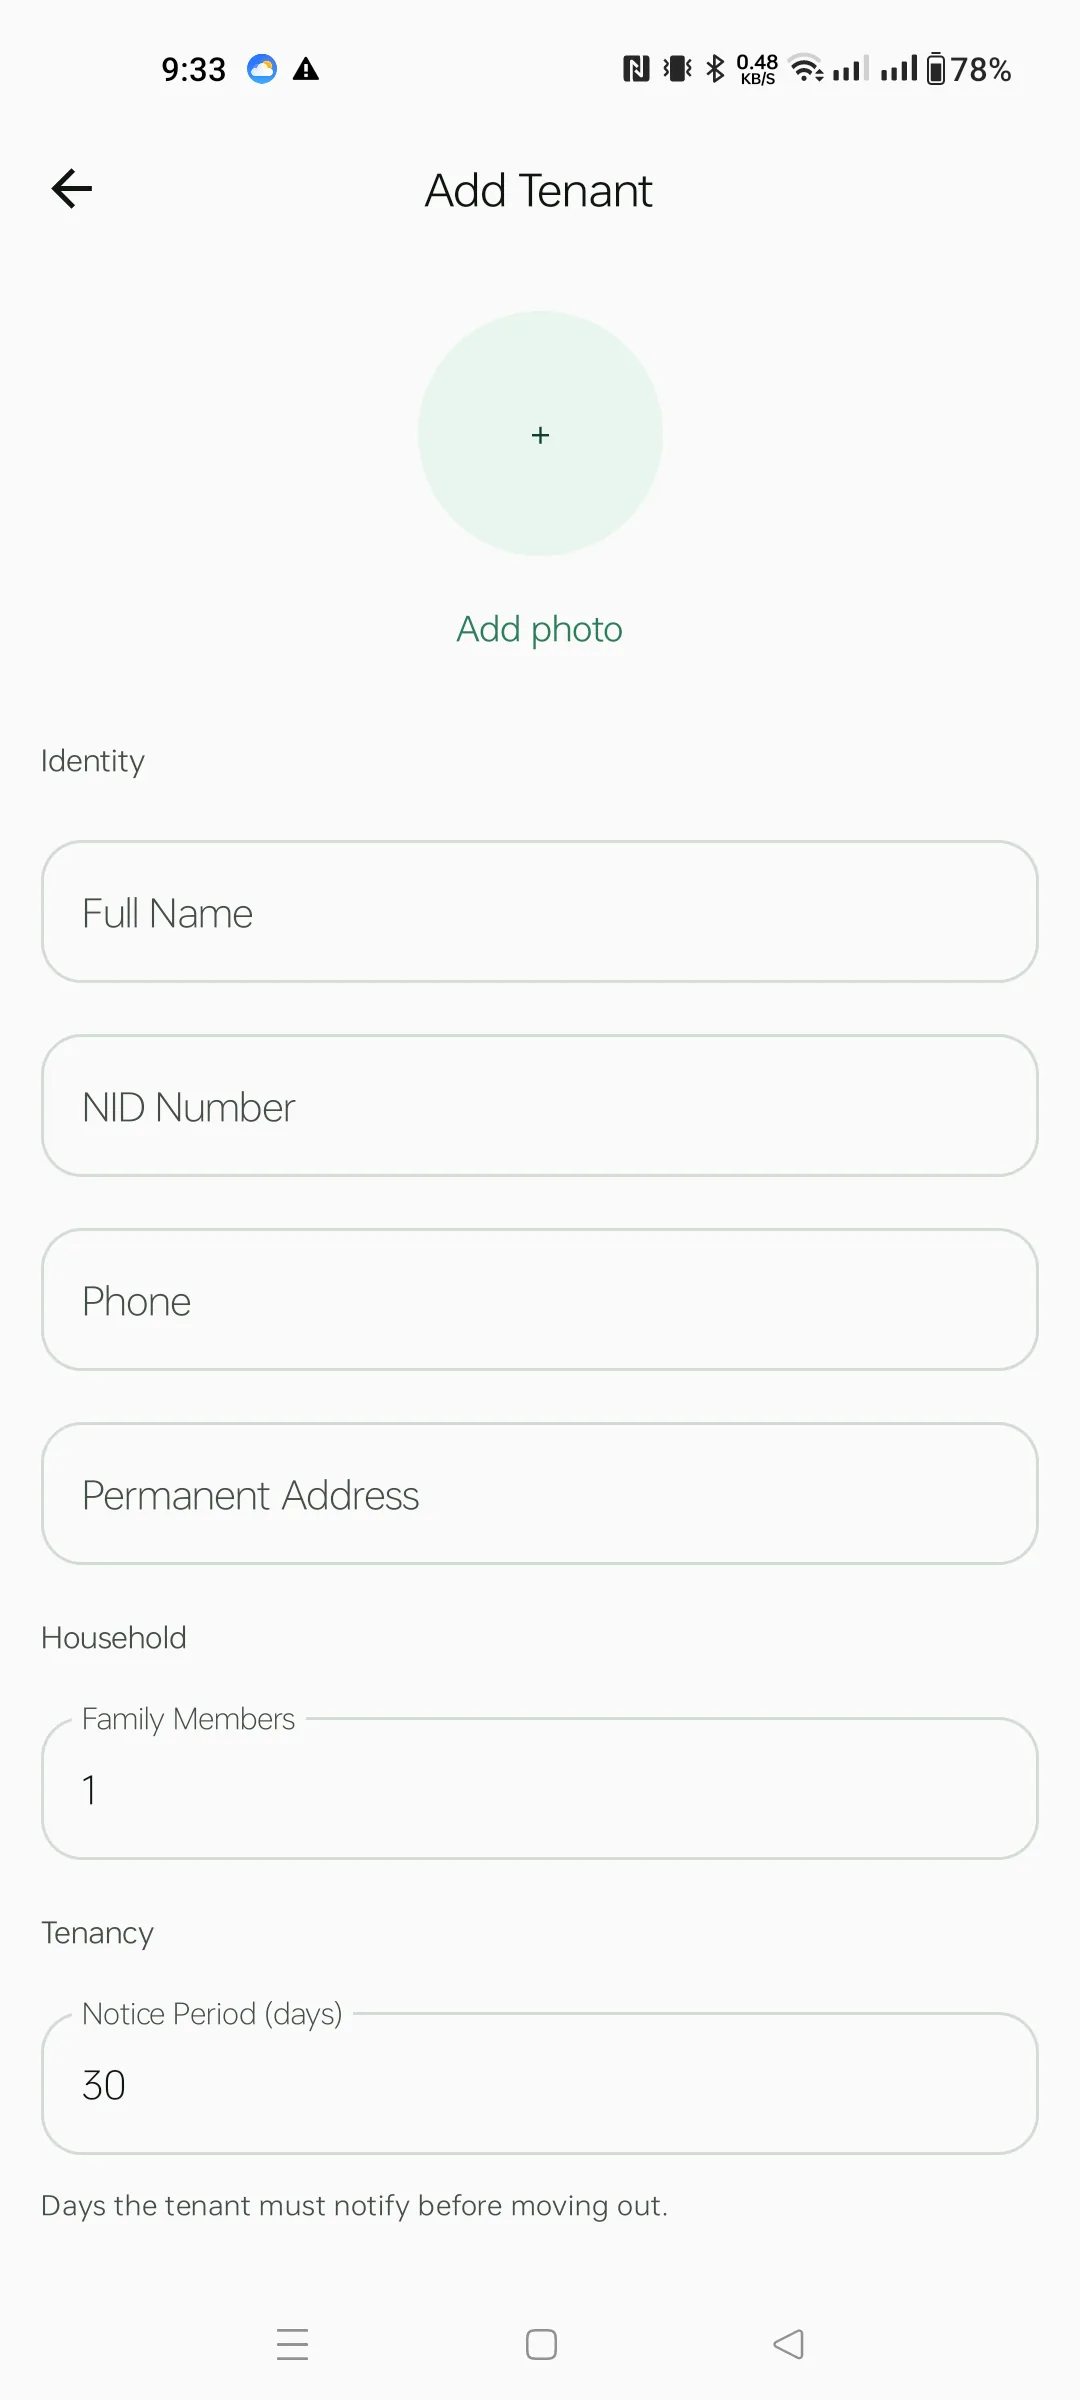
From Quick Actions tap Add Tenant. Sections:
Name, NID and Phone are required.

A sample filled tenant: Karim Khan, family of 3, 30-day notice, ৳15,000 deposit. Scroll to the bottom and tap Save.
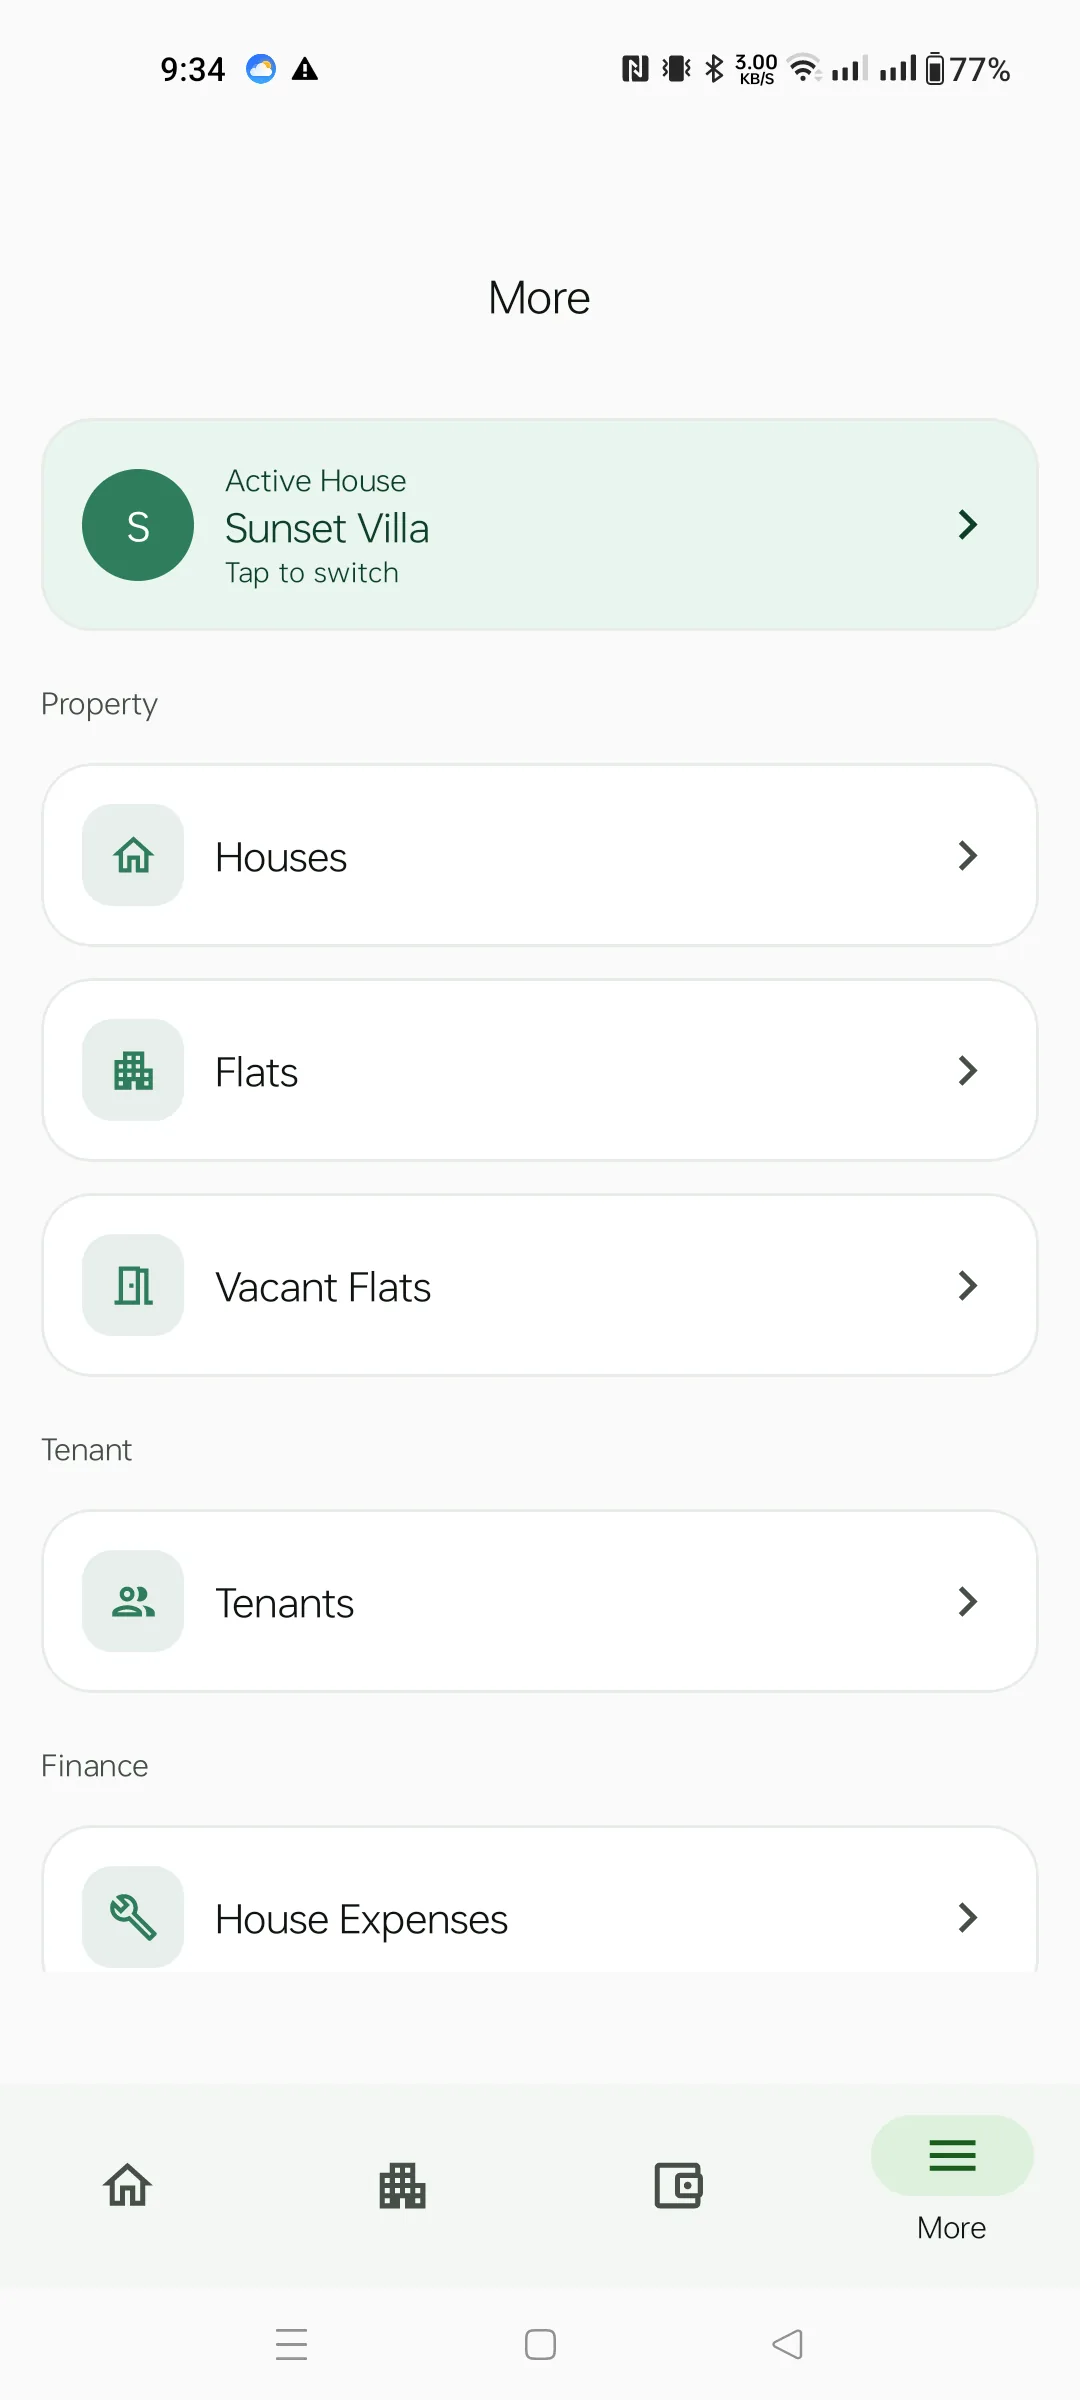
The fourth bottom tab. The top card always shows your active house — tap it to switch between houses. Below are sections:
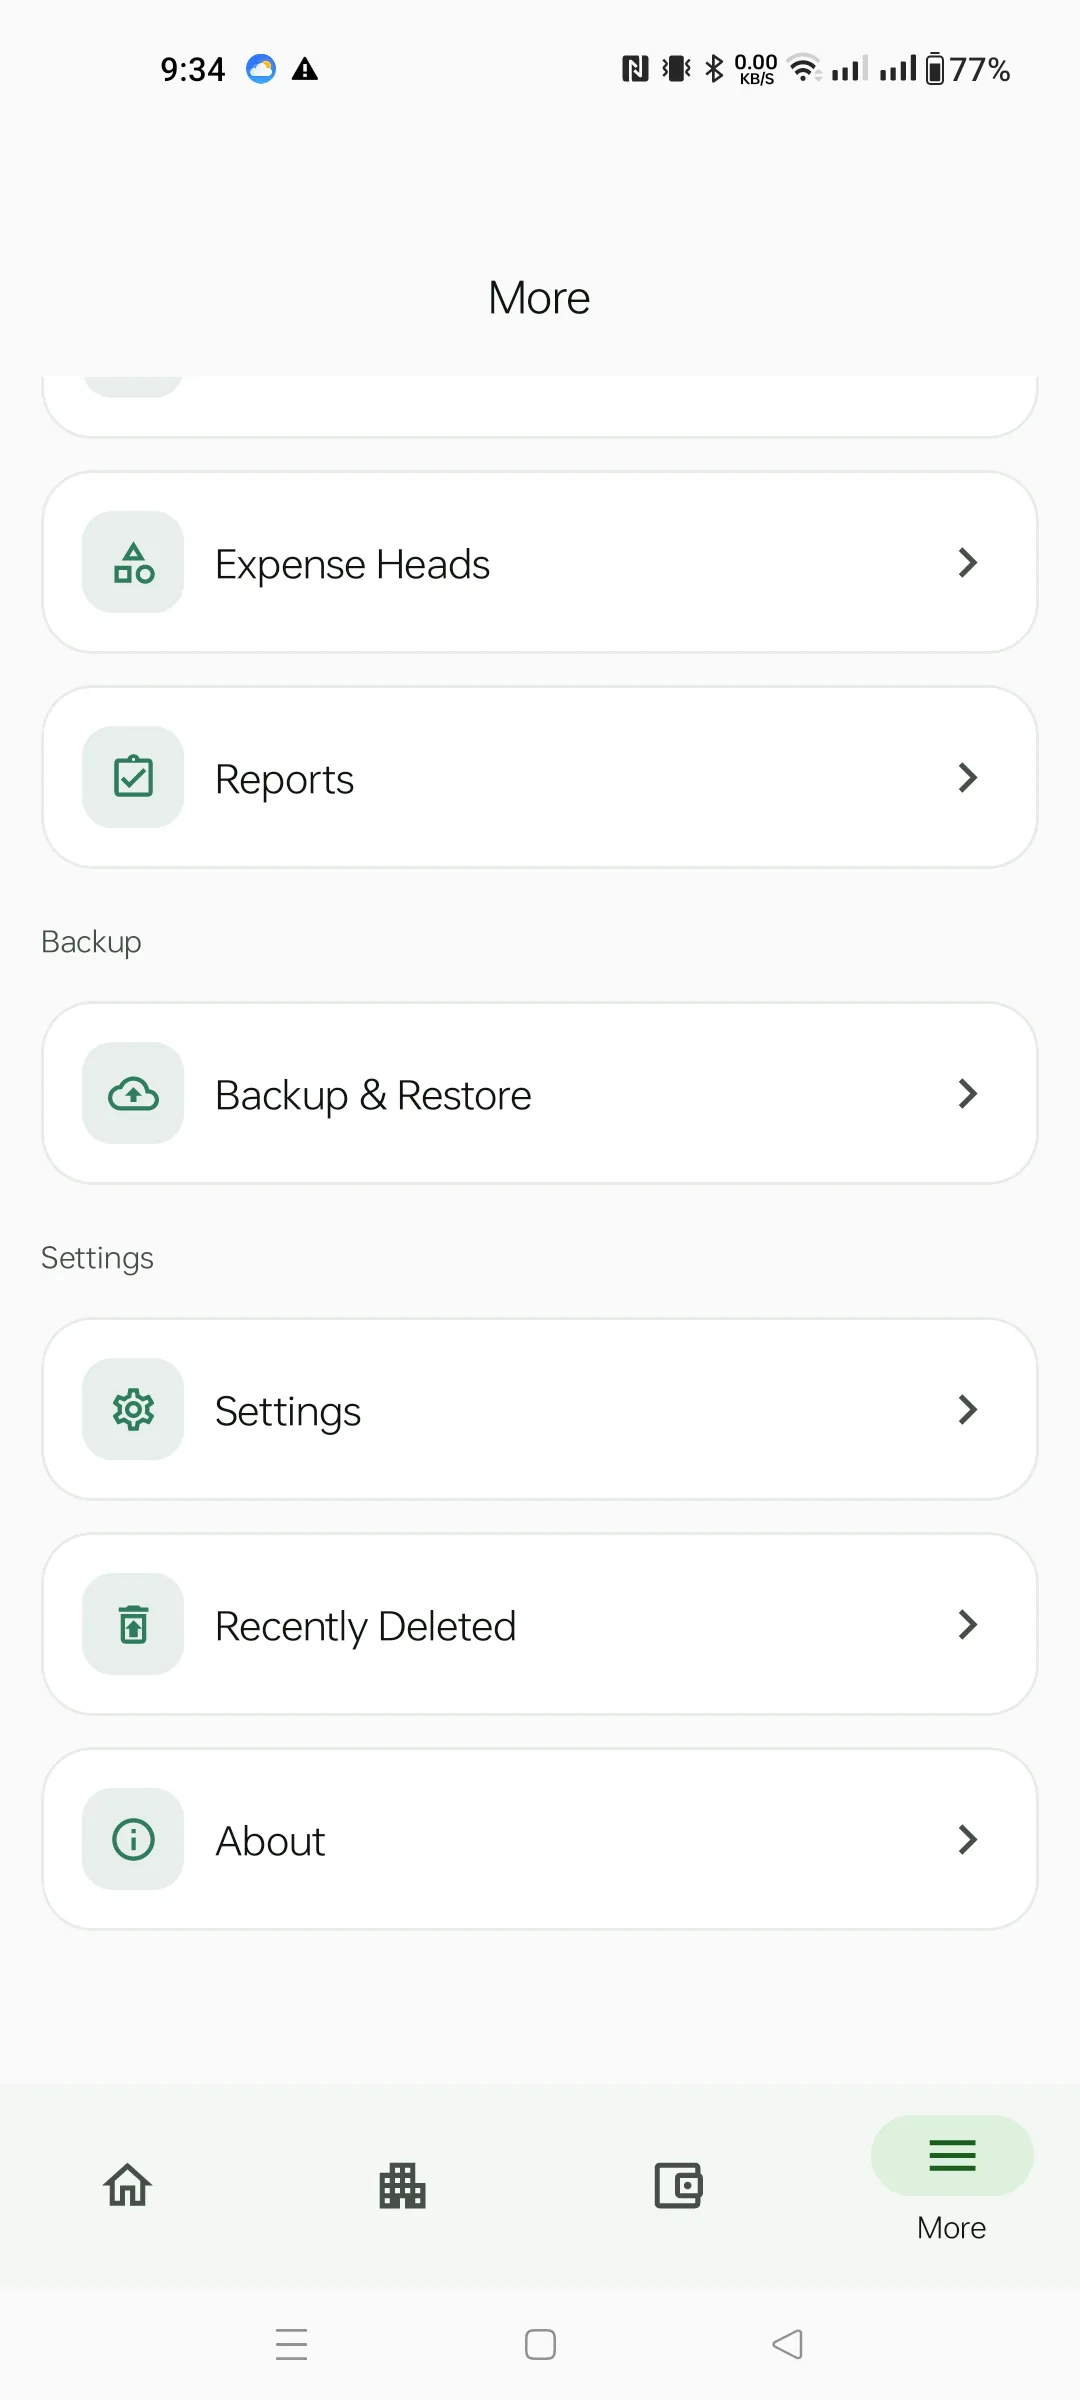
Scroll the More menu to find:
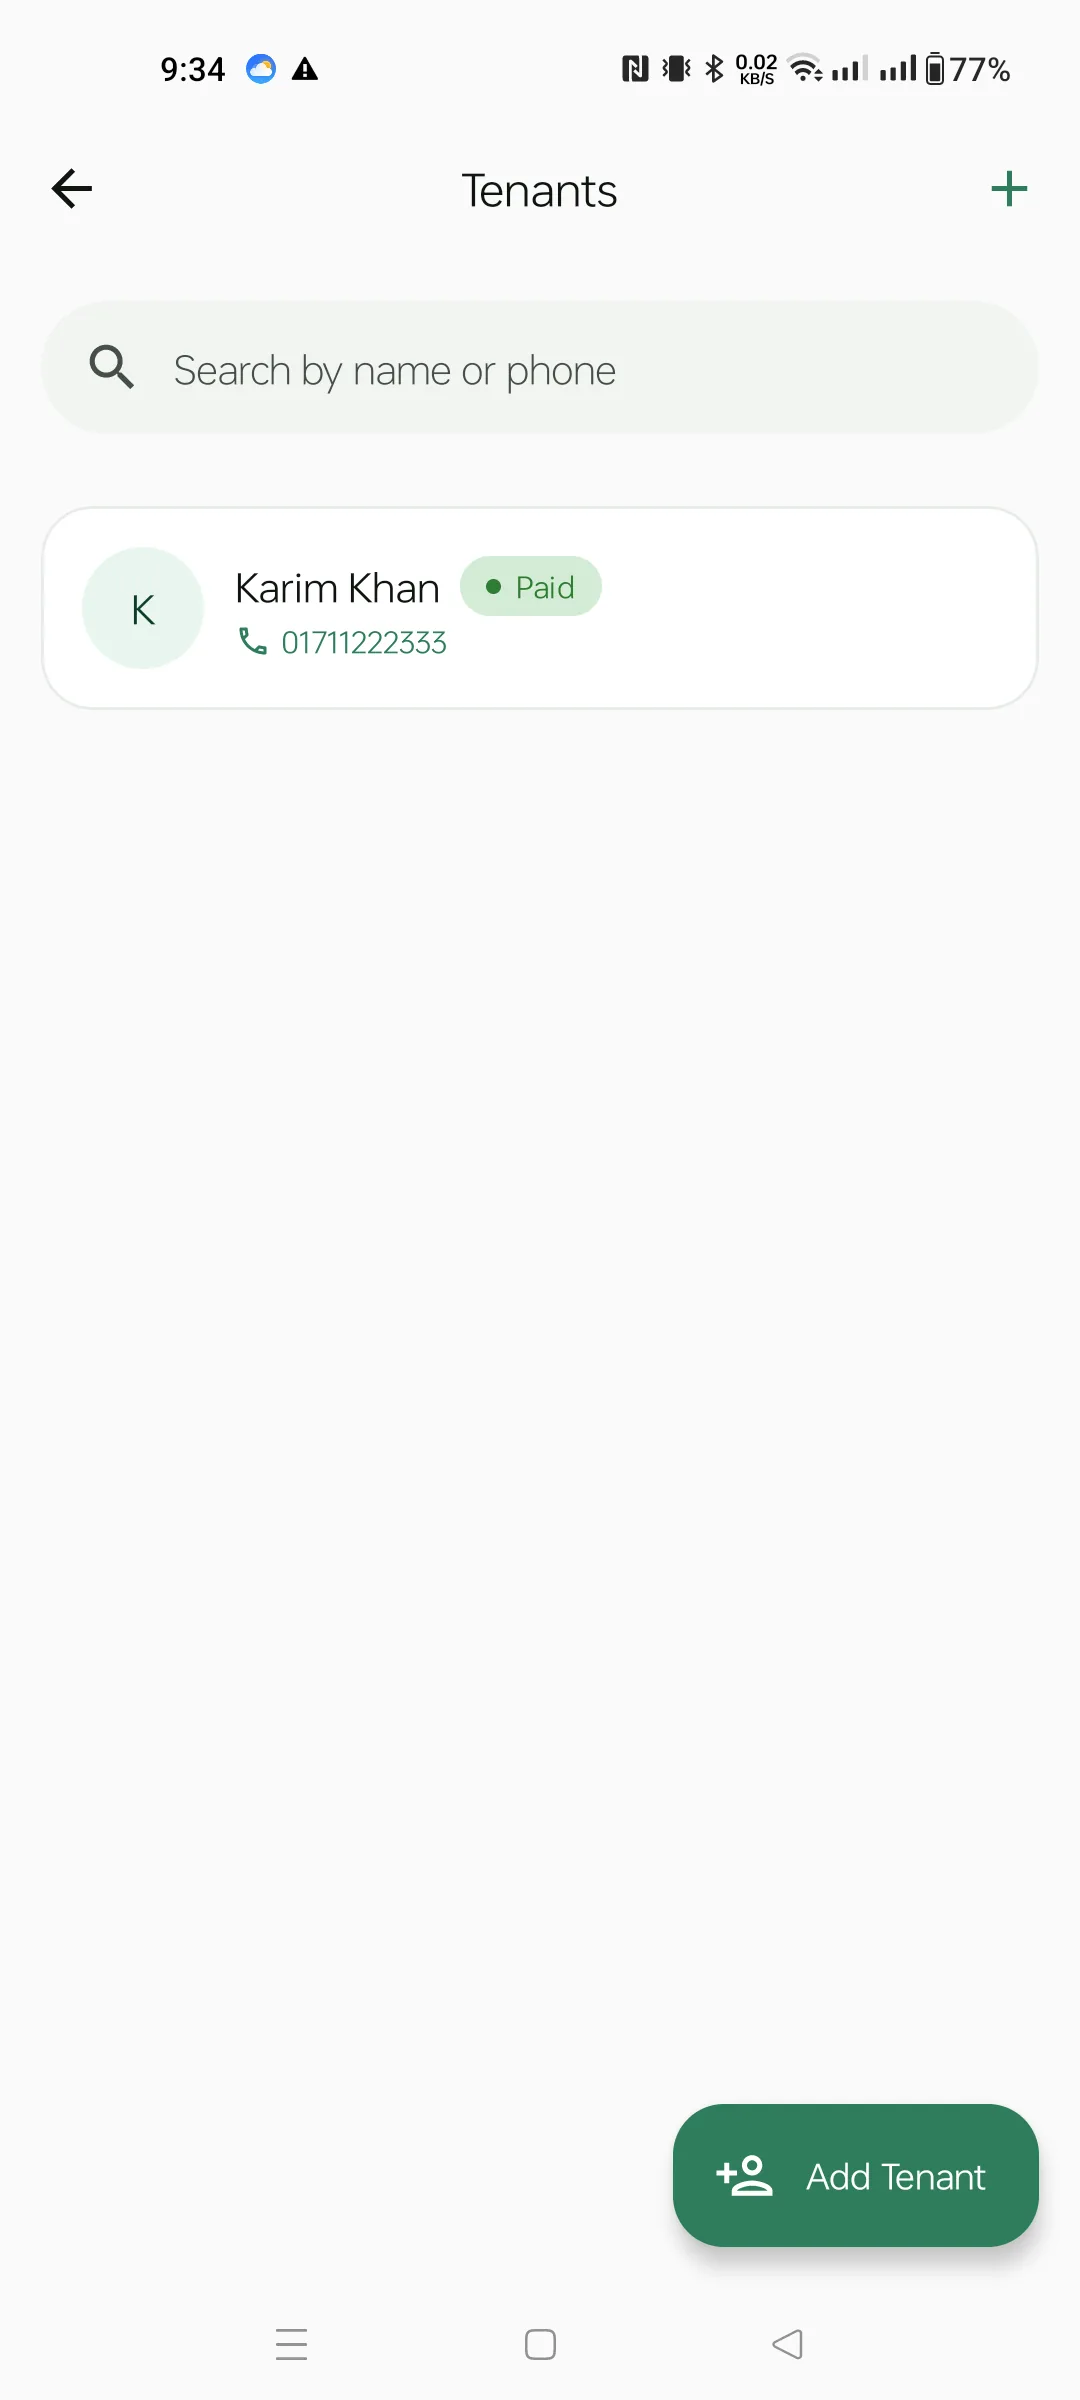
From More → Tenants. Each row shows the tenant's name with a Paid / Due chip, the phone number (tap-to-call), and (when any rent is unpaid) the total due amount on the right. The search bar narrows by name, phone or NID.
Top-right + icon imports tenants from a CSV file. The Add Tenant FAB is the same as the dashboard quick action.
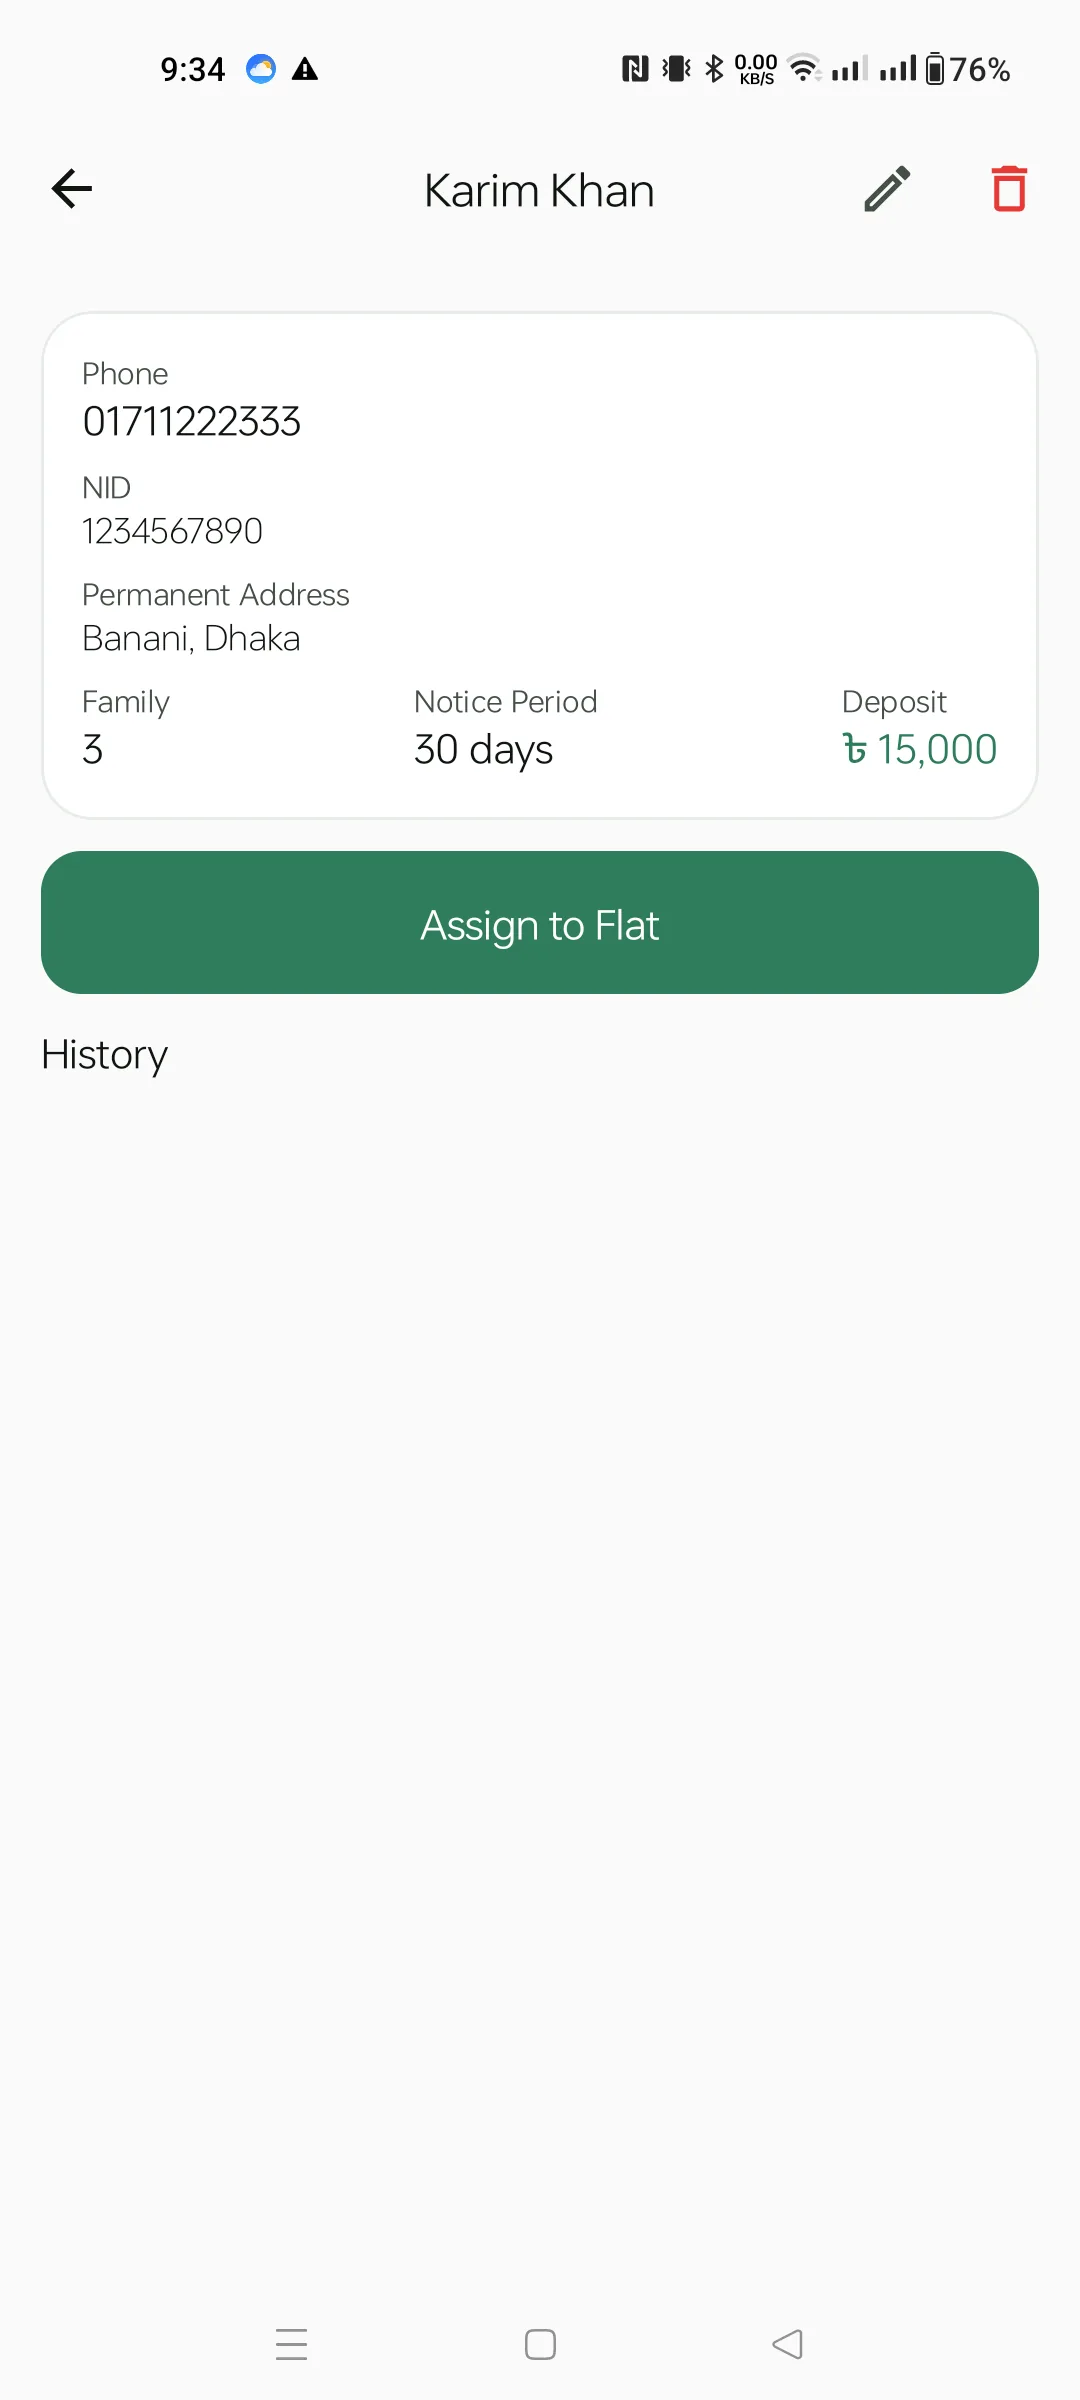
Tap any tenant row to see their detail card: Phone, NID, Permanent Address, Family / Notice Period / Deposit. When there's no active tenancy, a green Assign to Flat button appears. The pencil icon in the top bar opens the edit form; the red trash icon soft-deletes.
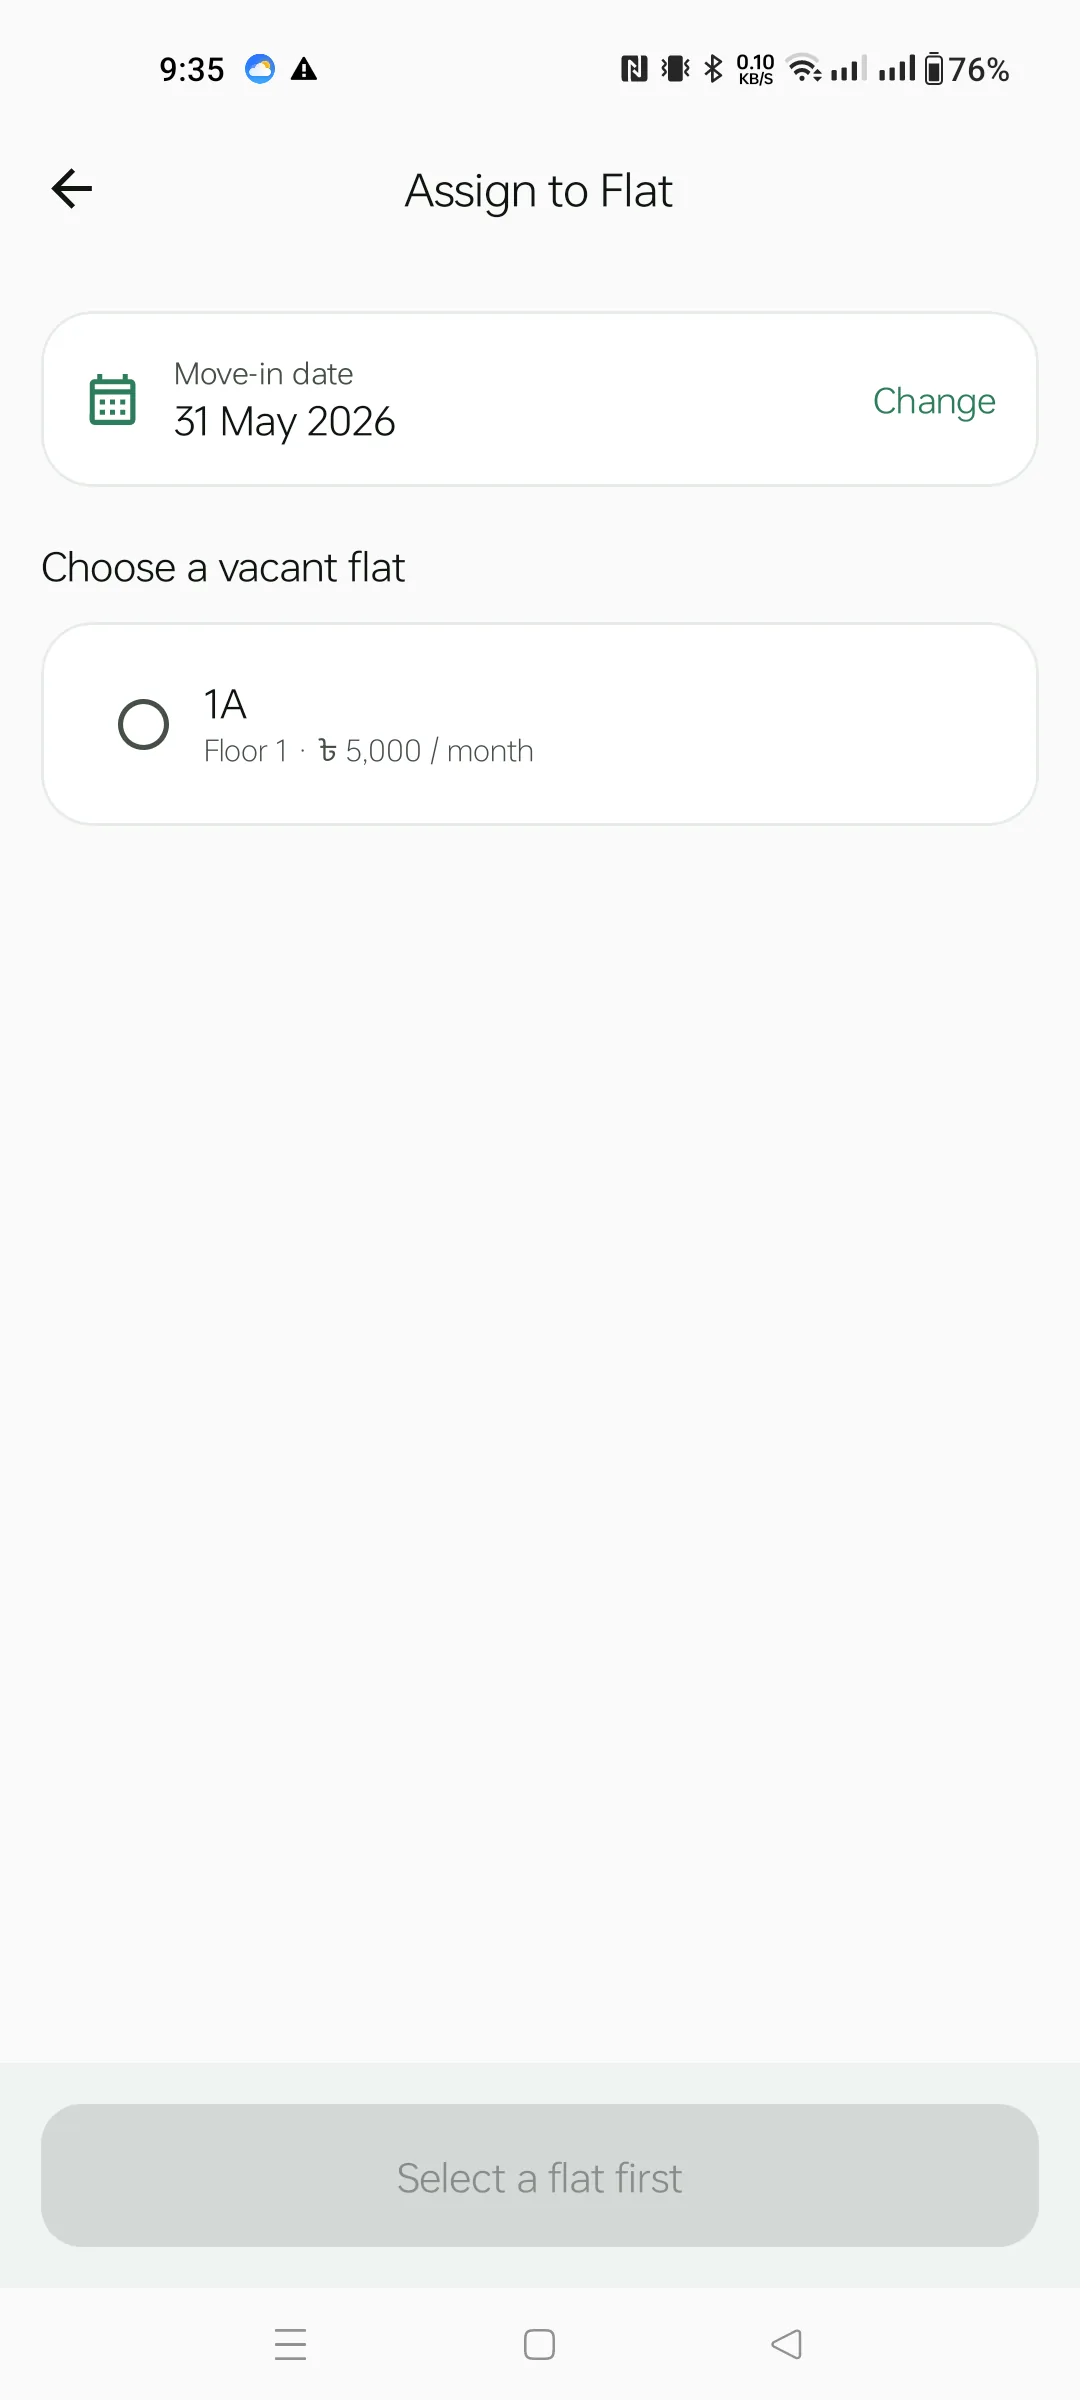
The Assign-to-Flat screen lists every vacant flat in the active house. At the top, the Move-in date defaults to today — tap Change to backdate.
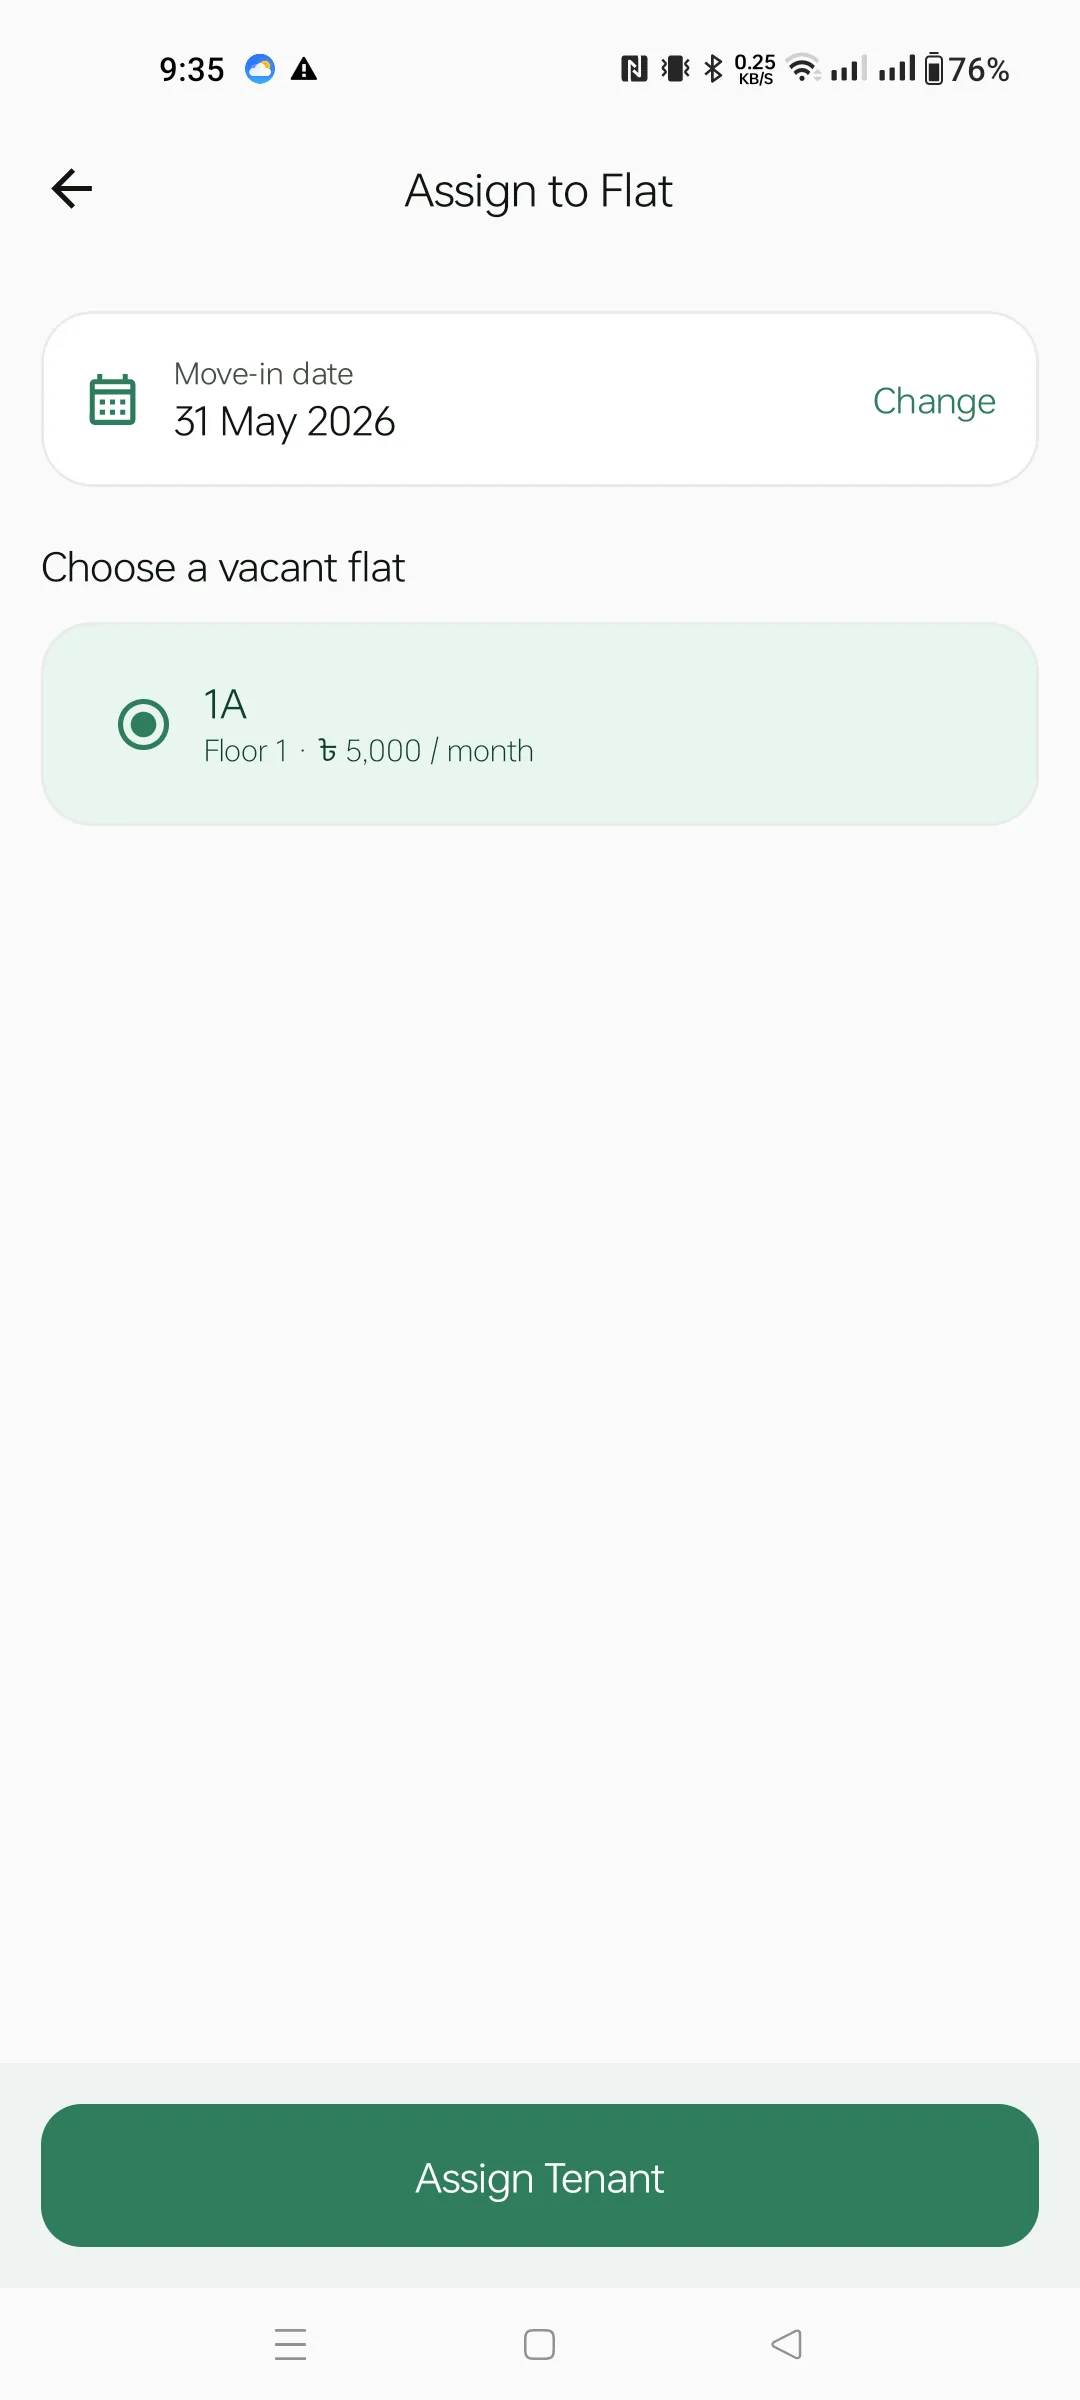
Tap a flat row — it turns green and the sticky Assign Tenant button at the bottom activates. Confirm and you're sent back to the tenant detail with an active assignment.
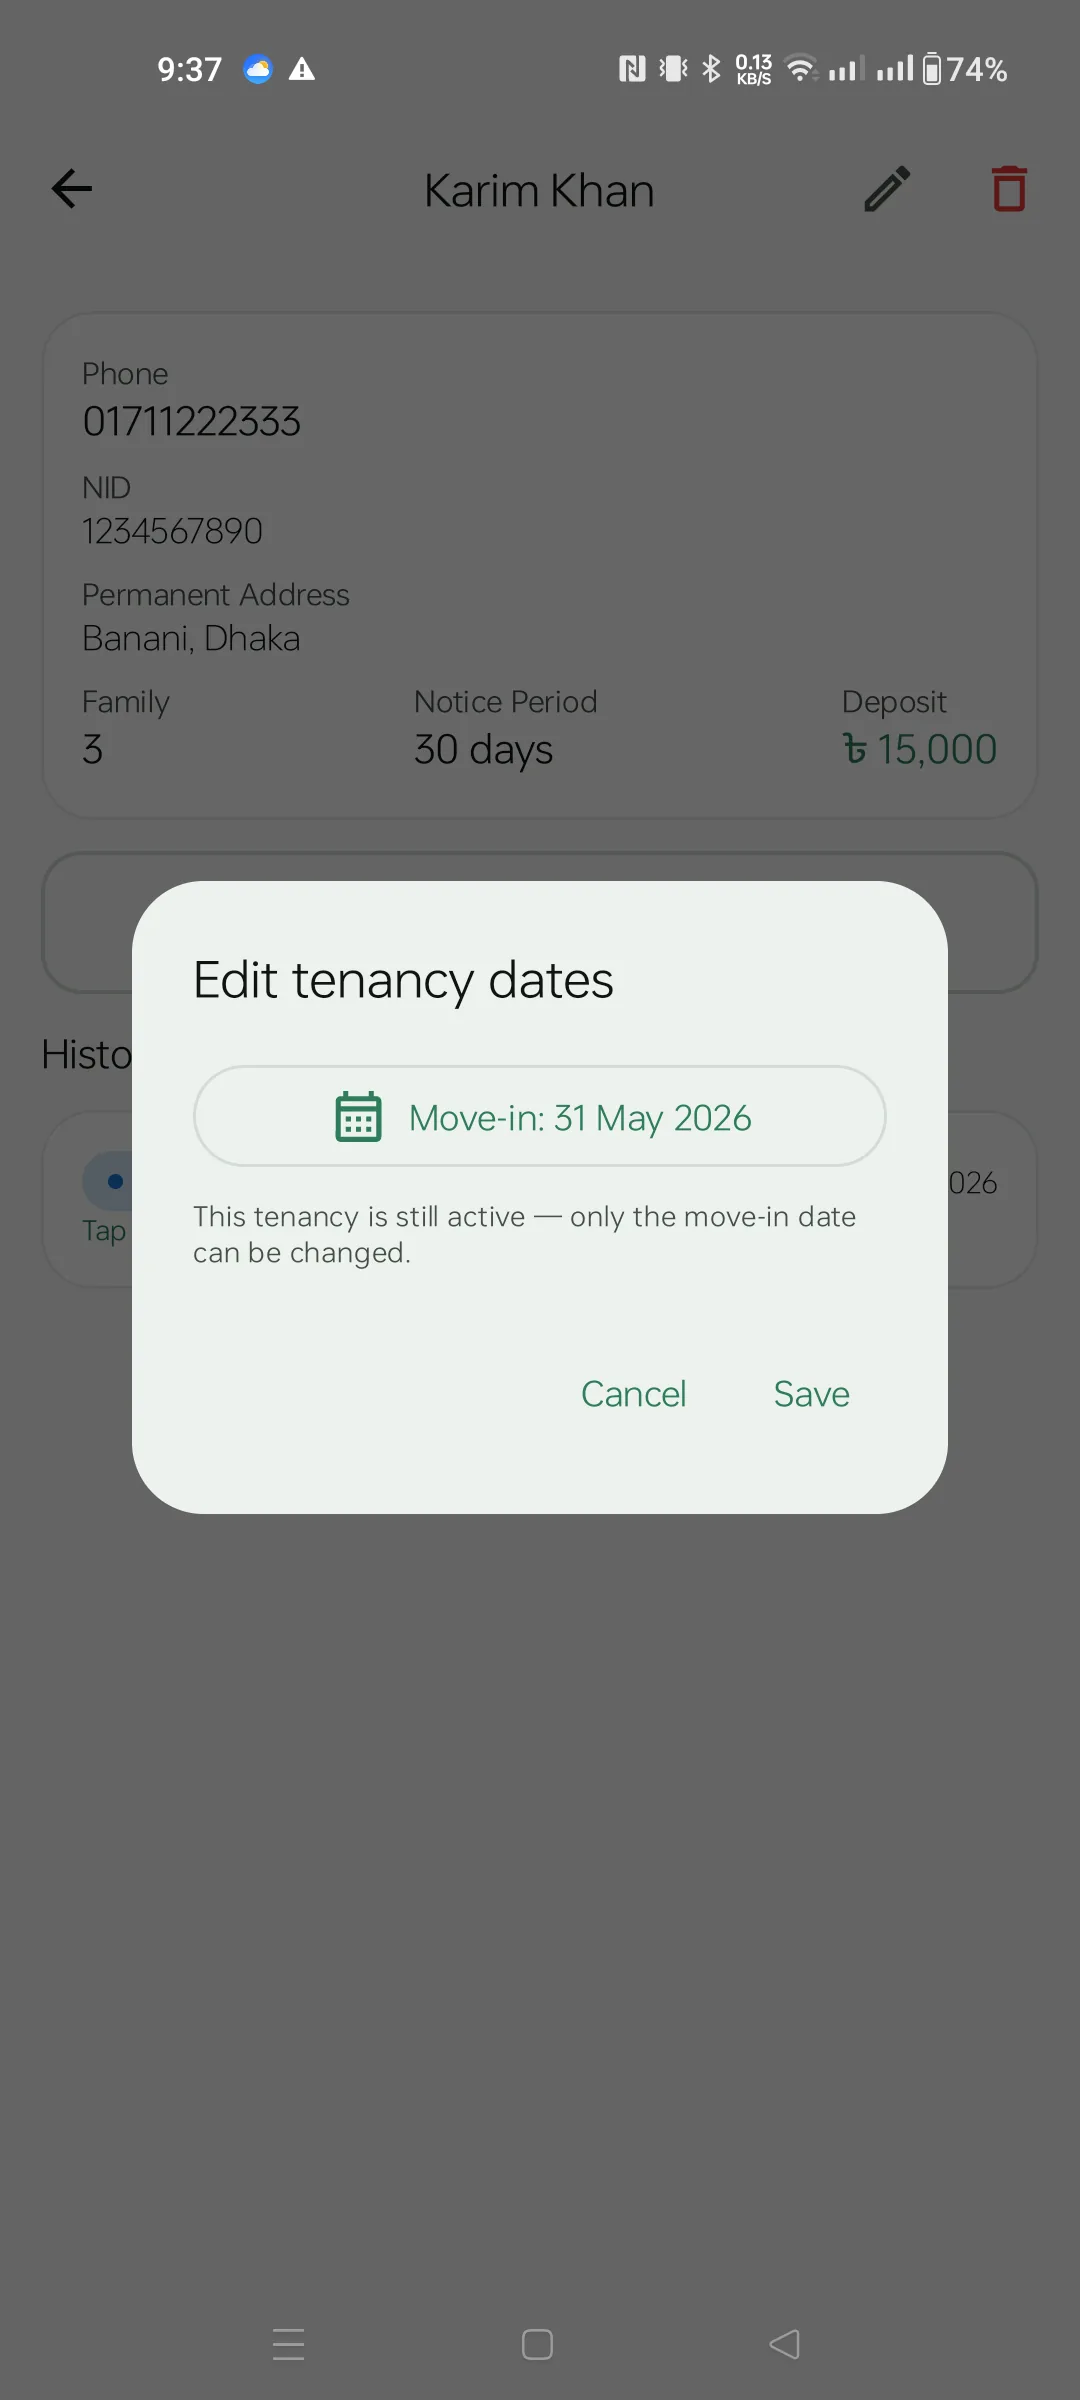
From the tenant detail's History card, tap any row to edit its dates. The dialog lets you change the move-in date for an active tenancy. For an ended tenancy it also lets you change the move-out date — useful when you forgot to record a move-out at the time.
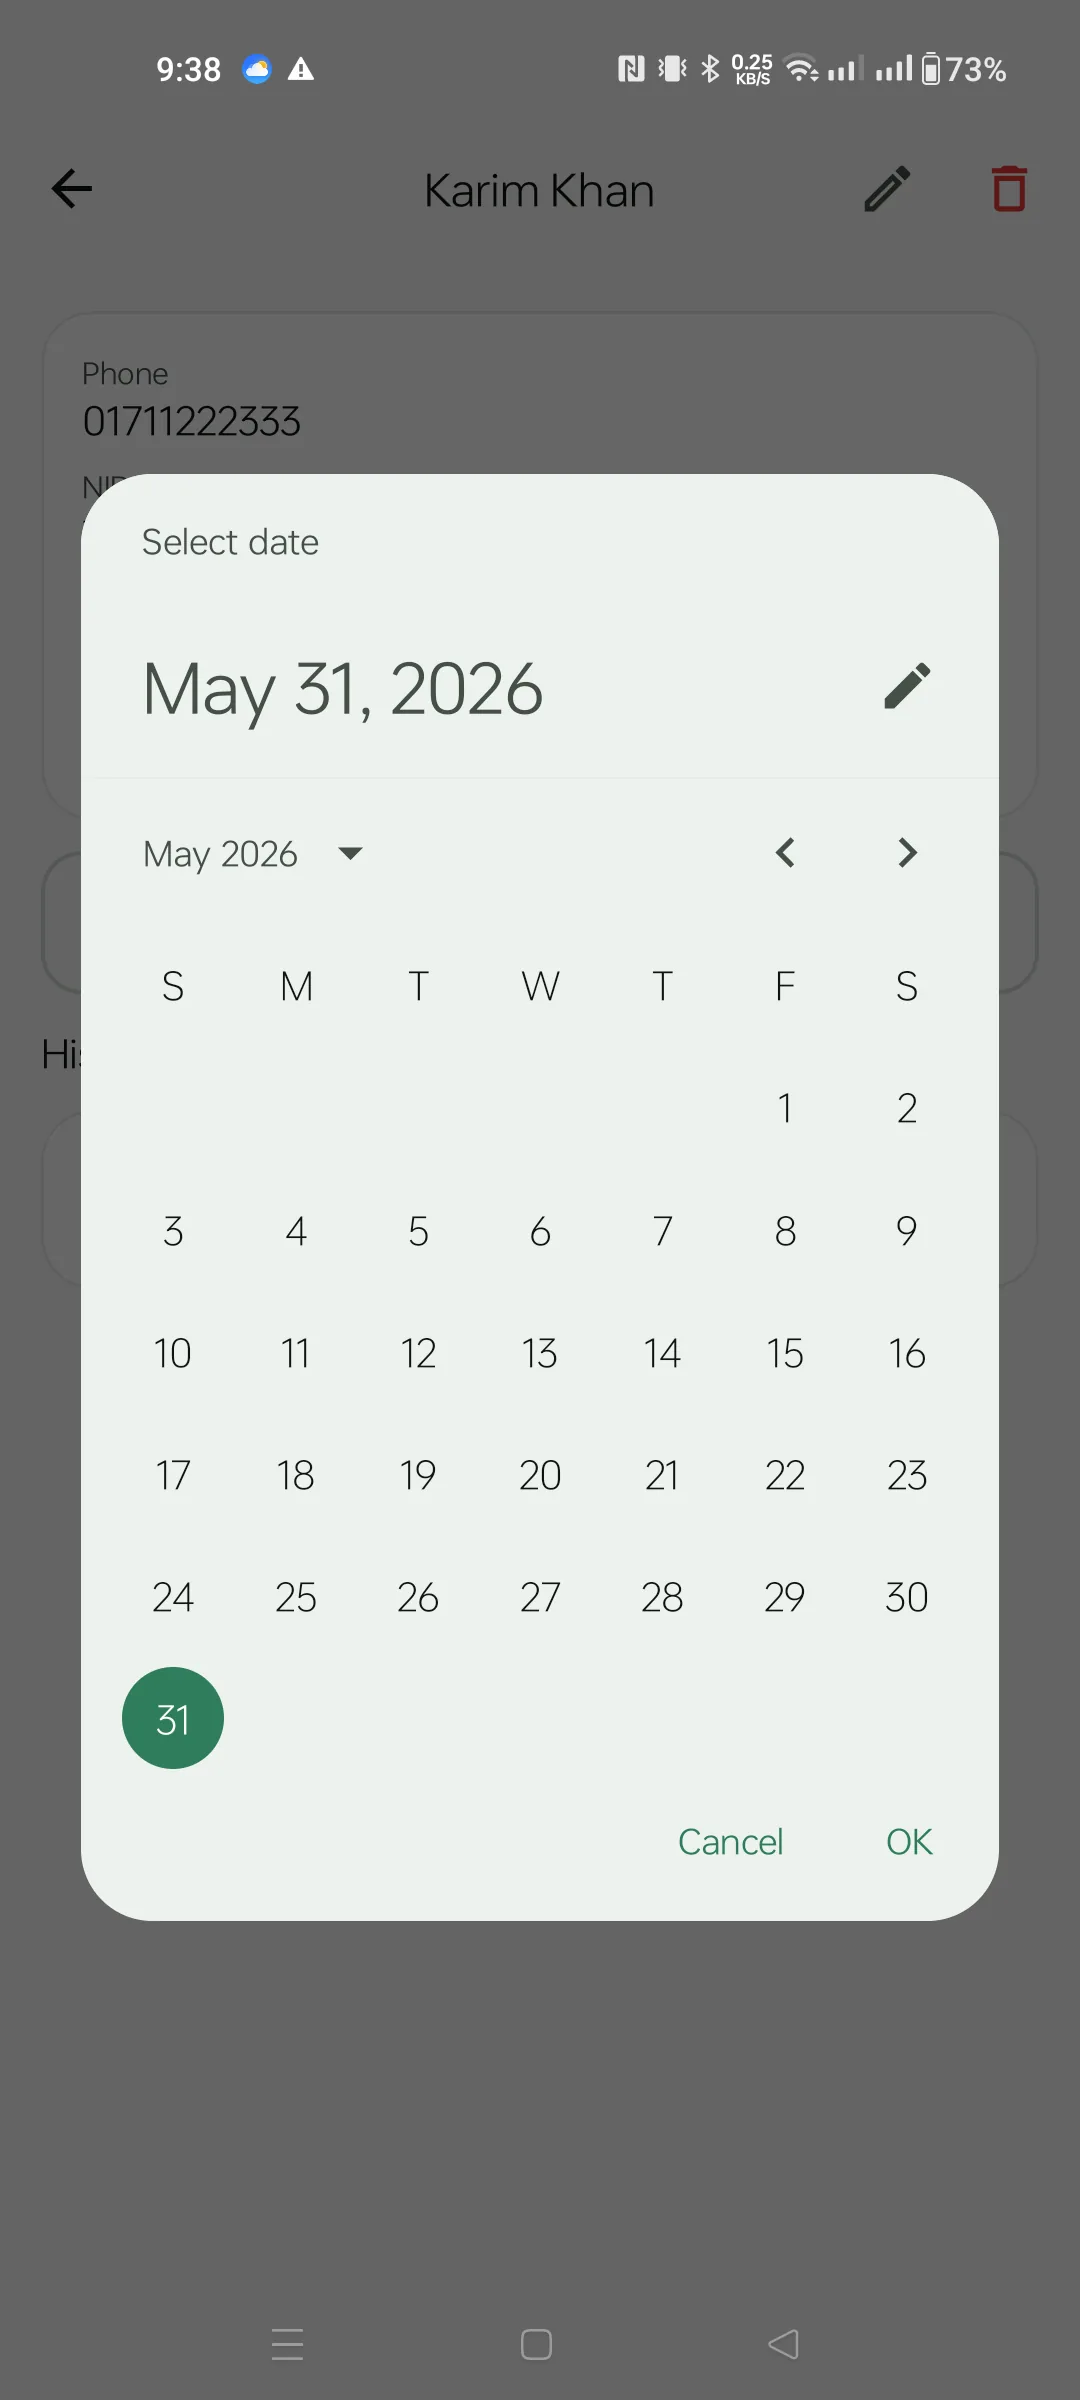
Standard Material 3 date picker. Use the arrows to flip months, or tap "May 2026 ▾" to jump to a different year. The selected day highlights in green.
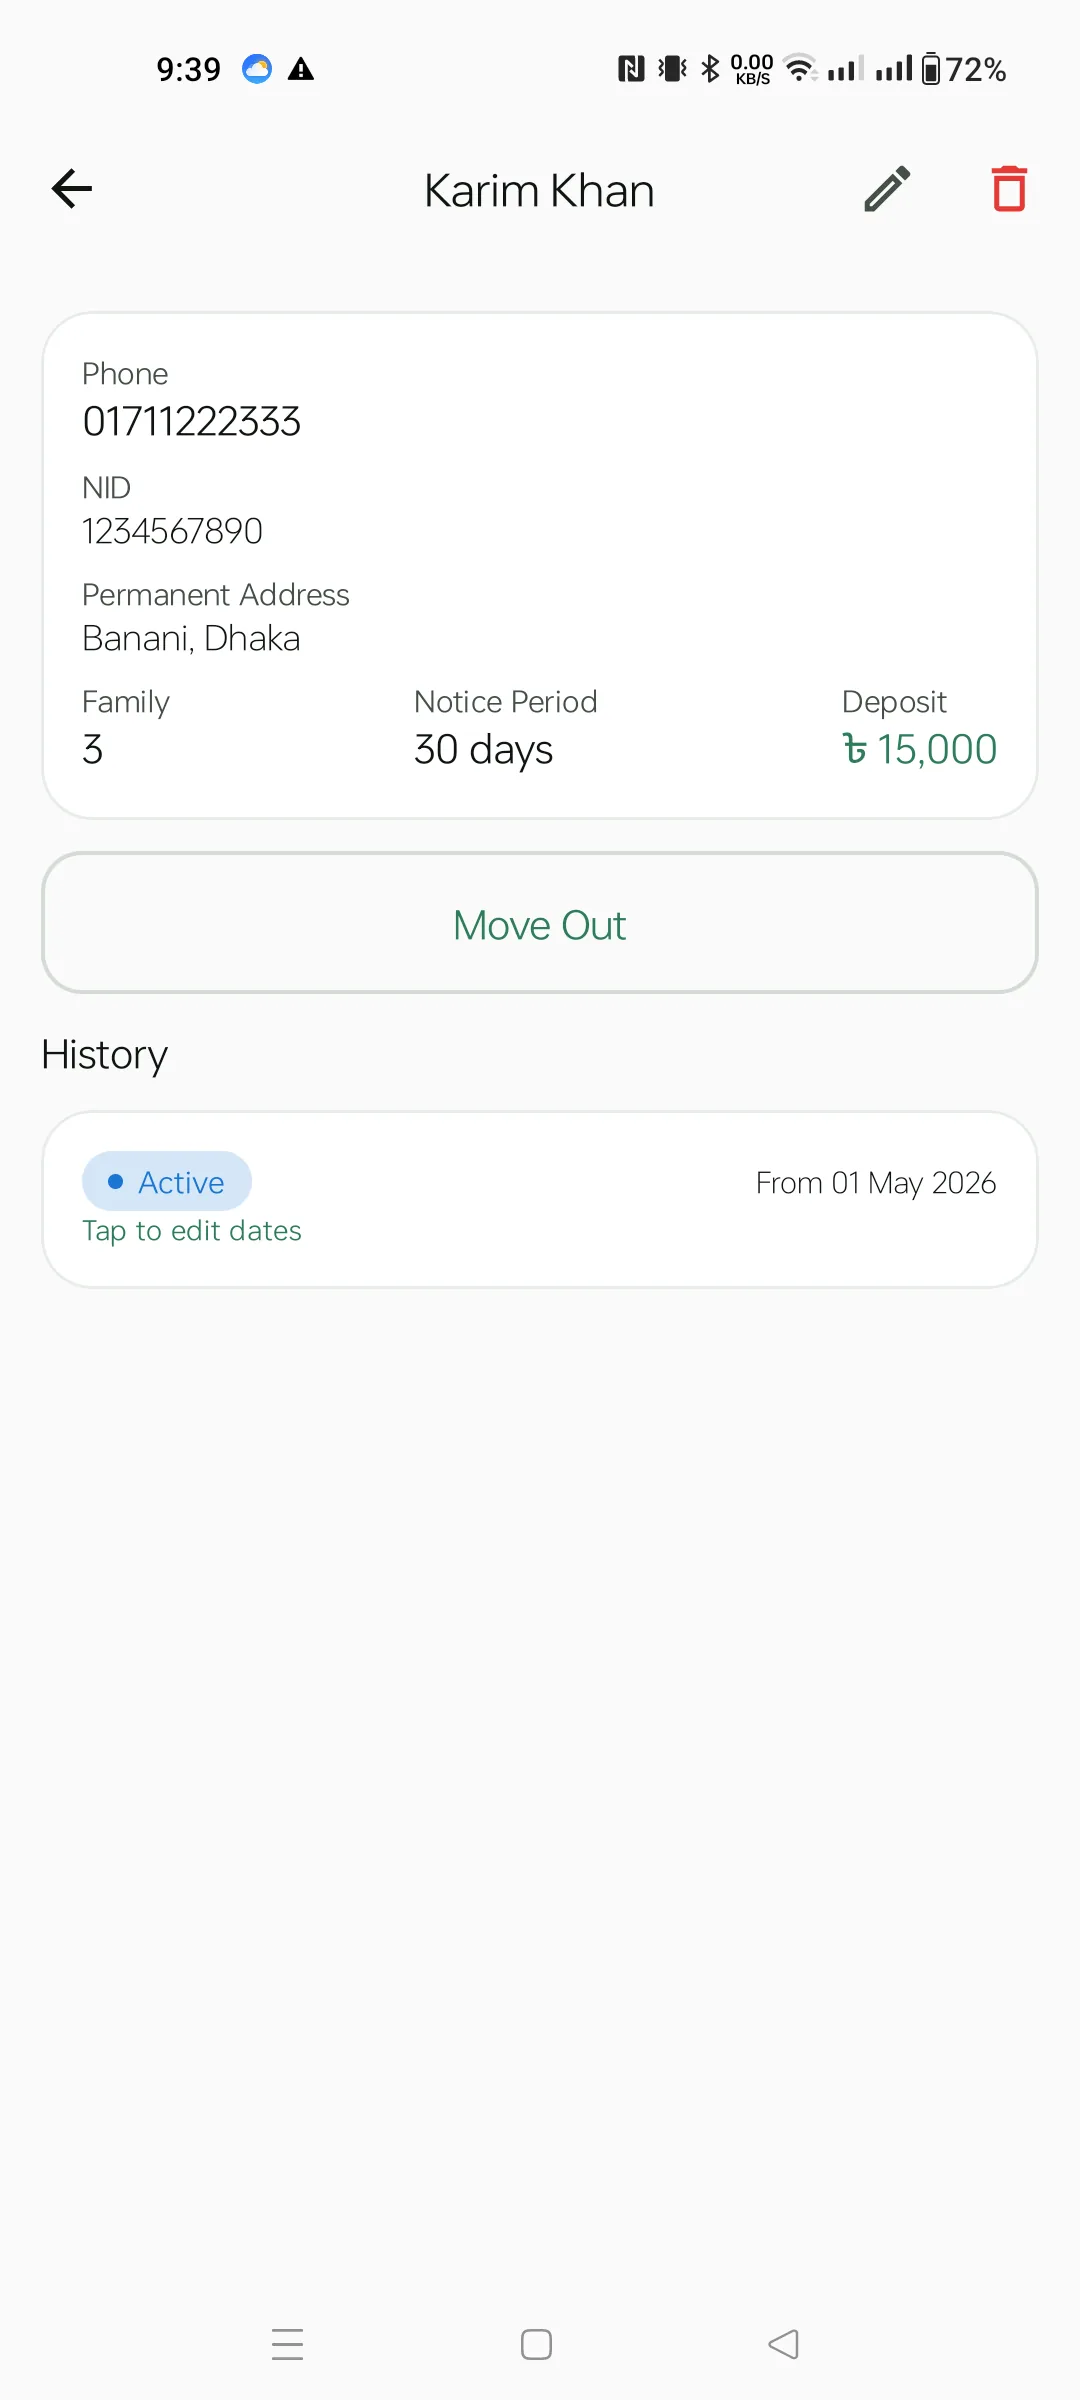
With an active tenancy, the Move Out button replaces "Assign to Flat". The History card shows the active assignment with an "Active" chip and the move-in date. Tap the row to edit dates, or tap Move Out to end the tenancy (you'll be asked for the move-out date).
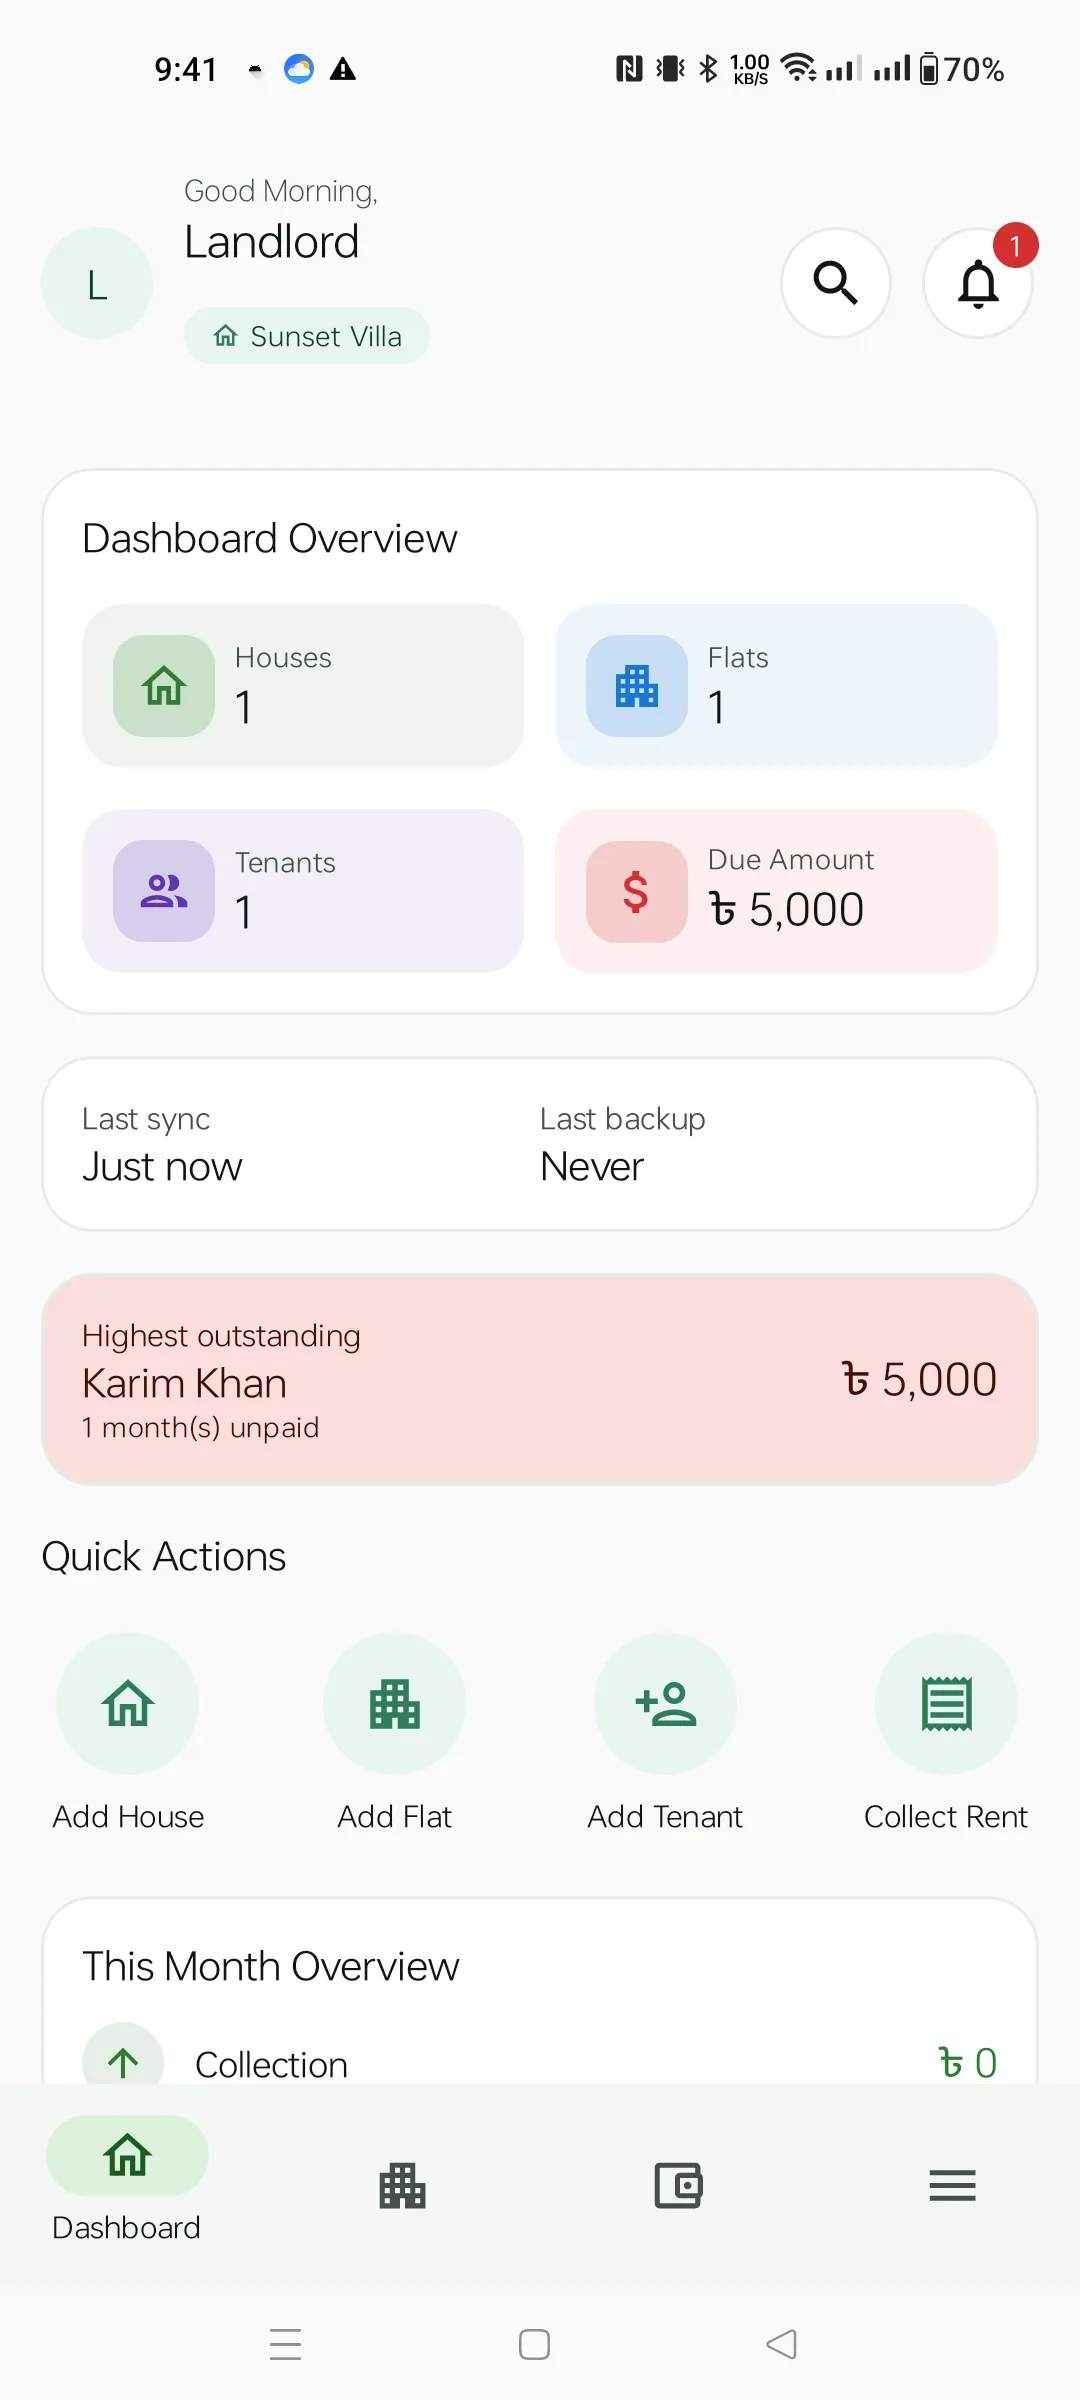
With one house, one flat, one assigned tenant and one auto-generated bill, the Dashboard now shows real numbers. The pink Highest outstanding card surfaces the tenant with the largest unpaid amount — tap it to jump straight to their detail.
Above it, the Last sync / Last backup card tells you how stale your cloud data is.
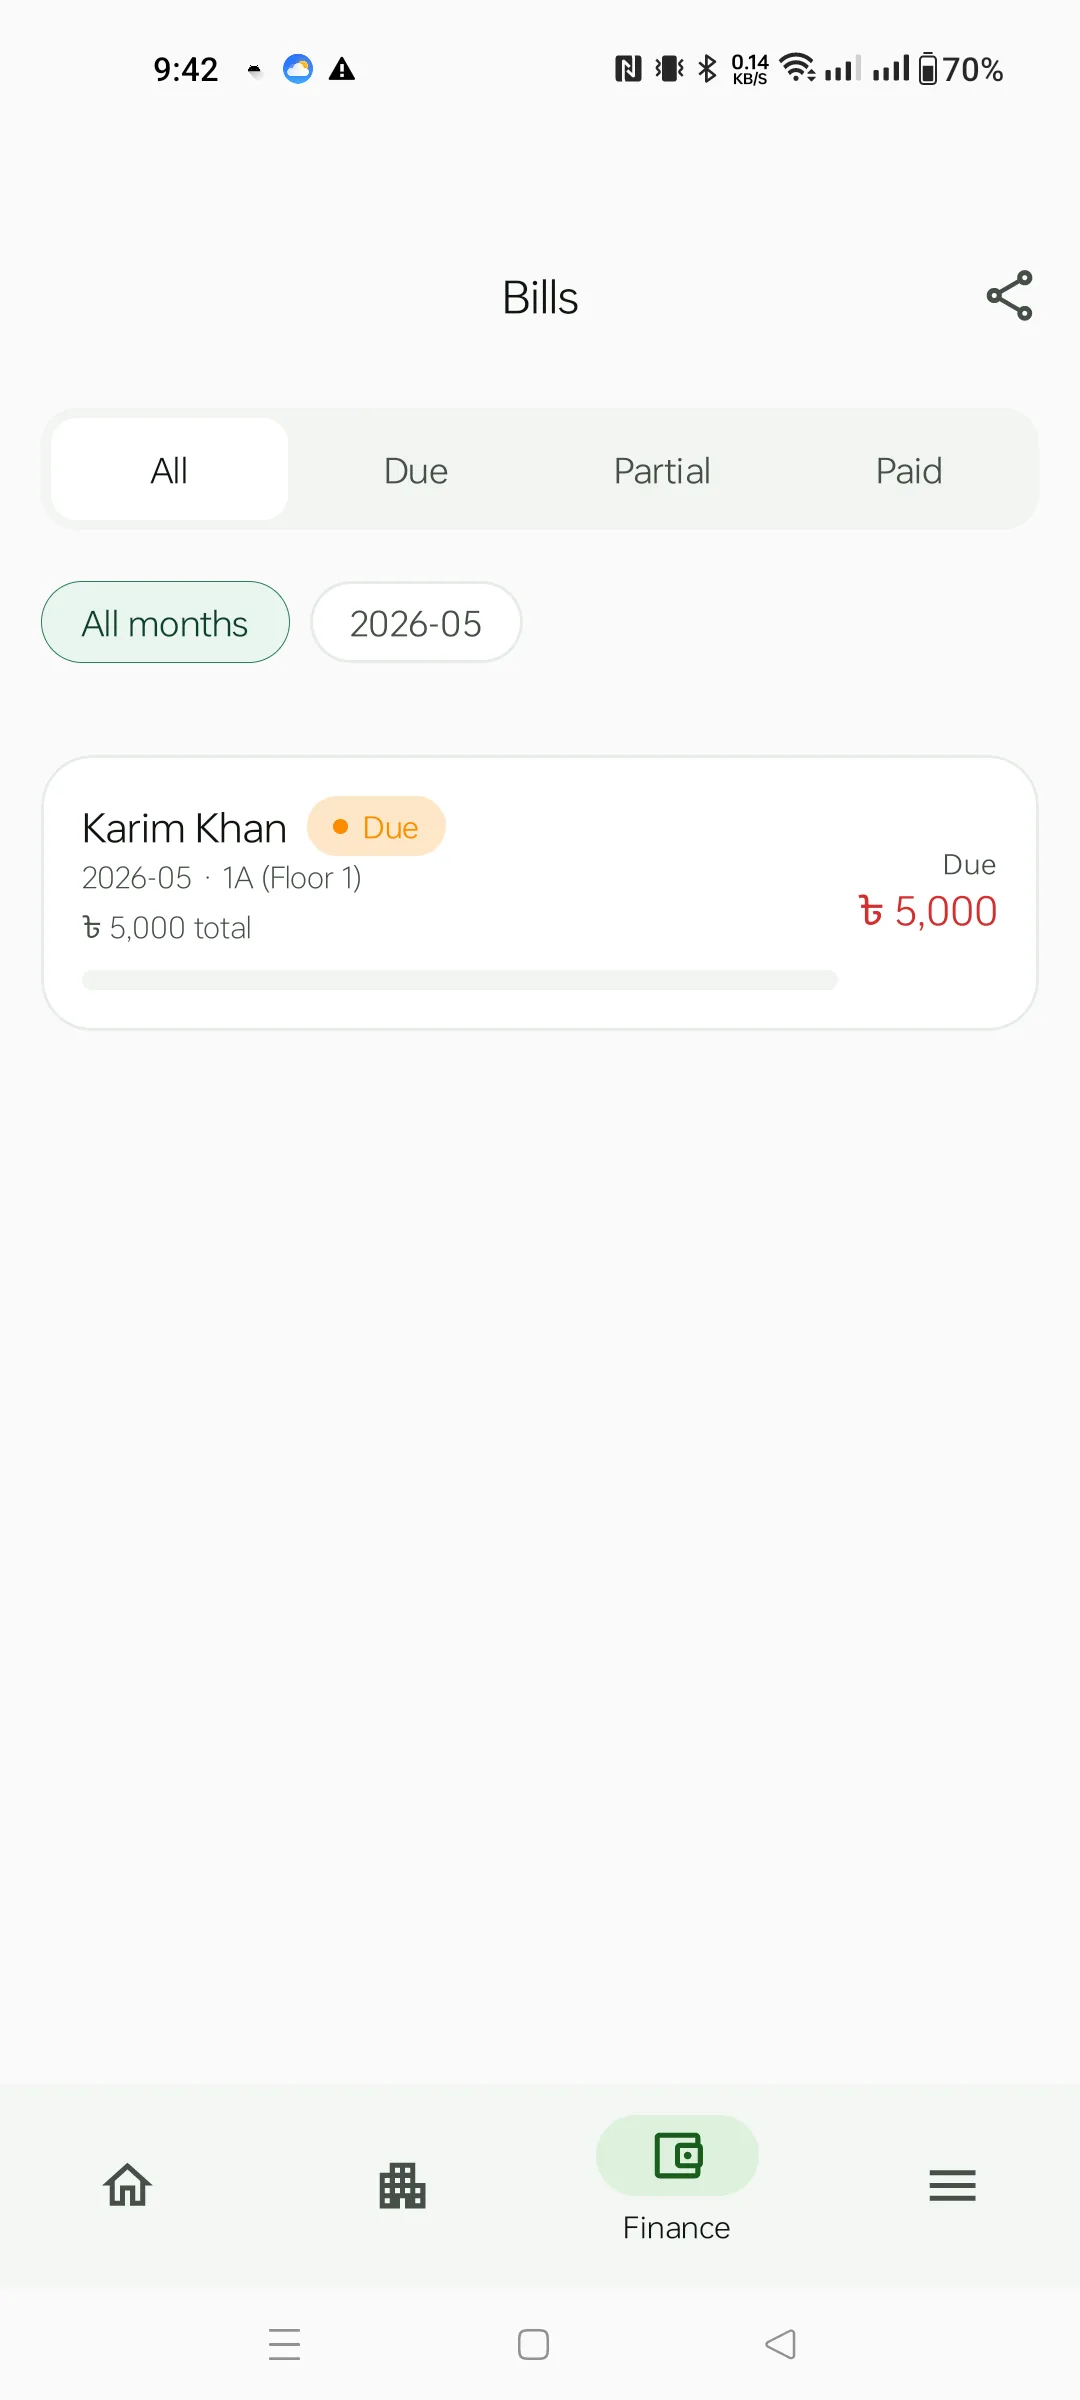
Third bottom tab (the wallet icon). Bills are auto-generated every month for each tenant assigned to a flat — you never create them by hand. Filters:
2026-05 / older. Tap a month to narrow further.Each card shows tenant name, month, flat, and the due amount on the right. The top-right share icon exports a PDF of the current filtered list.
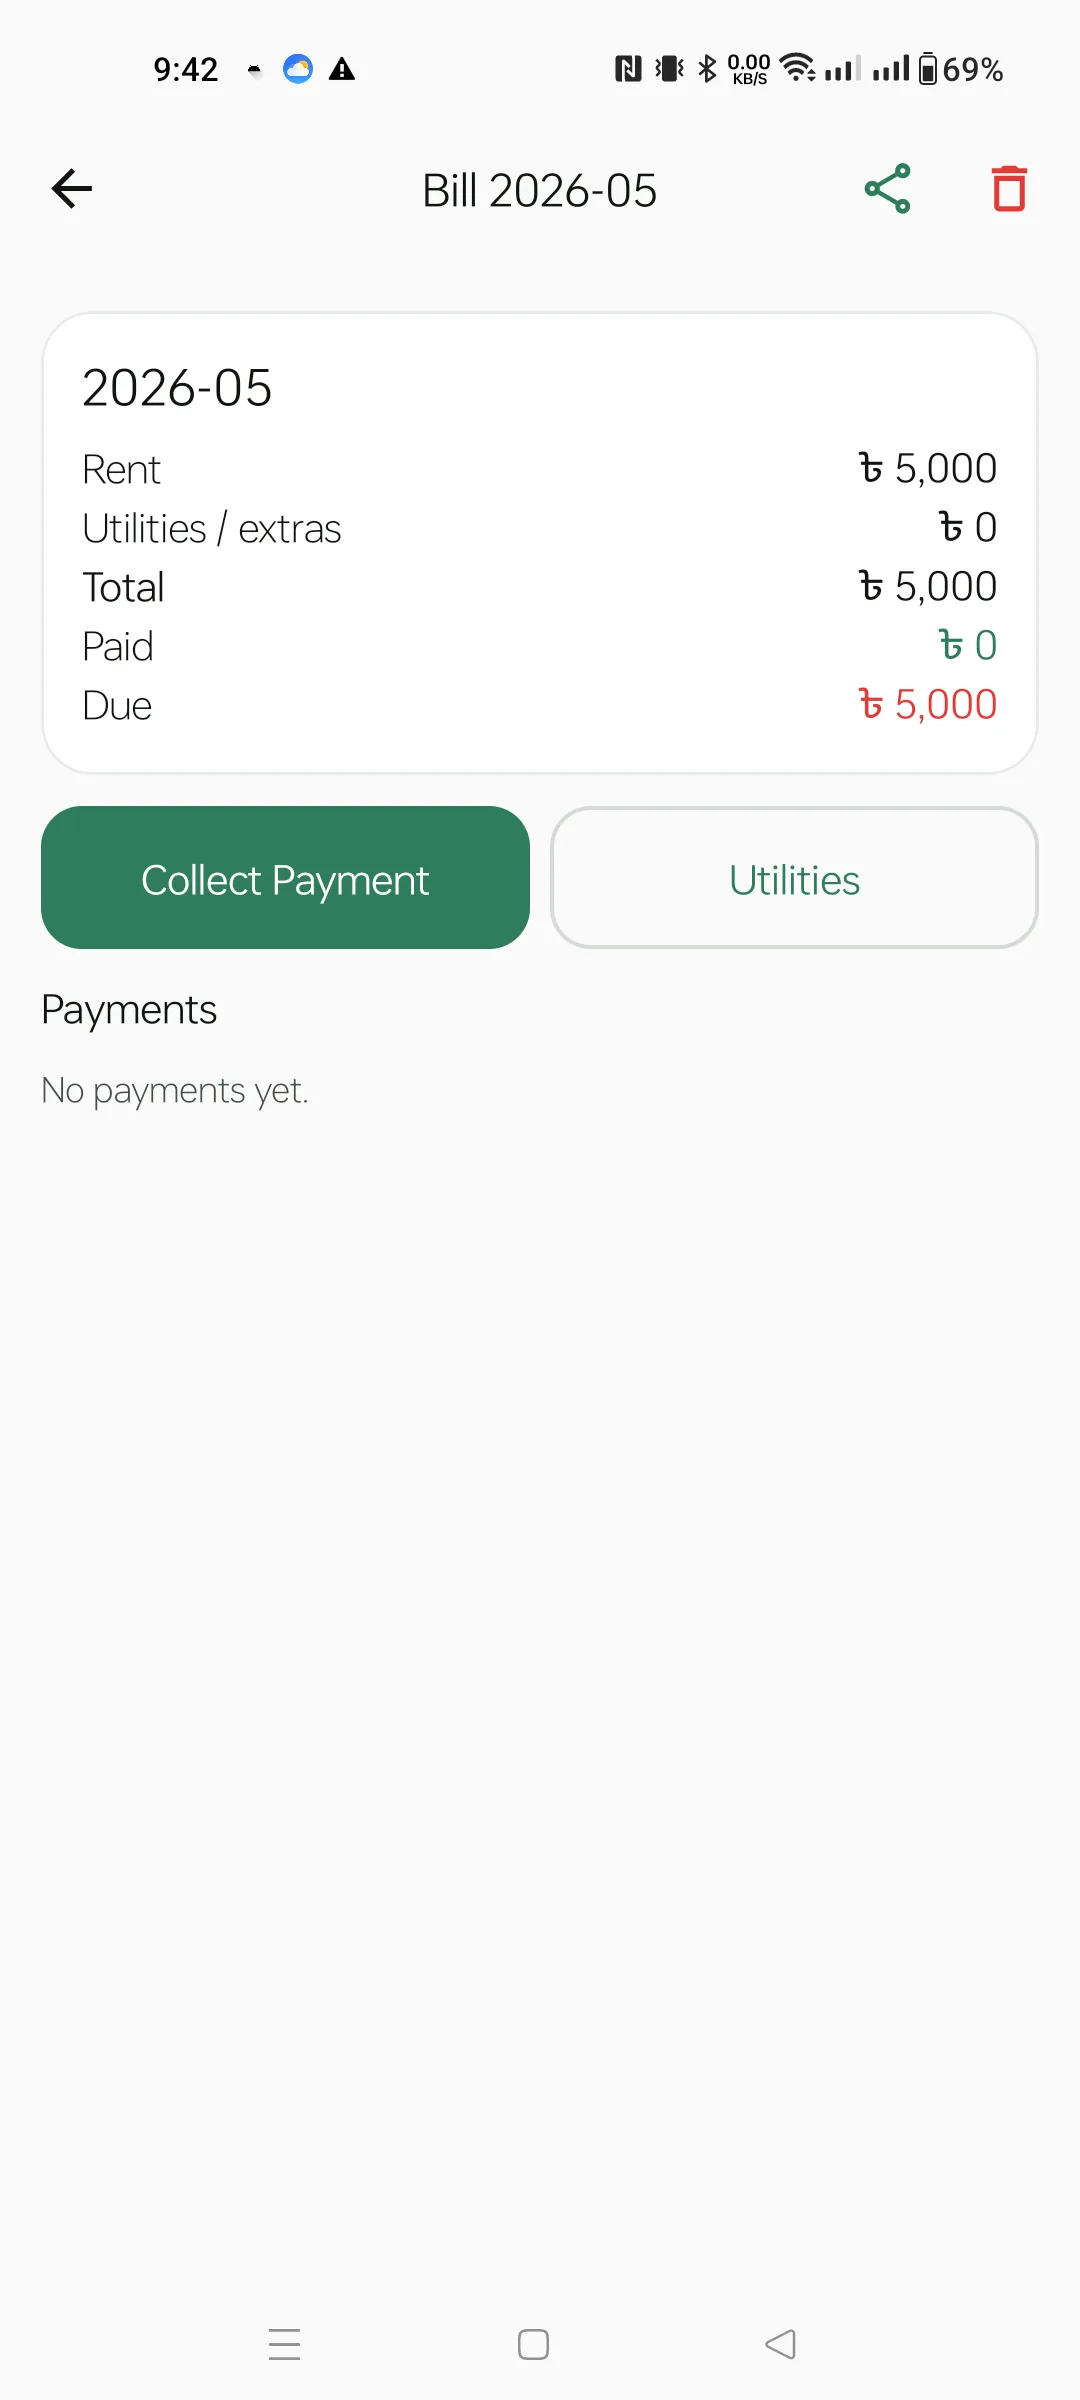
Tap a bill to open its detail. The breakdown card shows Rent, Utilities/extras, Total, Paid and Due. Two action buttons:
Top-right: share the bill statement as PDF, or delete the bill (this won't refund any collected payments).
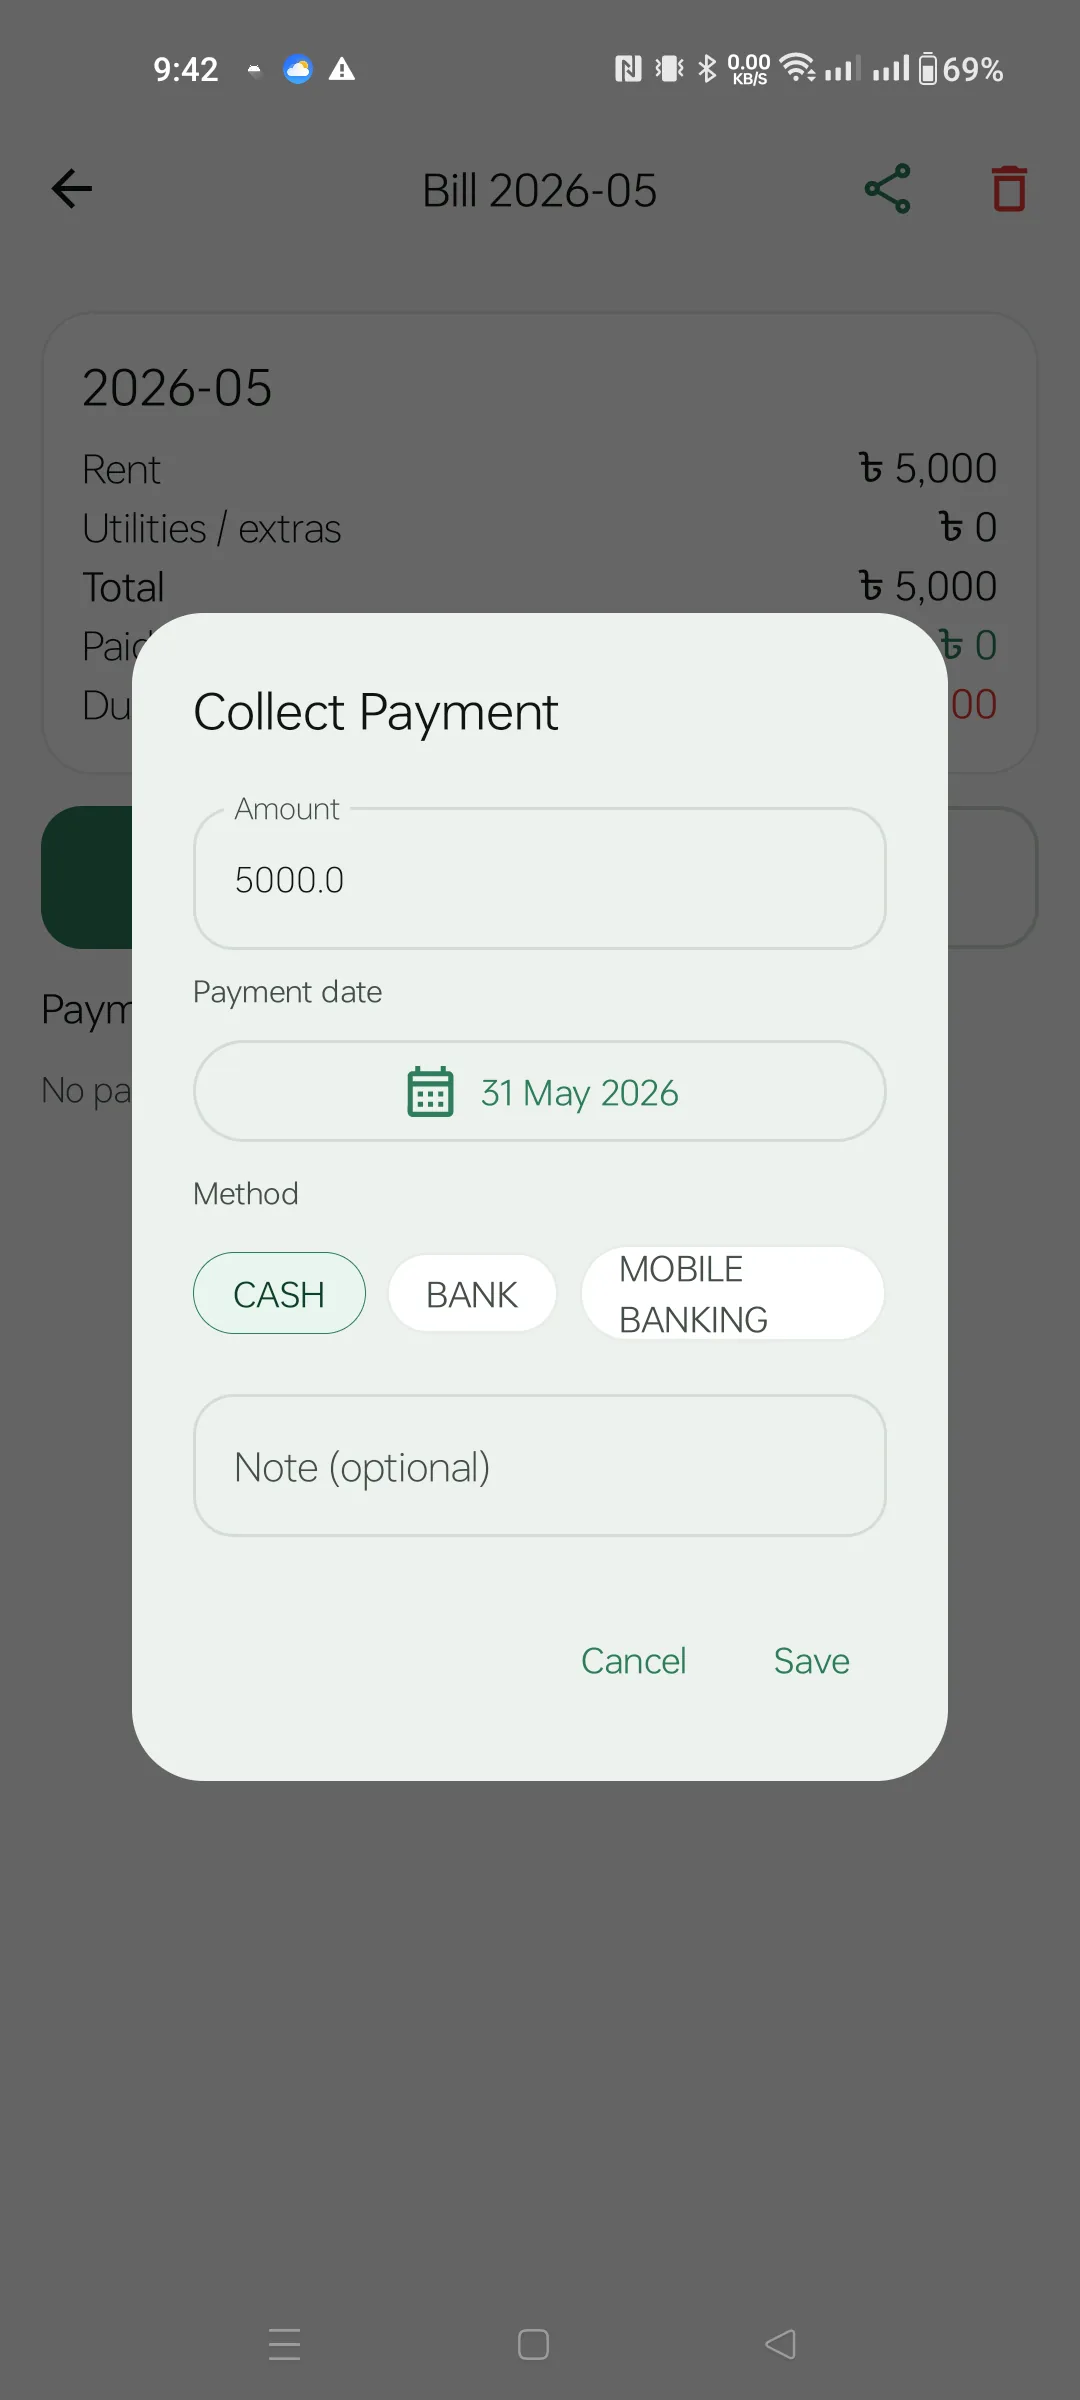
The Amount field is pre-filled with the outstanding due. Pick a payment date (tap the calendar pill to backdate), choose a payment method (CASH / BANK / MOBILE BANKING), add an optional note, and Save.
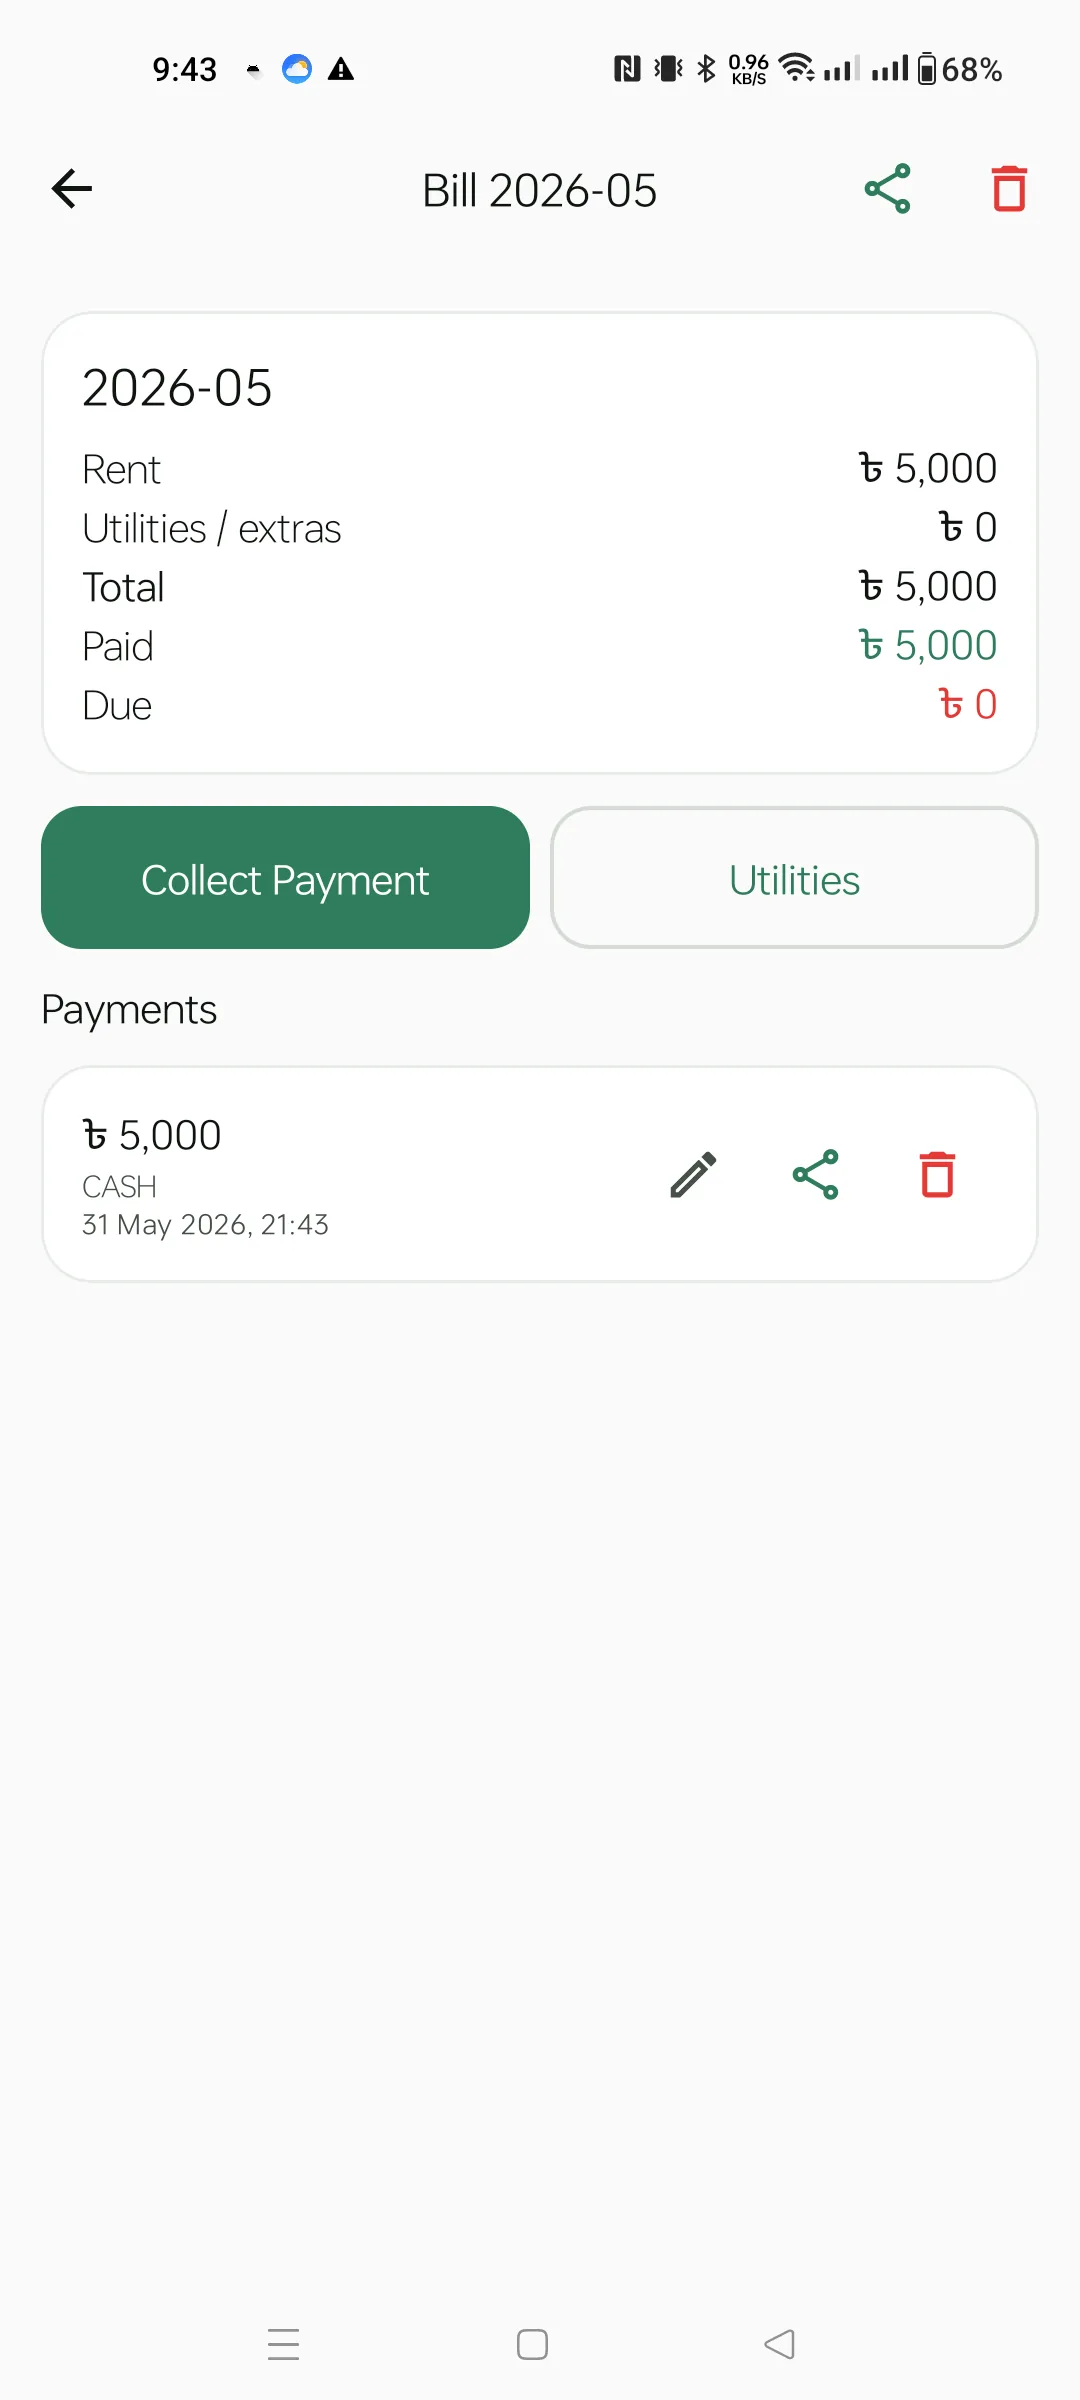
After collecting, the breakdown updates (Paid ৳5,000 / Due ৳0) and the payment appears in the Payments list. Each payment row has three icons:
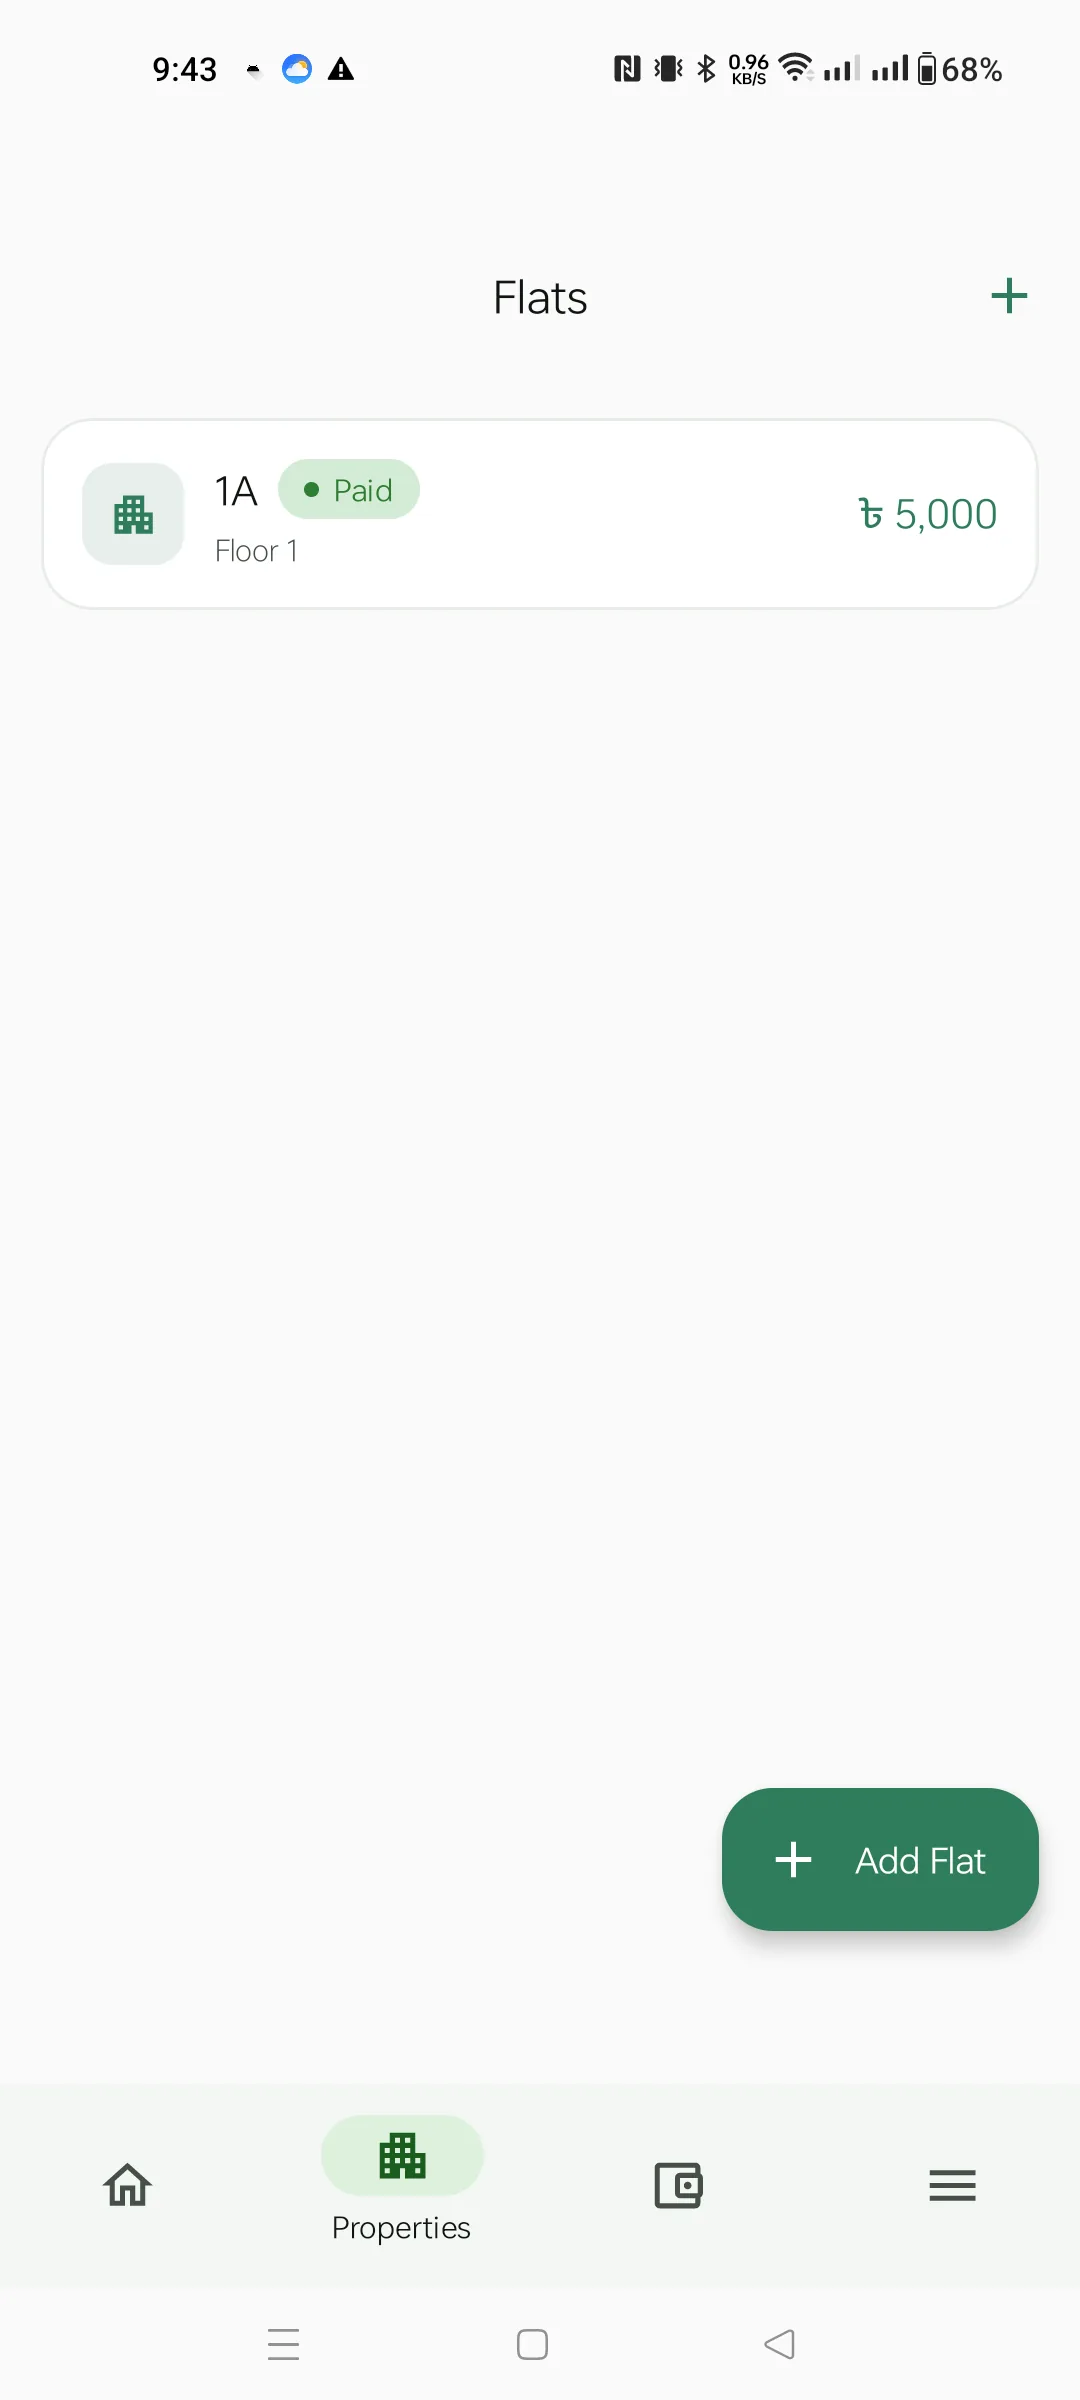
The second bottom tab. Each flat row shows name, floor, a status chip (Vacant / Paid / Due), the assigned tenant, and the monthly rent. The + icon in the top bar imports flats from CSV; the Add Flat FAB is the same as the dashboard quick action.
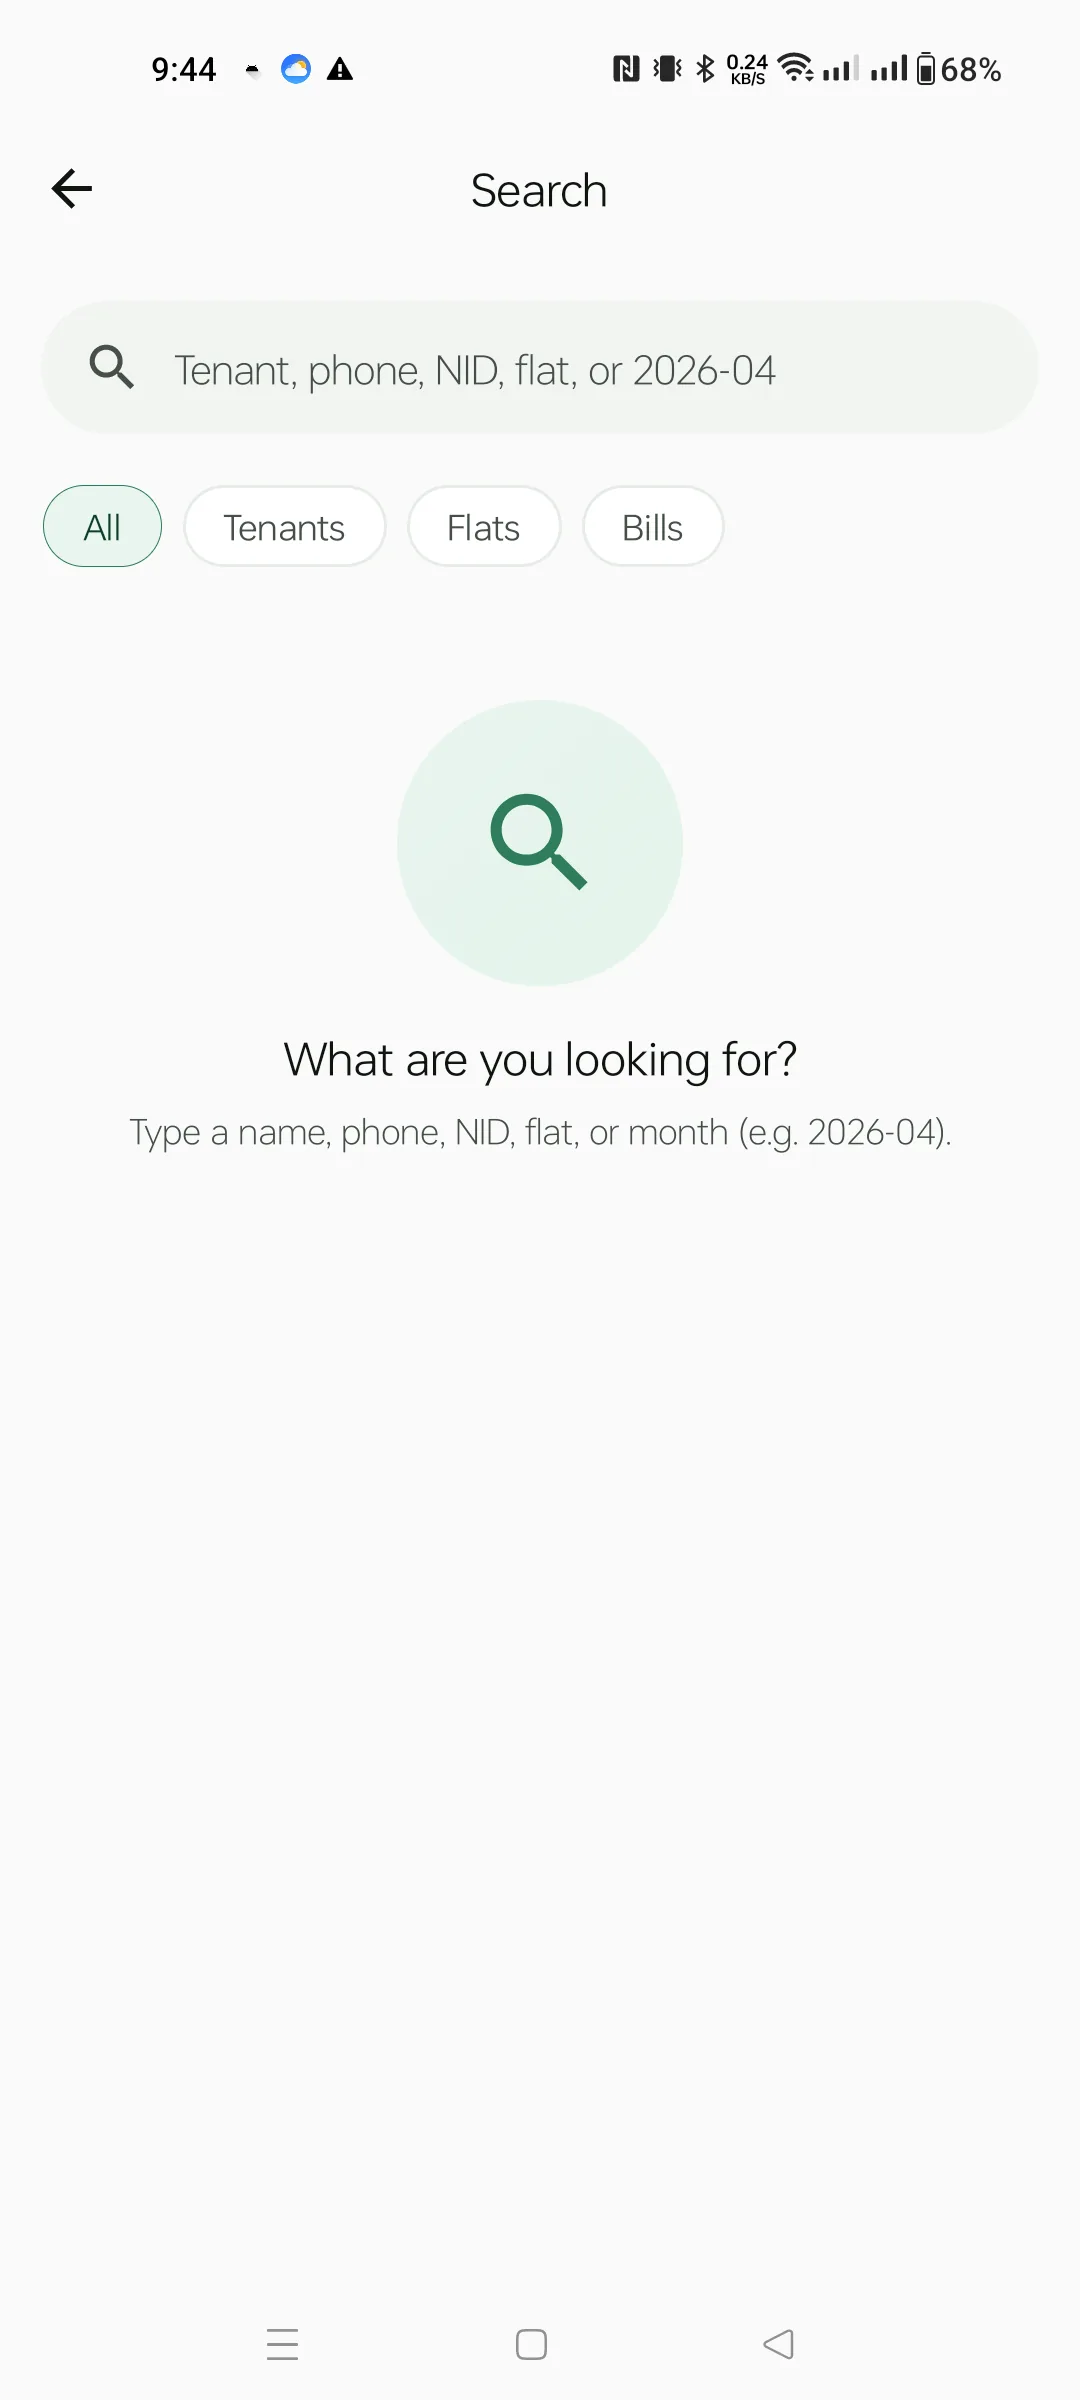
From the Dashboard header tap the magnifier. The chip row narrows the scope: All / Tenants / Flats / Bills. Type a name, phone, NID, flat name, or month (2026-05); results group by entity type. Each result is tappable.
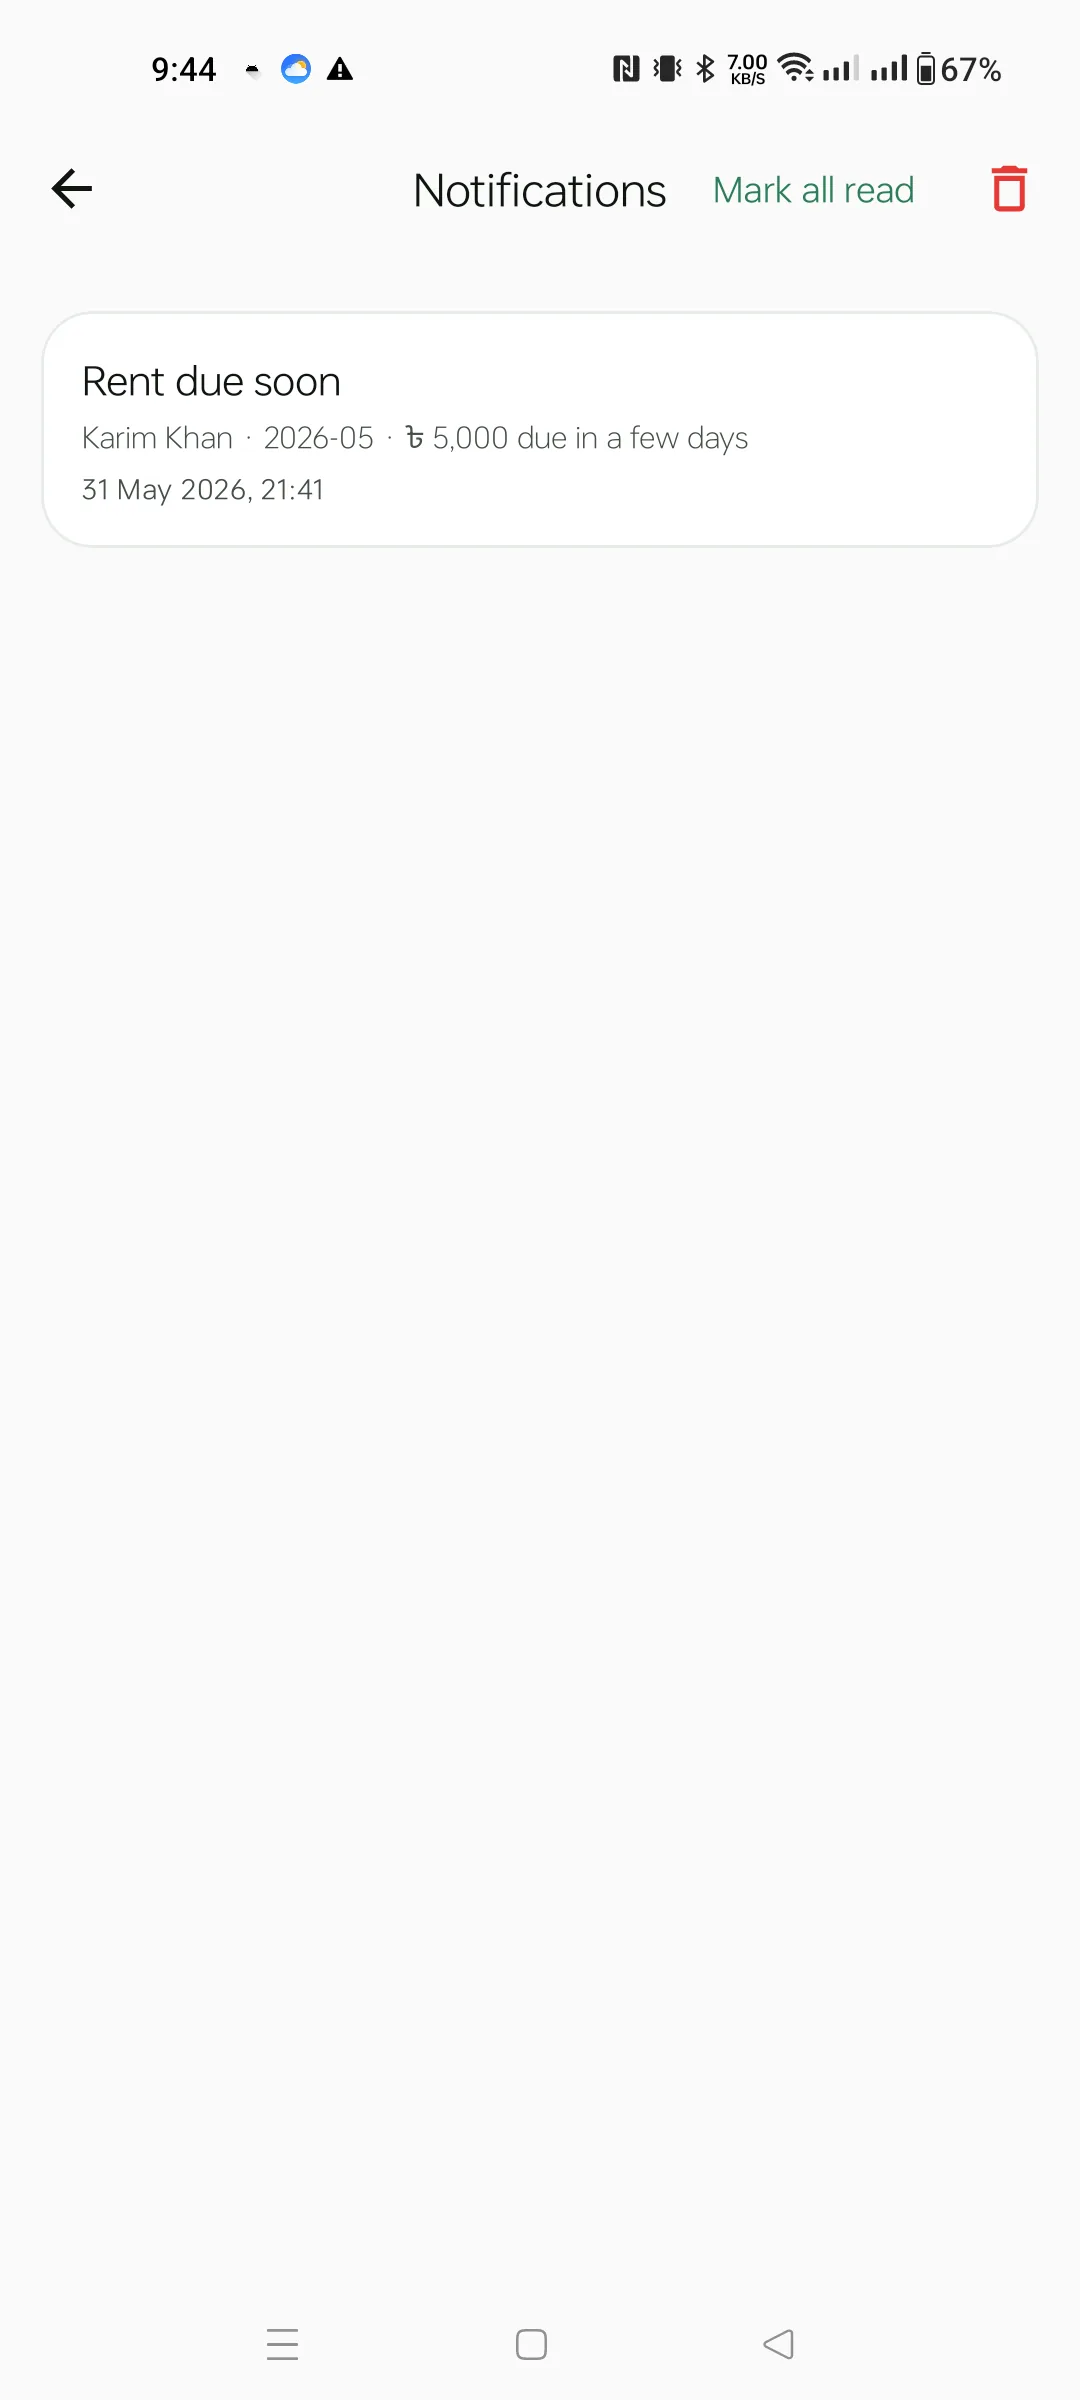
Tap the bell on the Dashboard. Local alerts include Rent due soon (last 3 days of the month) and Rent overdue (after month end). The top bar has Mark all read and a trash icon to clear the history.
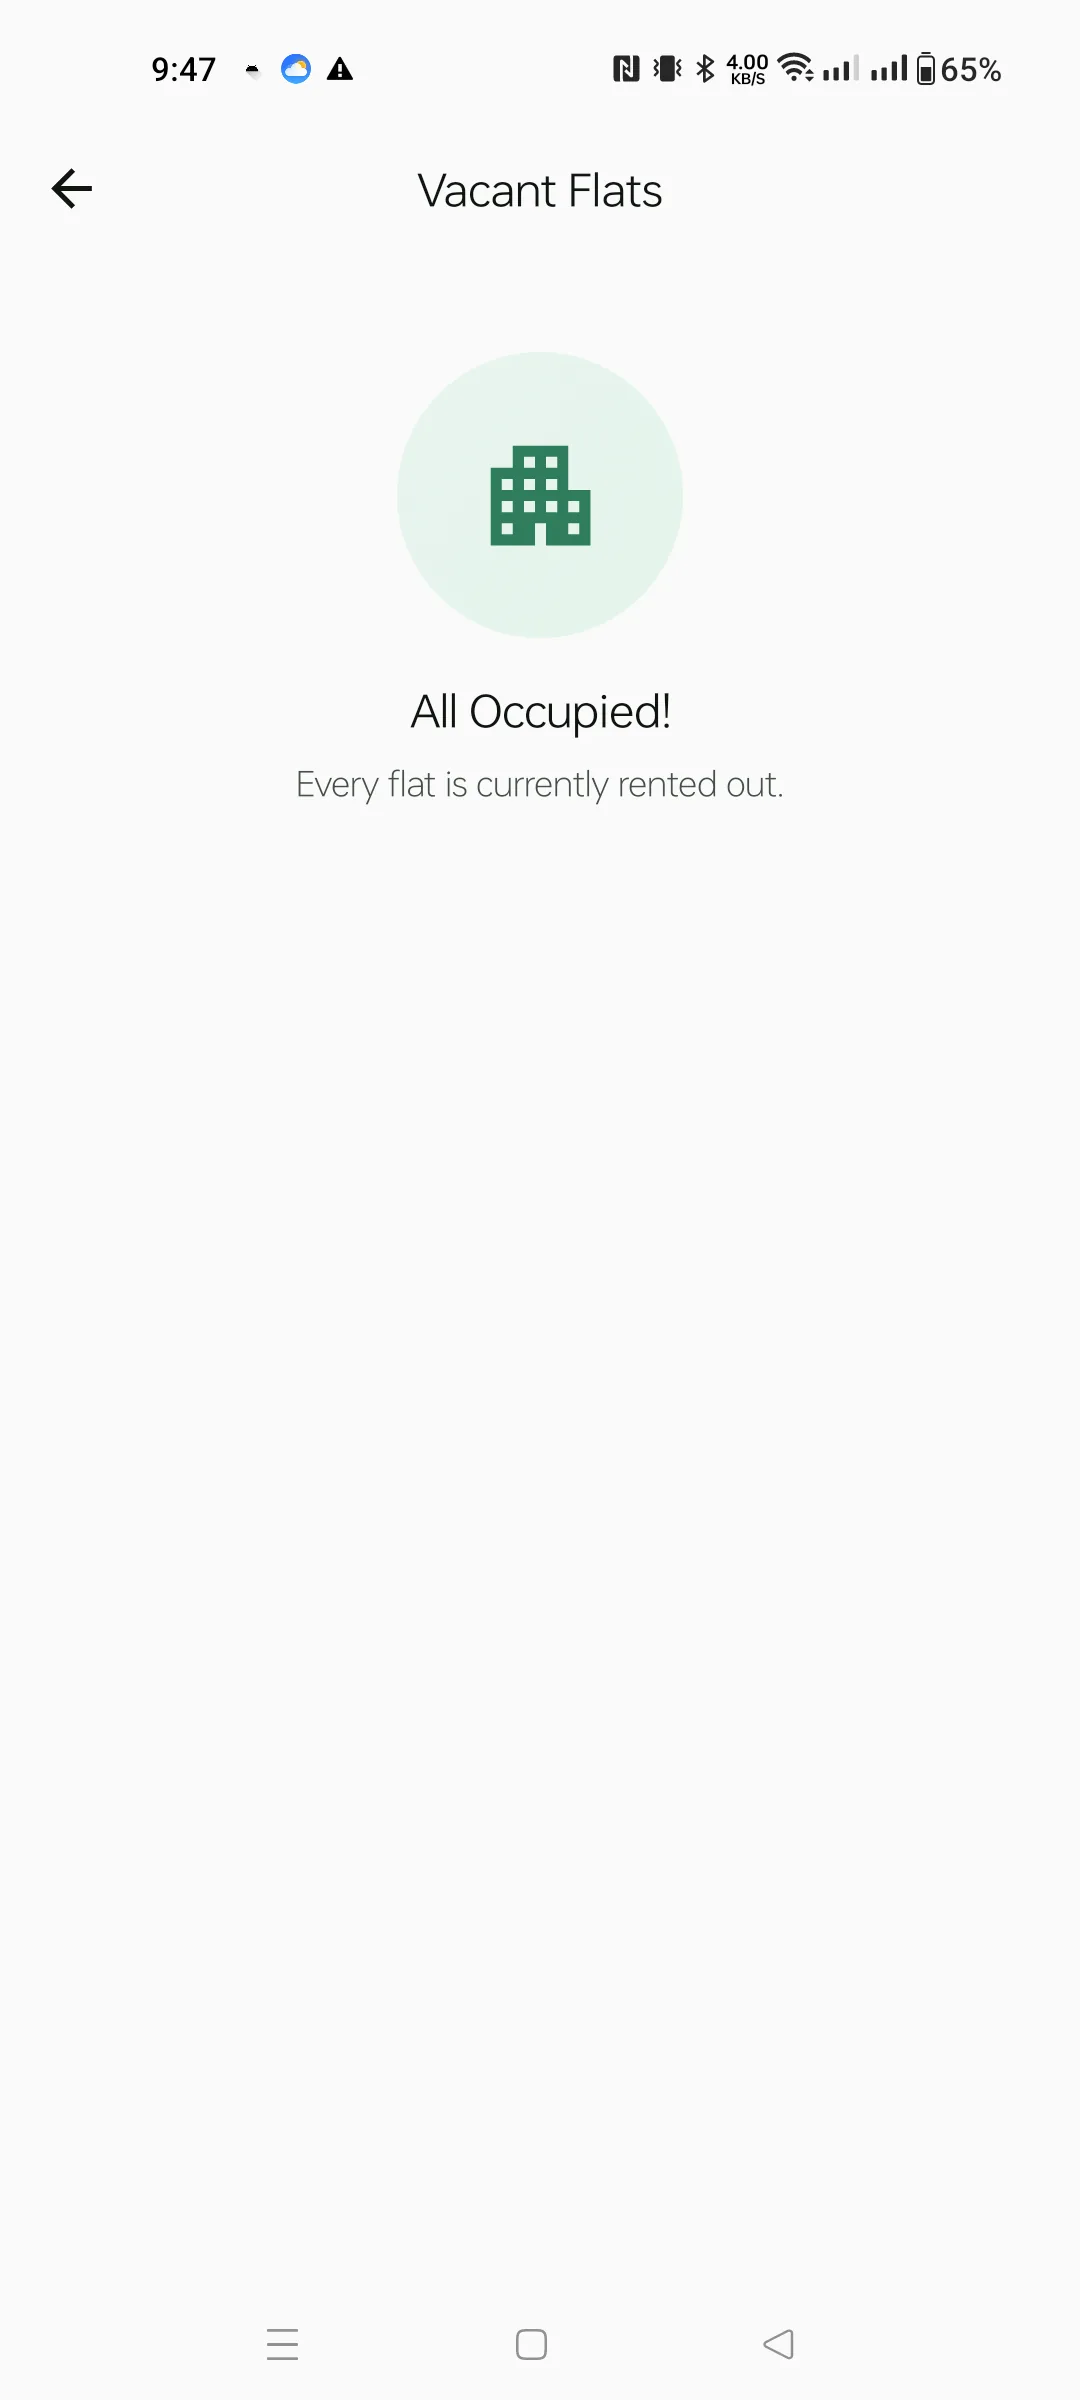
More → Vacant Flats lists every flat currently unoccupied across the active house. Useful when a prospective tenant calls and you need to quote what's available. When everything's rented out you see this All Occupied state.
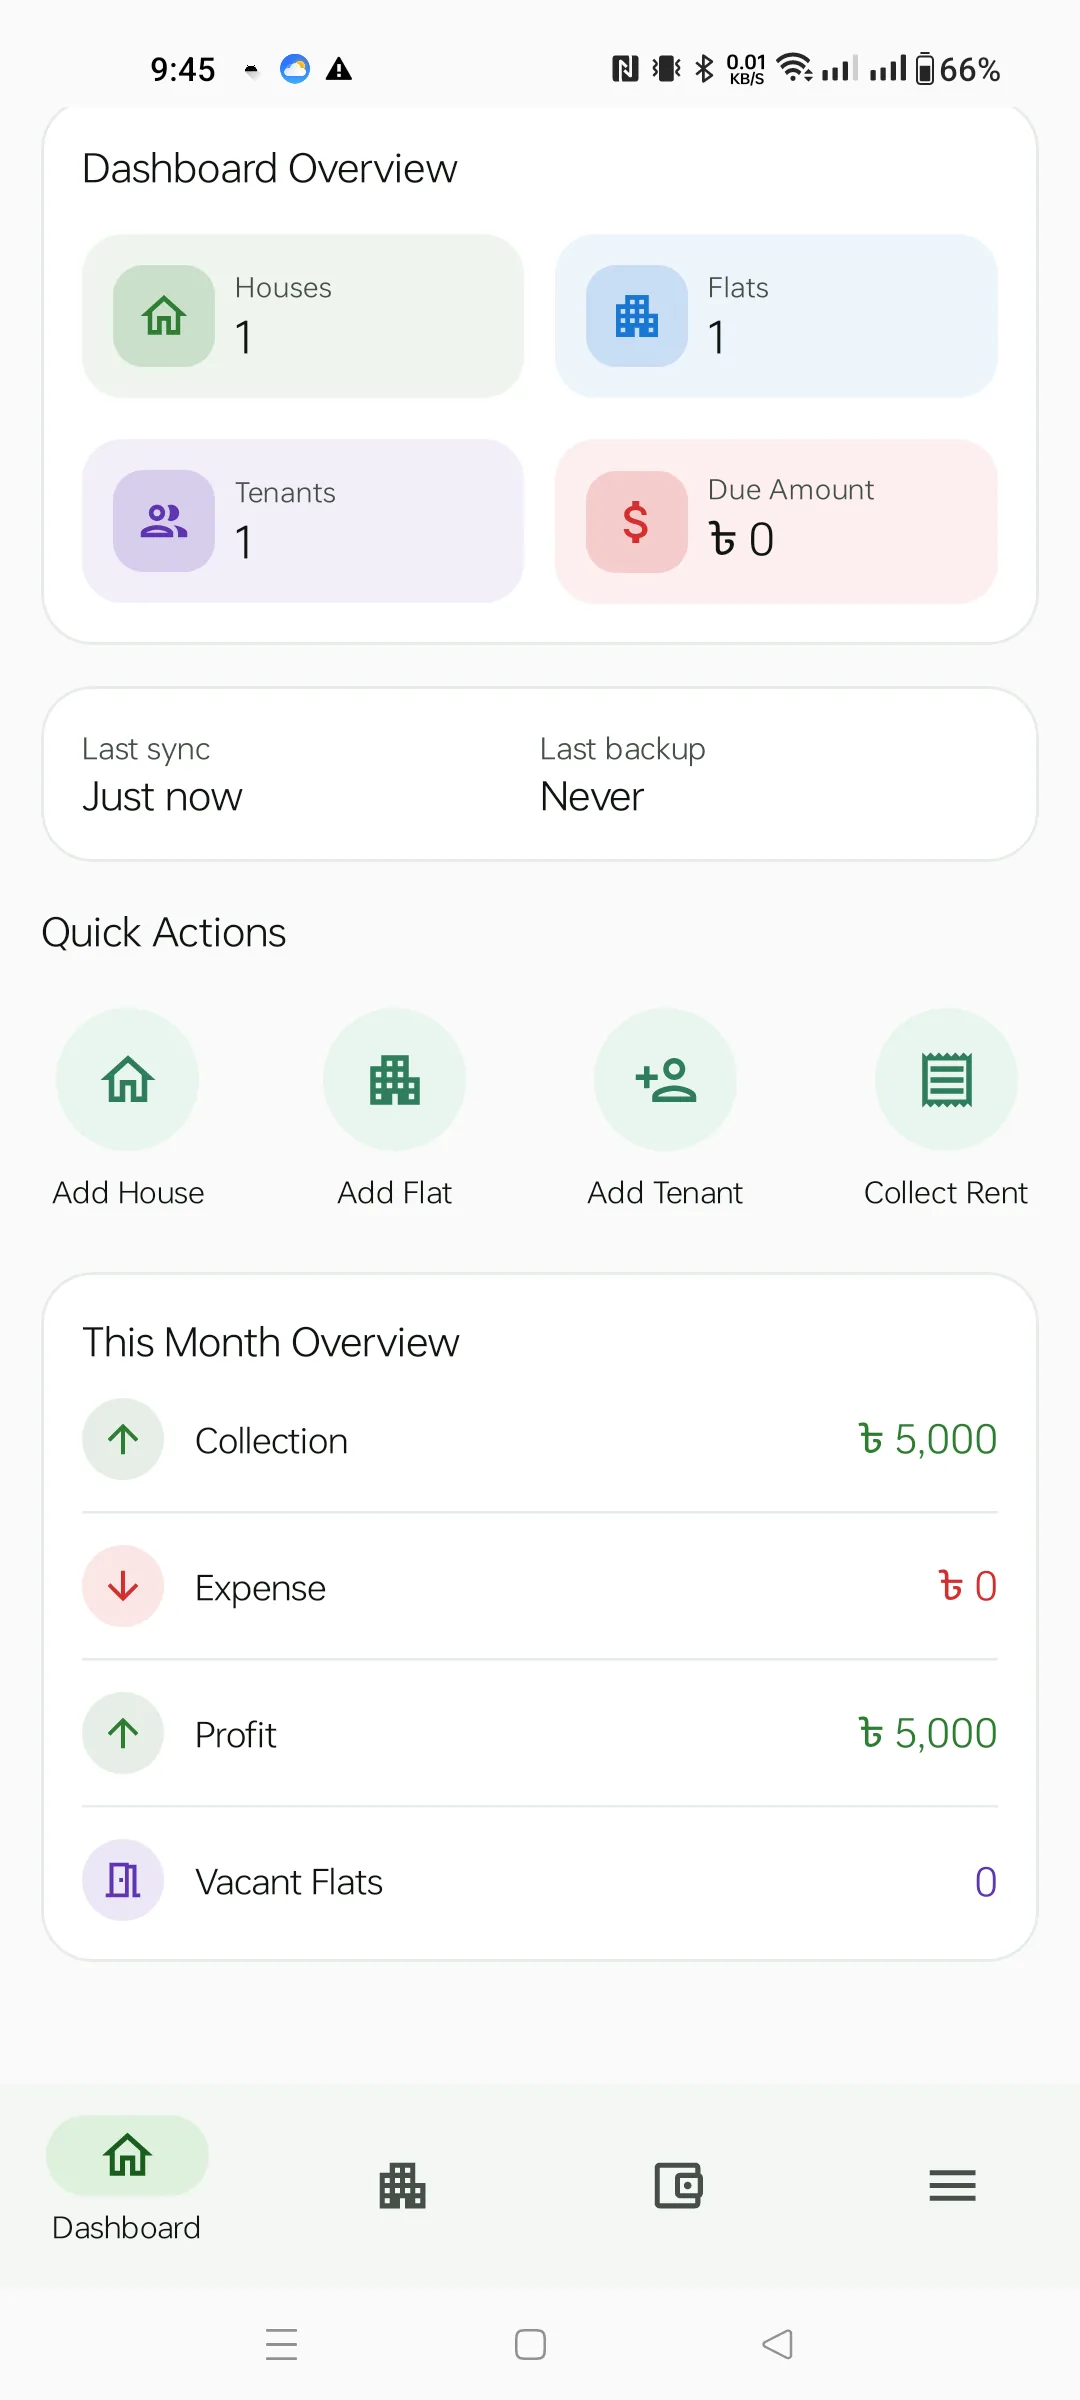
Scroll down on the Dashboard to see the month roll-up: Collection (rent received), Expense (money out), Profit (the difference) and Vacant Flats. This block is for the active house in the current calendar month.
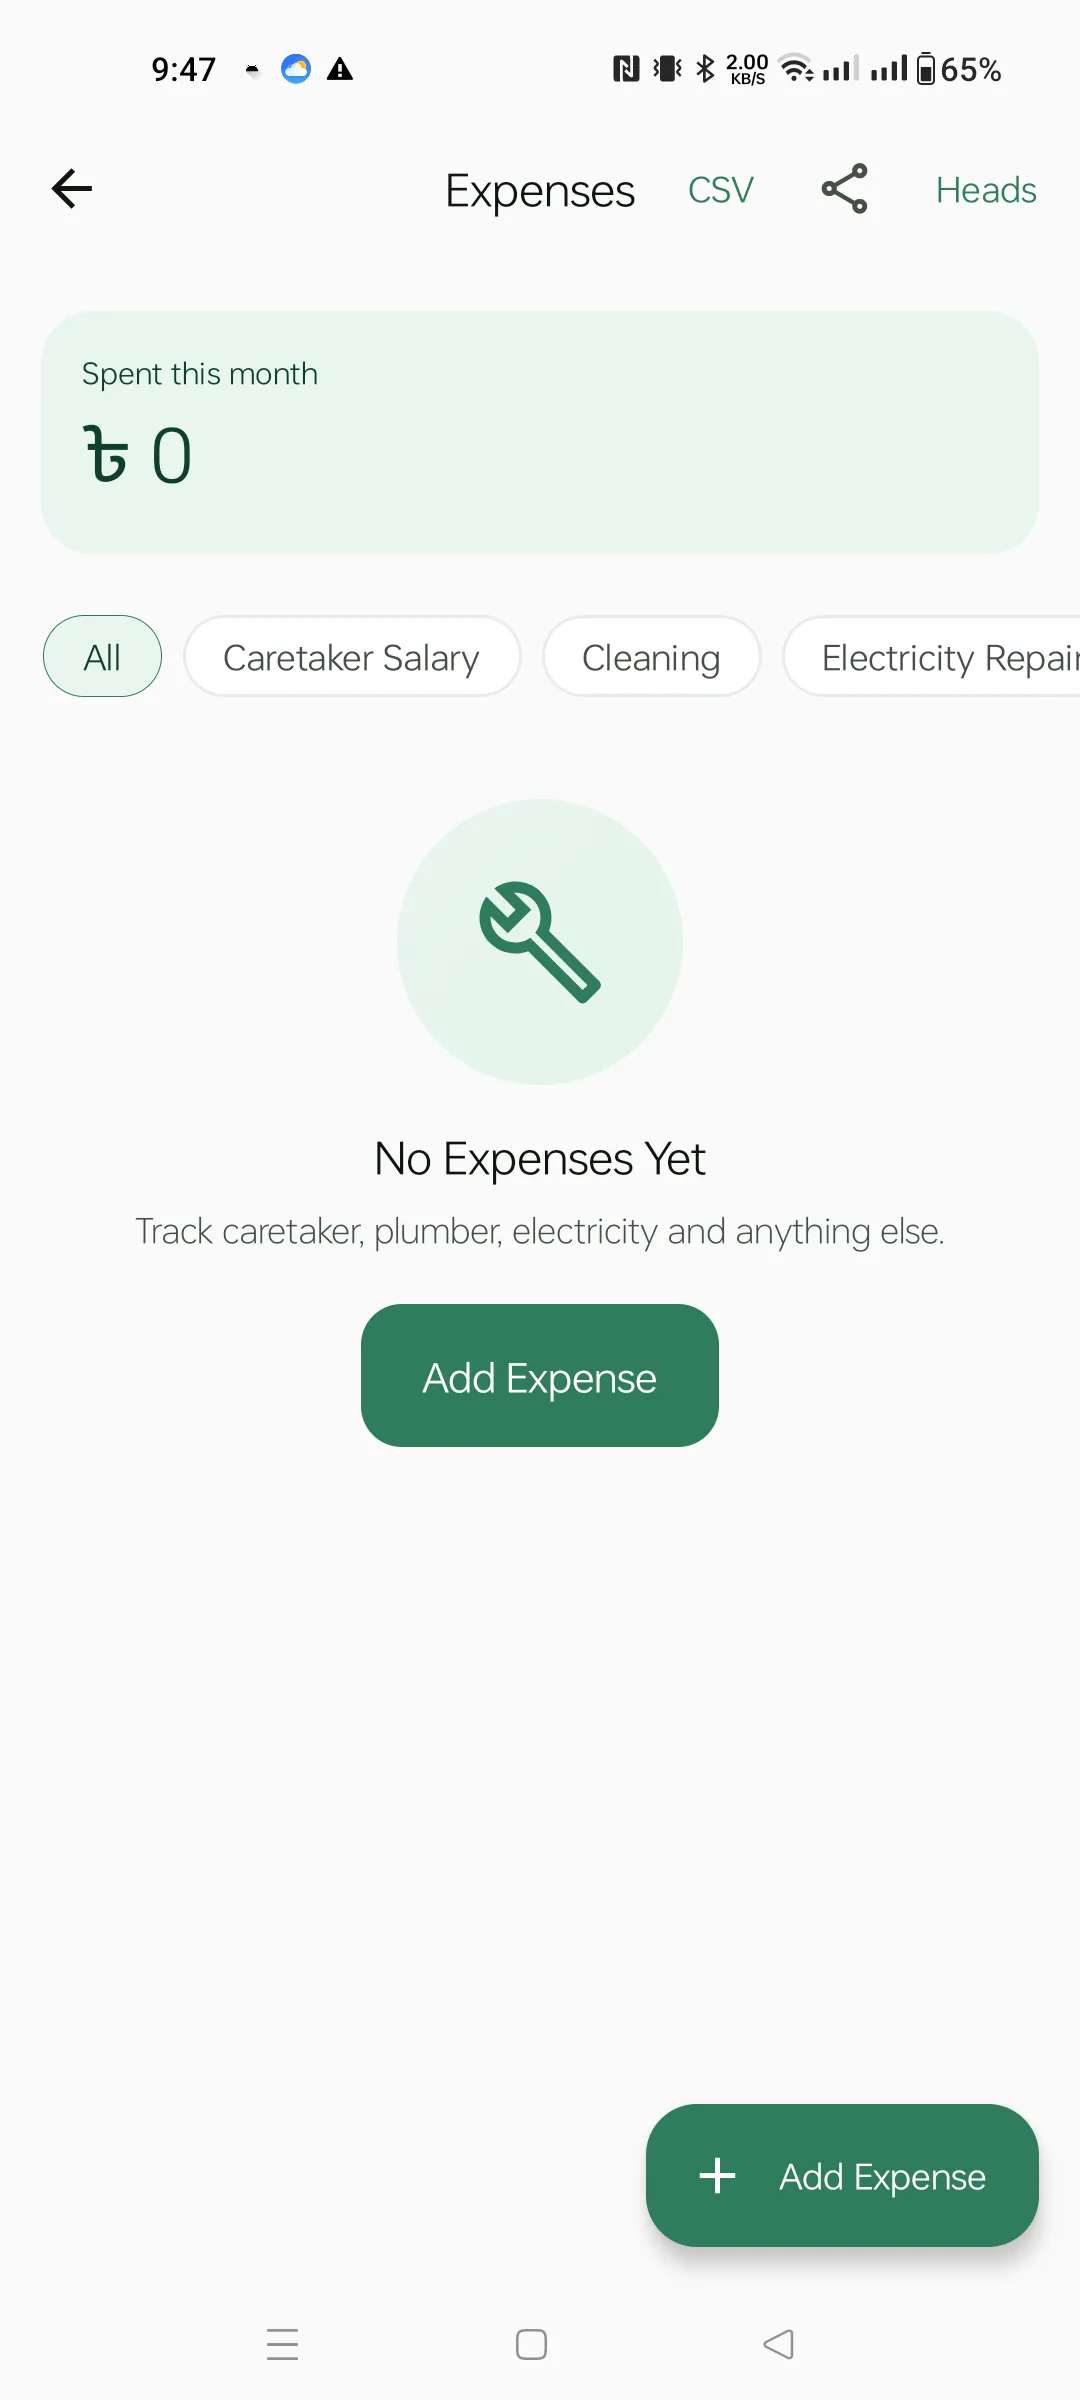
More → House Expenses. The summary card shows the total spent this month. Below it a chip row filters by expense head (Caretaker Salary, Cleaning, Electricity Repair, …). Tap Add Expense to create one — title, head, amount, optional note, and optional receipt photo. Top-right has two share buttons: CSV and PDF.
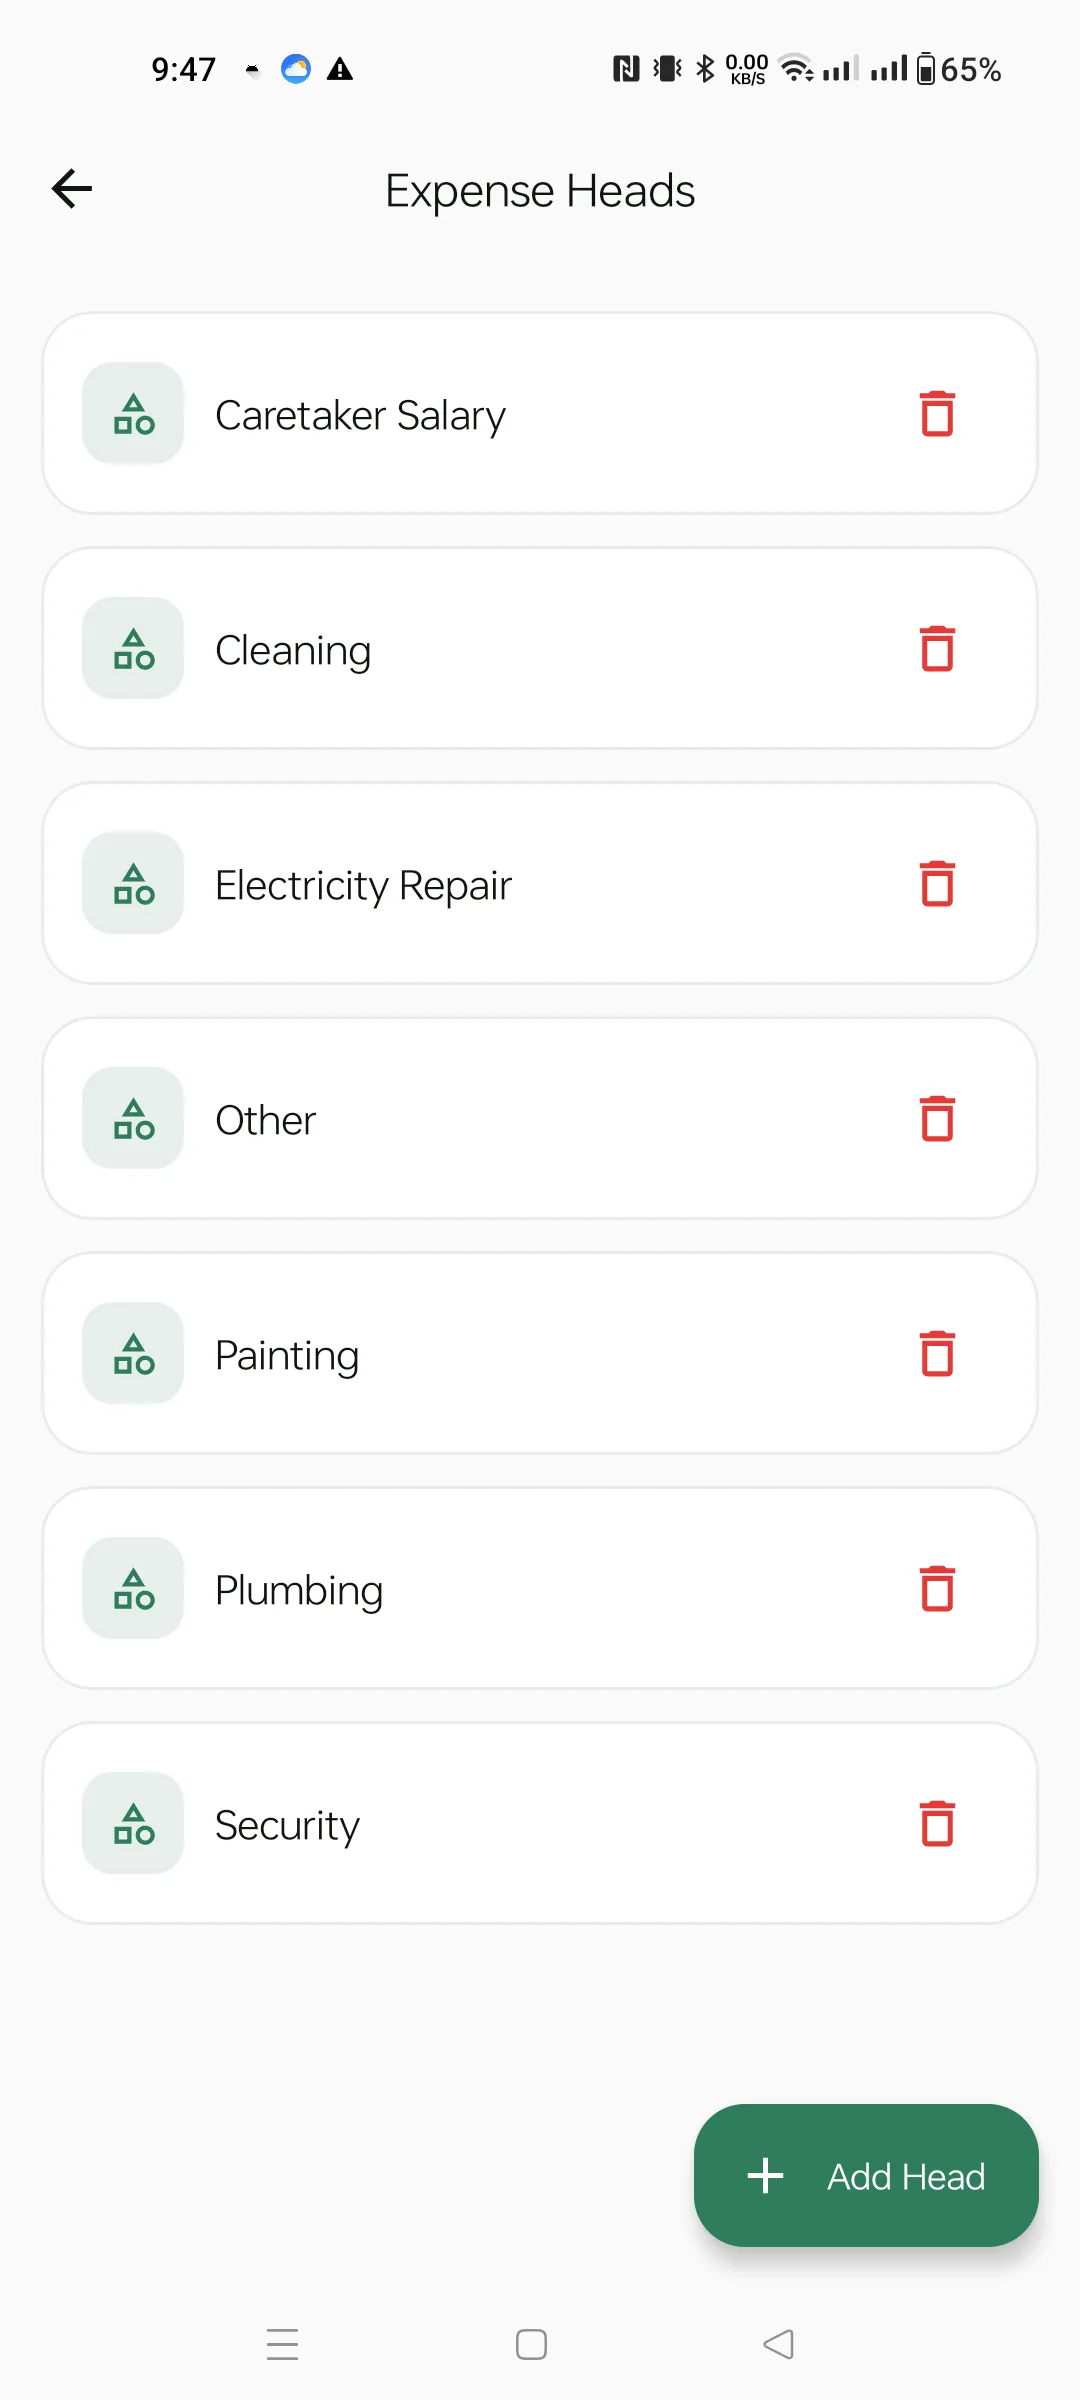
Manage your custom expense categories. The app seeds defaults — Caretaker Salary, Cleaning, Electricity Repair, Painting, Plumbing, Security, Other — but you can rename or delete any of them and add your own via the green Add Head FAB.
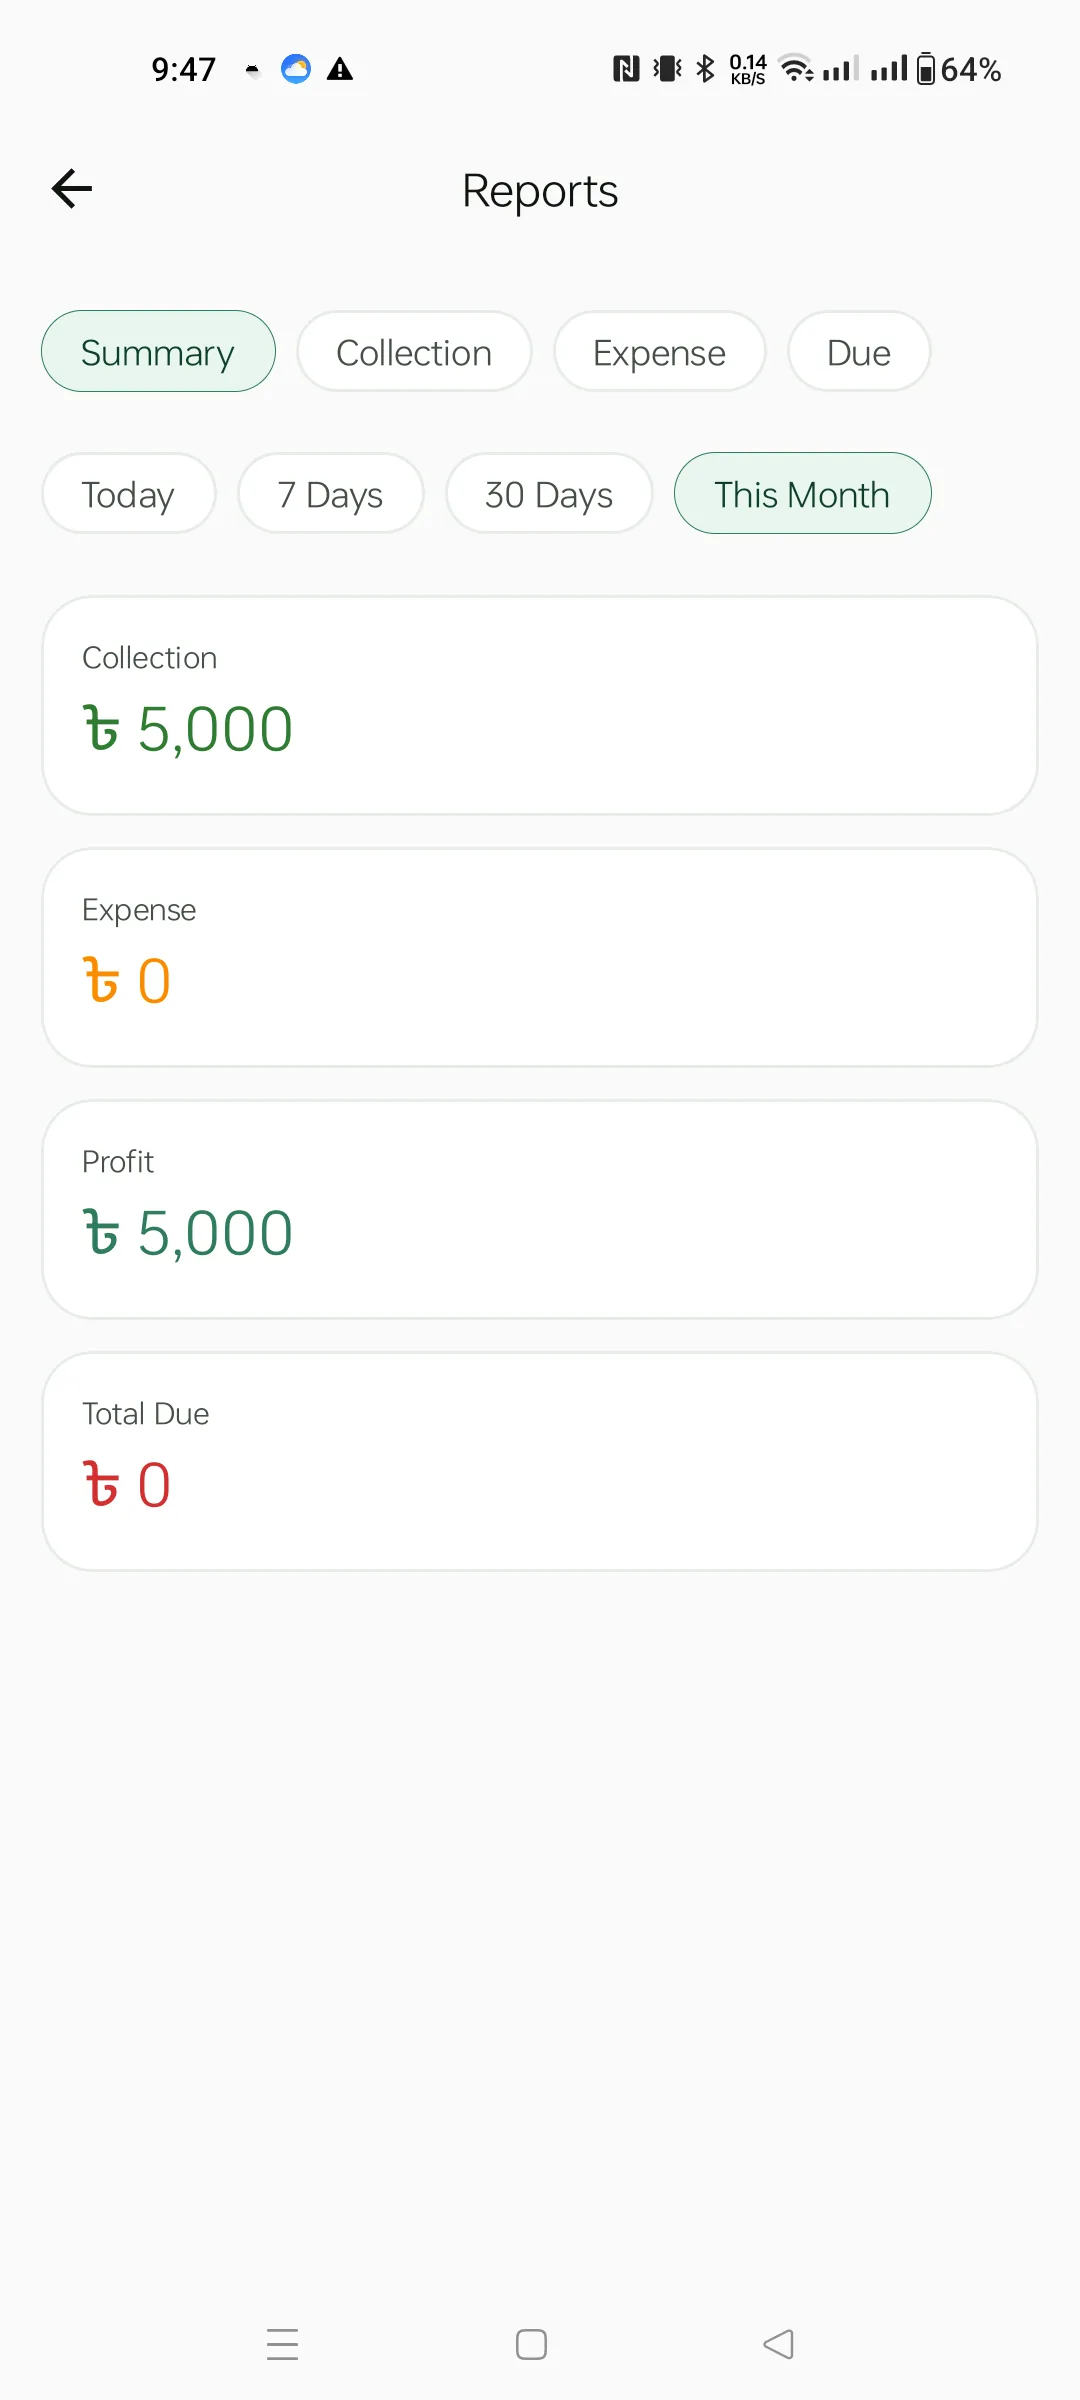
Two chip rows: Summary / Collection / Expense / Due and a time range Today / 7 Days / 30 Days / This Month. The Summary view sums Collection, Expense, Profit and Total Due for the period — perfect for a quick monthly snapshot.
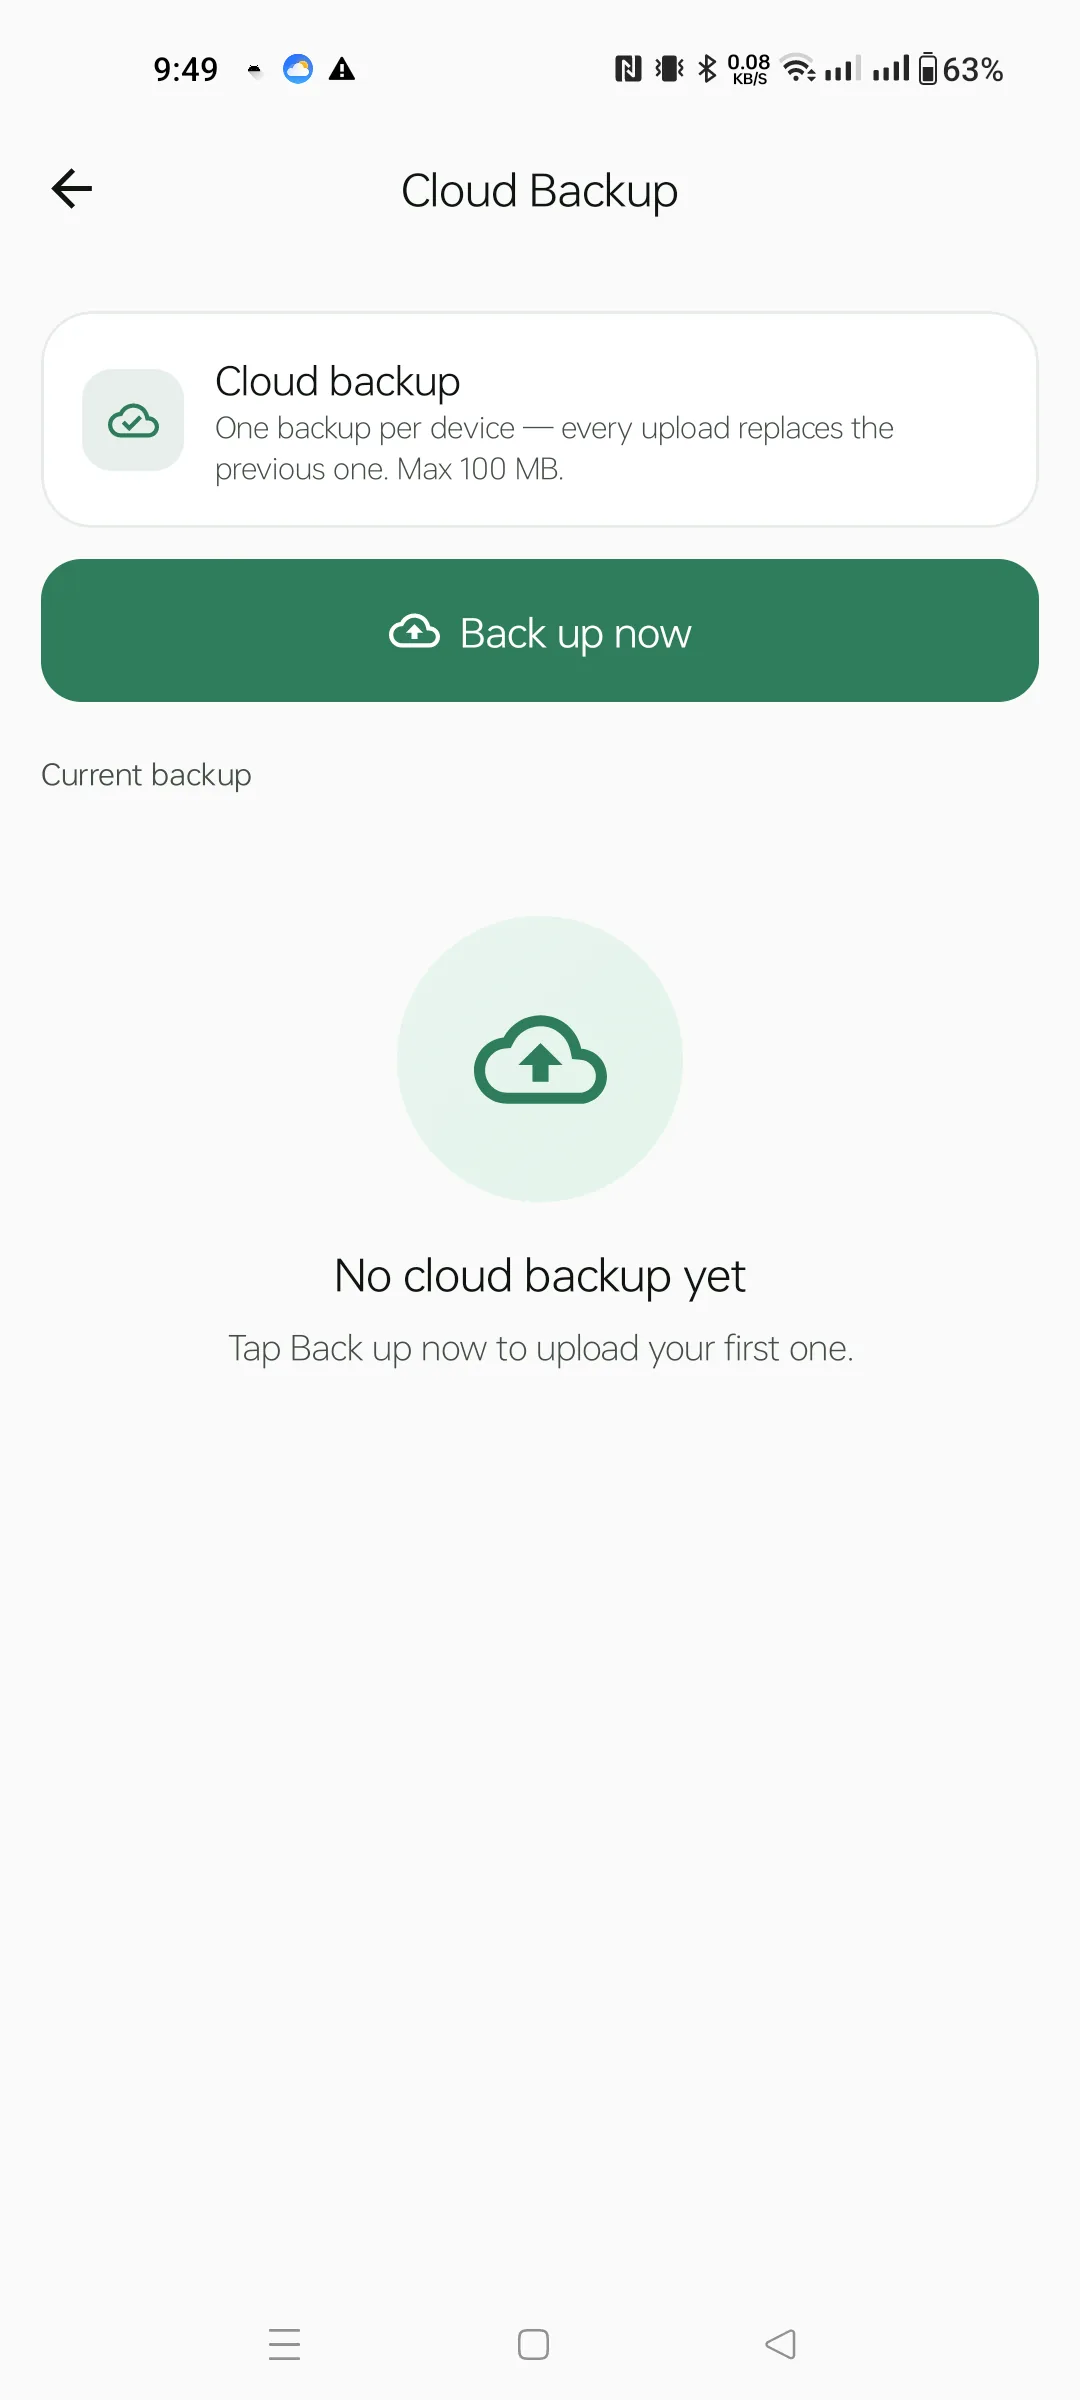
One backup per device — every upload replaces the previous one. The cap is 100 MB, which is plenty for thousands of tenants. Tap Back up now to upload your local data; on a new device, hit Restore from cloud to pull it back. The app restarts automatically after a successful restore.
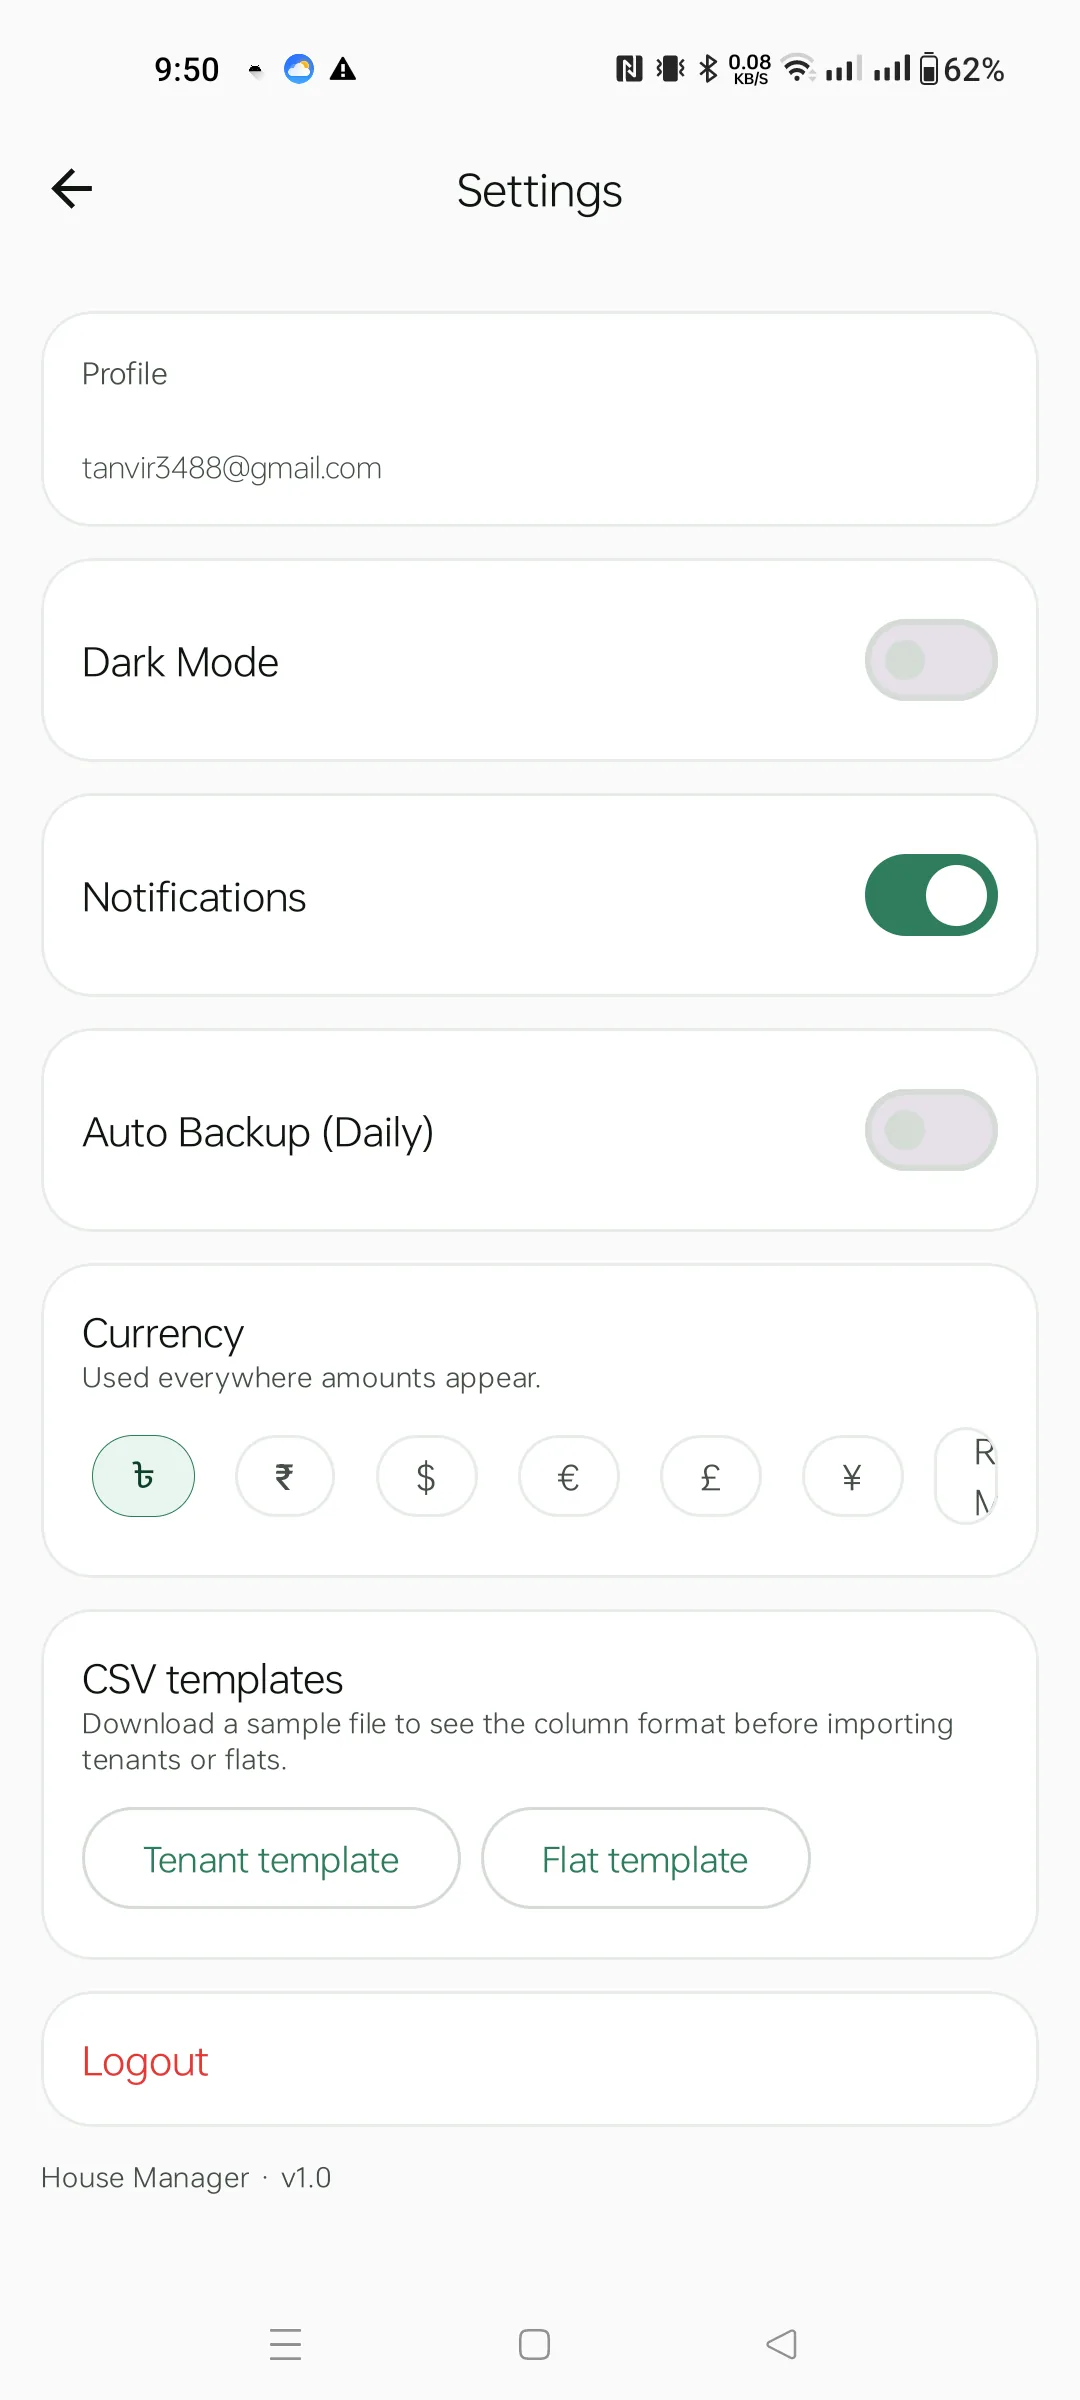
Adjust your experience:
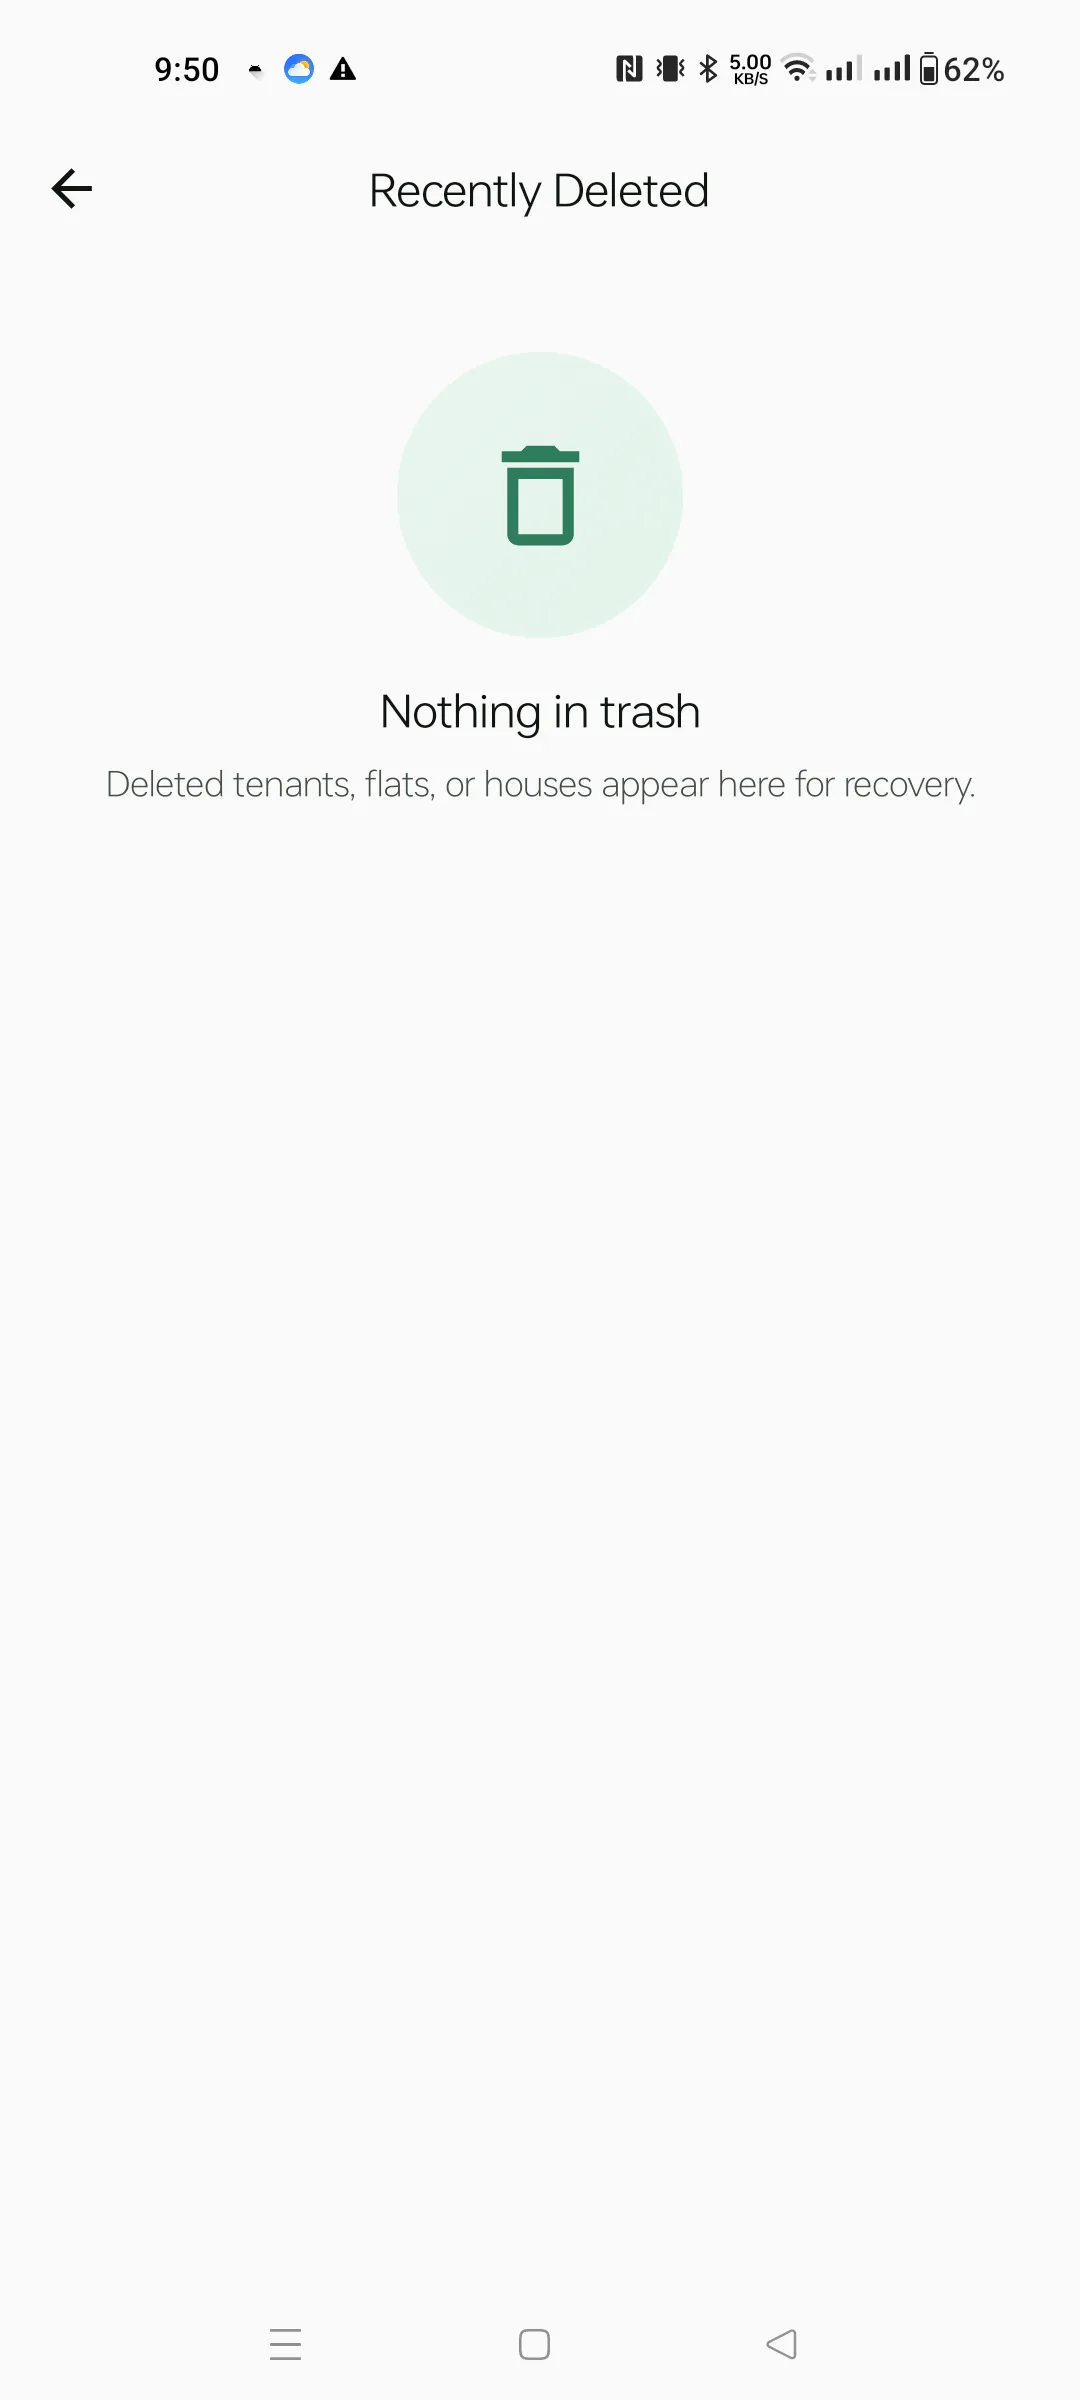
When you delete a tenant, flat or house, it isn't gone — it goes here. Tap Restore on any row to bring it back. Records stay forever unless you wipe them via the underlying database, so there's no rush.
App identity and contact. Tap the email row to open your mail client; tap the website row to open blacknwhitestudio.com. The Buy-Me-A-Coffee button (when enabled via Firebase Remote Config) appears below.